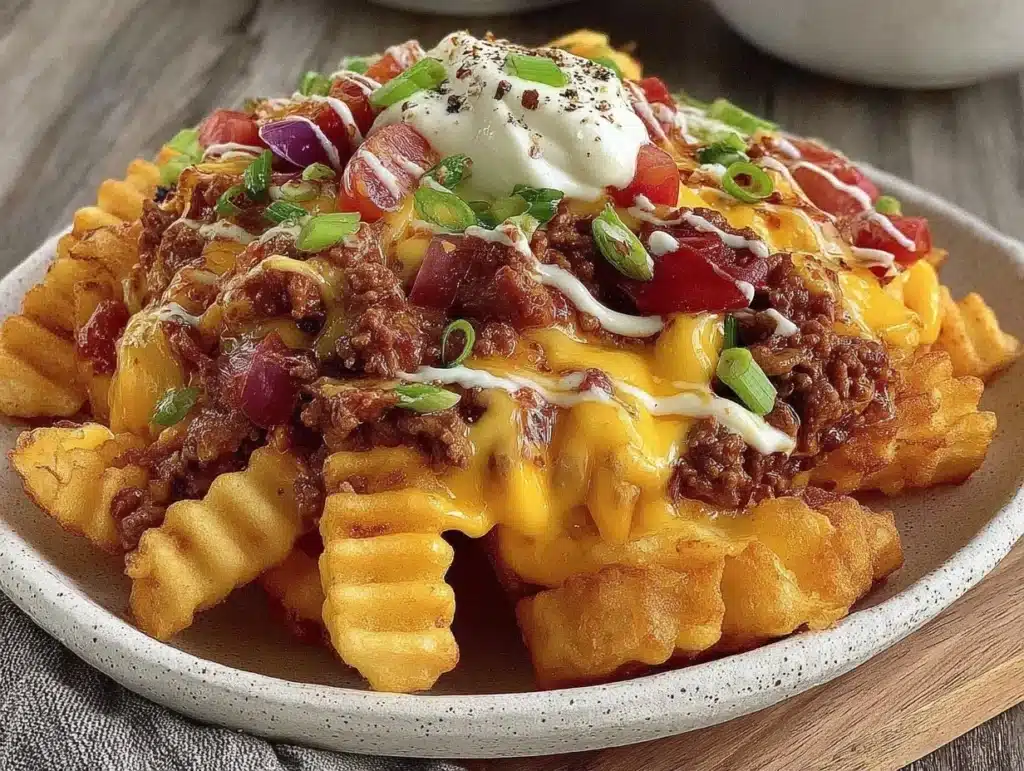
The smell of hot, crispy fries hitting the table is enough to make anyone forget about the score on the TV. I remember the first time I served this specific batch of loaded fries to my friends during the Super Bowl. There was no fancy plating, just a giant sheet pan piled high with golden potatoes, melted cheese, and spicy bacon. One friend took one bite and immediately stopped talking about the game. Honestly, that is the kind of reaction every home cook dreams of.
Let’s face it, game day snacks often fall into two categories: either they are healthy but boring, or they are delicious but leave you feeling sluggish. I wanted to fix that. These loaded crispy fries hit that perfect sweet spot. They are indulgent enough to feel like a cheat meal, but the extra crispiness and fresh toppings keep them exciting. I’ve tested this recipe over a dozen times, tweaking the oil temperature and the cheese blend, to get the texture just right. It’s not just another potato recipe; it’s the star of the show.
You know how sometimes you make a dish that turns out okay, but you never make it again? Well, this one is different. The secret isn’t just in the fries themselves, but in how you layer the toppings. If you rush it, the cheese gets greasy. If you under-season, the potatoes taste flat. But when you nail it, you have a snack that rivals any sports bar in the city. This recipe is perfect for busy families, college students, or anyone who needs a reliable crowd-pleaser for a big gathering.
I’ve always believed that the best comfort food comes from simple ingredients treated with respect. Potatoes are humble, but they deserve better than just being boiled or mashed. With this method, you get that restaurant-quality crunch at home. Plus, the customization options mean you can make them spicy, mild, or veggie-packed depending on who is coming over. It’s a recipe that brings people together, quite literally, because everyone ends up grabbing a handful from the same plate. Trust me, once you try these, you’ll be making them for every occasion.
Why You’ll Love This Recipe
After spending years in my kitchen testing various potato preparations, I can confidently say that these loaded crispy fries are in a league of their own. I didn’t just throw this together on a whim. I spent months refining the technique to ensure that the fries stay crispy even after being smothered in cheese and sauce. This isn’t just another version of loaded fries; it’s my best version, born from trial, error, and a lot of taste testing. Here is why this recipe has become a staple in my rotation and why it will likely become one in yours too.
- Quick & Easy Prep: While the fries take some time to crisp up, the active prep time is minimal. You can have this entire dish ready to serve in under an hour, which is perfect for those last-minute game day rushes or sudden cravings on a Tuesday night.
- Simple Ingredients: You likely have most of these items in your kitchen right now. Potatoes, oil, cheese, bacon, and green onions are pantry staples or easy fridge finds. No fancy grocery trips needed for this one.
- Perfect for Game Day: This is the ultimate finger food. It’s shareable, messy (in a good way), and keeps well in the oven while you watch the first half of the game. It’s great for potlucks, cozy dinners, or holiday mornings.
- Crowd-Pleaser: Whether you have picky kids or foodie friends with high standards, these fries get rave reviews. The combination of textures—crispy potato, gooey cheese, and crunchy bacon—appeals to almost everyone.
- Unbelievably Delicious: The flavor profile is next-level comfort food. The saltiness of the bacon contrasts perfectly with the creamy cheese, while the fresh green onions add a necessary pop of brightness. It’s the kind of bite that makes you close your eyes and just enjoy.
What makes this recipe different from the rest is the double-fry technique I use for the potatoes. Most people skip the second fry, and that is why their fries get soggy when you add toppings. By frying them twice, you create a sturdy shell that holds up to the heat of the cheese without turning into mush. It’s a small step that makes a huge difference. Connect emotionally with this dish by imagining the joy of pulling a steaming, golden pan out of the oven. It’s comfort food reimagined—faster, easier, but with the same soul-soothing satisfaction as a long-cooked stew. It’s perfect for impressing guests without stress, or turning a simple meal into something memorable.
What Ingredients You Will Need
This recipe relies on a few key components to deliver that bold flavor and satisfying crunch without the fuss. You don’t need exotic spices or hard-to-find items. The beauty of loaded fries lies in the quality of the basics and the way they are combined. I like to keep the ingredient list straightforward so you can focus on the technique. Whether you are using russet or Yukon Gold potatoes, the goal is to get that perfect exterior crunch while keeping the inside fluffy.
For the Fries
- Russet potatoes: Large, starchy potatoes are best for achieving that airy interior. Look for firm potatoes without green spots. I prefer russets because they hold their shape well during the double-fry process.
- Vegetable oil: You need an oil with a high smoke point. Canola or peanut oil works perfectly. Avoid olive oil for frying as it burns at high temperatures.
- Cornstarch: This is the secret weapon. Tossing the cut potatoes in cornstarch before frying creates an extra-crispy exterior. It helps draw out moisture and forms a delicate crust.
- Kosher salt: Use coarse salt for seasoning. It adheres better to the fries and provides a better crunch than fine table salt.
- Garlic powder: A light dusting adds depth without overpowering the natural potato flavor.
For the Toppings
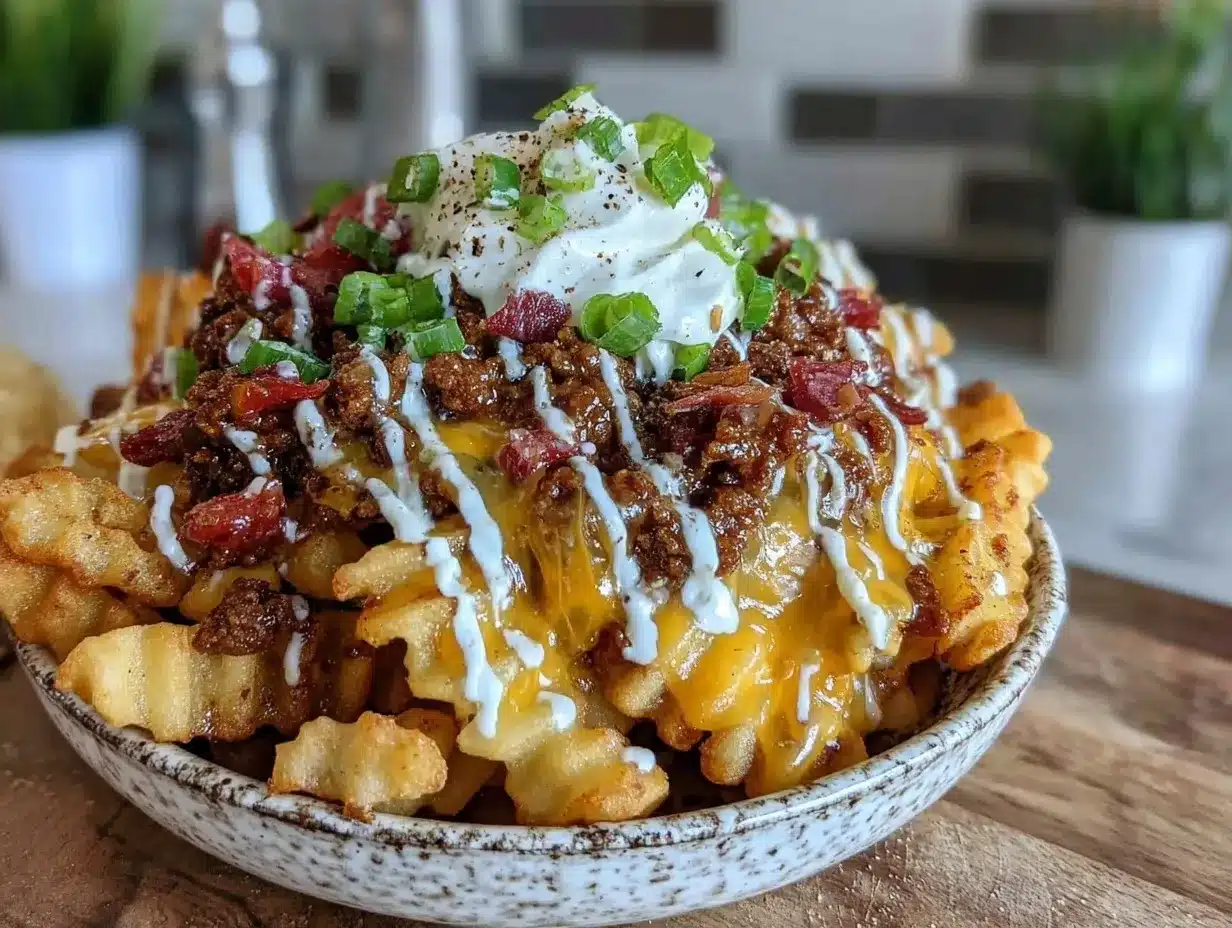
- Cheddar cheese: Sharp cheddar offers the best flavor punch. I recommend using freshly shredded cheese from a block. Pre-shredded cheese contains anti-caking agents that can prevent it from melting smoothly.
- Bacon: Thick-cut bacon, cooked until crispy and then crumbled. I like to buy a pack of thick-cut bacon and cook extra, as it stores well in the fridge for later use.
- Green onions: Thinly sliced, providing a fresh, oniony bite to cut through the richness of the cheese and meat.
- Sour cream: Full-fat sour cream adds a cool, tangy contrast. You can also use Greek yogurt for a slightly healthier twist, though the texture will be different.
- Chili flakes: Optional, but recommended if you like a bit of heat. It adds a nice kick that balances the dairy.
For the best results, I always recommend using fresh herbs and high-quality dairy. The difference between using a block of cheddar and pre-shredded cheese is night and day. The fresh cheese melts into a silky sauce, while the pre-shredded version can become grainy. Also, make sure your bacon is fully cooled and crumbled before adding it to the fries. If it’s still warm, it might wilt the green onions and make the dish look less appetizing. Keep this section scannable, but pay attention to these small details. They are what turn a good snack into a great one.
Equipment Needed
You don’t need a professional kitchen to make these fries, but having the right tools will make the process much smoother. The most important piece of equipment is a large, heavy-bottomed pot or a Dutch oven. This helps maintain a consistent oil temperature, which is crucial for the double-fry method. If you don’t have a Dutch oven, a deep stockpot works fine, just be careful not to overcrowd it.
You will also need a wire cooling rack and a baking sheet. After the first fry, the potatoes need to drain and cool. Placing them on a wire rack allows air to circulate, keeping them crispy. If you put them on paper towels, they might steam and become soggy. For the final assembly, a large rimmed baking sheet is ideal. It gives you plenty of space to spread the fries in a single layer, ensuring the cheese melts evenly without burning.
A sharp chef’s knife or a mandoline slicer is essential for cutting the potatoes into even strips. Uniformity is key for even cooking. If you use a mandoline, be very careful and use the hand guard. I’ve learned the hard way that speed is not as important as safety in the kitchen. Finally, a candy thermometer is helpful but not strictly necessary. If you don’t have one, you can test the oil by dropping in a single fry; if it sizzles immediately and rises to the top, the oil is ready.
Budget-friendly options include using a standard skillet for smaller batches, though you will need to fry in stages. A simple slotted spoon or spider strainer is also useful for removing the fries from the hot oil. Avoid using tongs for the first fry, as they can tear the delicate potato strips. A mix of these basic tools will get you professional results at home.
Preparation Method
Getting these loaded crispy fries right requires patience and attention to detail. The process is broken down into clear steps to ensure you don’t miss anything. Here is how to make them from scratch.
Step 1: Prep the Potatoes
Wash and peel the russet potatoes. You can leave the skins on if you prefer a rustic look, but peeling them gives a more uniform texture. Cut the potatoes into even strips, about 1/4 inch thick. Try to keep them uniform so they cook at the same rate. Place the cut potatoes in a large bowl of cold water. Let them soak for at least 30 minutes. This step removes excess starch, which helps them get crispy. After soaking, drain the water and pat the potatoes completely dry with paper towels. Moisture is the enemy of crispiness.
Step 2: The First Fry (Blanching)
Heat about 2 inches of vegetable oil in a Dutch oven to 325°F (160°C). Carefully add half of the dried potato strips to the oil. Fry them for about 4-5 minutes. They should be soft and pale, not brown. This step cooks the inside of the potato. Remove the fries with a slotted spoon and place them on a wire rack to cool. Repeat with the remaining potatoes. Once all the fries are fried, let them cool completely. You can even let them sit in the fridge for a few hours at this stage.
Step 3: The Second Fry (Crisping)
Increase the oil temperature to 375°F (190°C). Once the oil is hot, add the cooled fries back into the pot. Fry them for 2-3 minutes until they are golden brown and crispy. Watch them closely, as they can burn quickly at this temperature. Remove the fries and drain them on the wire rack. Sprinkle them immediately with kosher salt and garlic powder while they are still hot. This ensures the seasoning sticks.
Step 4: Assemble and Bake
Preheat your oven to 400°F (200°C). Spread the crispy fries in a single layer on a large baking sheet. Sprinkle the freshly shredded cheddar cheese evenly over the fries. Place the sheet in the oven and bake for 3-5 minutes, just until the cheese is melted and bubbly. Do not overbake, or the cheese will separate and become oily.
Step 5: Add Toppings
Remove the pan from the oven. Immediately top with the crumbled crispy bacon, sliced green onions, and a drizzle of sour cream. If you are using chili flakes, sprinkle them on now. Serve immediately while the fries are still hot and the cheese is gooey. Enjoy your masterpiece!
Why Is My Cheese Grainy?
This usually happens when you use pre-shredded cheese or bake at too high a temperature. Always shred your own cheese from a block, and keep the oven temperature moderate. The goal is to melt, not burn.
Can I Make These Ahead of Time?
You can prepare the fries up to the end of the second fry. Store them in the fridge on a wire rack. When ready to serve, re-crisp them in the oven at 400°F for 5 minutes before adding toppings. This ensures maximum crunch.
Cooking Tips & Techniques
Mastering the art of the perfect fry takes a bit of practice, but these tips will help you avoid common pitfalls. The biggest mistake people make is overcrowding the pan. When you add too many potatoes to the oil, the temperature drops drastically. This causes the fries to absorb more oil and become greasy instead of crispy. Always fry in small batches. It might take longer, but the result is worth it.
Another key technique is drying the potatoes thoroughly. I cannot stress this enough. Any water on the surface of the potato will turn to steam in the hot oil, preventing the crust from forming. After soaking, use paper towels to blot every single strip. If you are in a hurry, you can let them air dry on a rack for an hour, but paper towels are faster and more effective.
Timing is also crucial. The first fry is low and slow to cook the interior. The second fry is high and fast to create the exterior crunch. If you skip the second fry, the fries will be soft and may not hold up to the heavy toppings. I once tried to save time by only frying once, and the result was a soggy mess that slid off the spoon. Never skip that second fry.
Multitasking is your friend here. While the fries are frying, you can prep the toppings. Cook the bacon, chop the green onions, and shred the cheese. This way, when the fries come out of the oil, you are ready to assemble immediately. Consistency in cutting the potatoes also matters. If some strips are thicker than others, the thin ones will burn before the thick ones are cooked. Use a mandoline for uniformity, or be very careful with your knife skills.
Finally, season immediately after the second fry. The residual heat and slight oiliness on the surface help the salt and spices adhere. If you wait until after adding the cheese, the seasoning might not stick properly. These small details make a huge difference in the final taste and texture.
Variations & Adaptations
One of the best things about this recipe is its versatility. You can easily adapt it to suit different dietary needs or taste preferences. Here are a few variations I love.
Veggie Lover’s Version:
Skip the bacon and add sautéed mushrooms, bell peppers, and jalapeños. The earthiness of the mushrooms pairs wonderfully with the cheddar cheese. You can also add a layer of caramelized onions for a sweet and savory twist.
Spicy Kick:
Add diced jalapeños to the cheese before baking. Use pepper jack cheese instead of cheddar for an extra spicy flavor. Drizzle with sriracha or hot sauce after baking for a fiery finish. This version is perfect for those who like their snacks with a bite.
BBQ Chicken Twist:
Instead of bacon, top the fries with shredded rotisserie chicken. Use a BBQ sauce instead of sour cream, and add red onion slices. This variation feels more like a main dish but is still easy to eat with your hands.
Dairy-Free Option:
Use a dairy-free cheese alternative that melts well. Many brands have improved significantly in recent years. You can also skip the sour cream and use a cashew-based cream sauce for a richer, plant-based option.
I personally love adding a sprinkle of smoked paprika to the fries before the second fry. It adds a subtle smokiness that complements the bacon perfectly. Don’t be afraid to experiment with different herbs and spices. The base recipe is a canvas for your creativity.
Serving & Storage Suggestions
These loaded crispy fries are best served immediately while they are hot and the cheese is melted. Presentation matters, so use a large, rustic platter or a sheet pan for a casual, communal vibe. Garnish with extra green onions and a sprinkle of parsley for a pop of color. Serve with extra dipping sauces on the side, such as ranch, garlic aioli, or a spicy ketchup blend.
Leftovers can be stored in an airtight container in the refrigerator for up to two days. However, the fries will lose their crispiness over time. To reheat, place them on a baking sheet in the oven at 400°F for 5-10 minutes. This will help restore some of the crunch. Avoid using the microwave, as it will make the fries soft and chewy.
You can also freeze the fries after the second fry, before adding toppings. Store them in a freezer-safe bag for up to three months. To serve, bake them from frozen at 400°F until hot and crispy, then add your toppings. This is a great option for meal prepping game day snacks.
The flavors of the loaded fries develop over time, especially if the cheese has time to set slightly. However, the texture is always best fresh. If you are serving a large crowd, consider making two smaller batches rather than one large one. This ensures that the first guests get the crispiest fries.
Nutritional Information & Benefits
While these loaded crispy fries are definitely a treat, they can fit into a balanced diet if enjoyed in moderation. Potatoes are a good source of vitamin C and potassium. When baked or air-fried, they can be a healthier option than deep-fried alternatives, though this recipe uses oil for crispiness.
Each serving provides a good amount of carbohydrates for energy, which is helpful for active individuals. The bacon adds protein and fat, while the cheese contributes calcium. However, the dish is high in sodium and saturated fat, so it’s best to enjoy it as an occasional indulgence. If you are watching your calorie intake, you can reduce the amount of cheese and use turkey bacon for a leaner option.
For those with gluten sensitivities, this recipe is naturally gluten-free as long as you check your cheese and bacon for hidden gluten. Always verify labels, as some processed meats may contain wheat-based fillers. Overall, this recipe is a fun, flavorful way to enjoy potatoes in a new light.
Conclusion
These loaded crispy fries are more than just a snack; they are an experience. From the initial crunch of the potato to the gooey melt of the cheese, every bite is designed to satisfy. I hope you try this recipe and find it as enjoyable as I do. Feel free to customize it with your favorite toppings and make it your own. Whether you serve it at a big game day party or a quiet night in, these fries are sure to be a hit.
Don’t forget to share your creations with me! I love seeing how you adapt the recipe. Leave a comment below with your favorite variation or tag me on social media. Happy cooking, and enjoy every crunchy, cheesy bite!
Frequently Asked Questions
Can I use sweet potatoes for this recipe?
Yes, you can use sweet potatoes, but they contain more sugar and moisture. You may need to fry them for a slightly longer time to get them crispy. The flavor profile will be sweeter, which pairs well with a maple-based dipping sauce.
What is the best oil for frying fries?
Vegetable oil, canola oil, or peanut oil are the best choices because they have high smoke points. Avoid butter or extra virgin olive oil, as they burn easily at the high temperatures required for frying.
How do I keep the fries crispy after adding toppings?
The key is to add the toppings immediately after removing the fries from the oven. The residual heat will melt the cheese without making the fries soggy. Also, ensure your toppings like bacon and green onions are not too wet.
Can I make these in an air fryer?
Yes, you can make the fries in an air fryer for a healthier version. Toss the potatoes in a small amount of oil and air fry at 400°F, shaking the basket halfway through. Then, add the toppings and melt them in the air fryer for a few minutes.
Why do my fries taste bland?
Under-seasoning is a common issue. Make sure to salt the fries immediately after the second fry when they are hot and oily. Also, taste your cheese and bacon, as they are salty themselves, but the potatoes need their own seasoning.
Pin This Recipe!
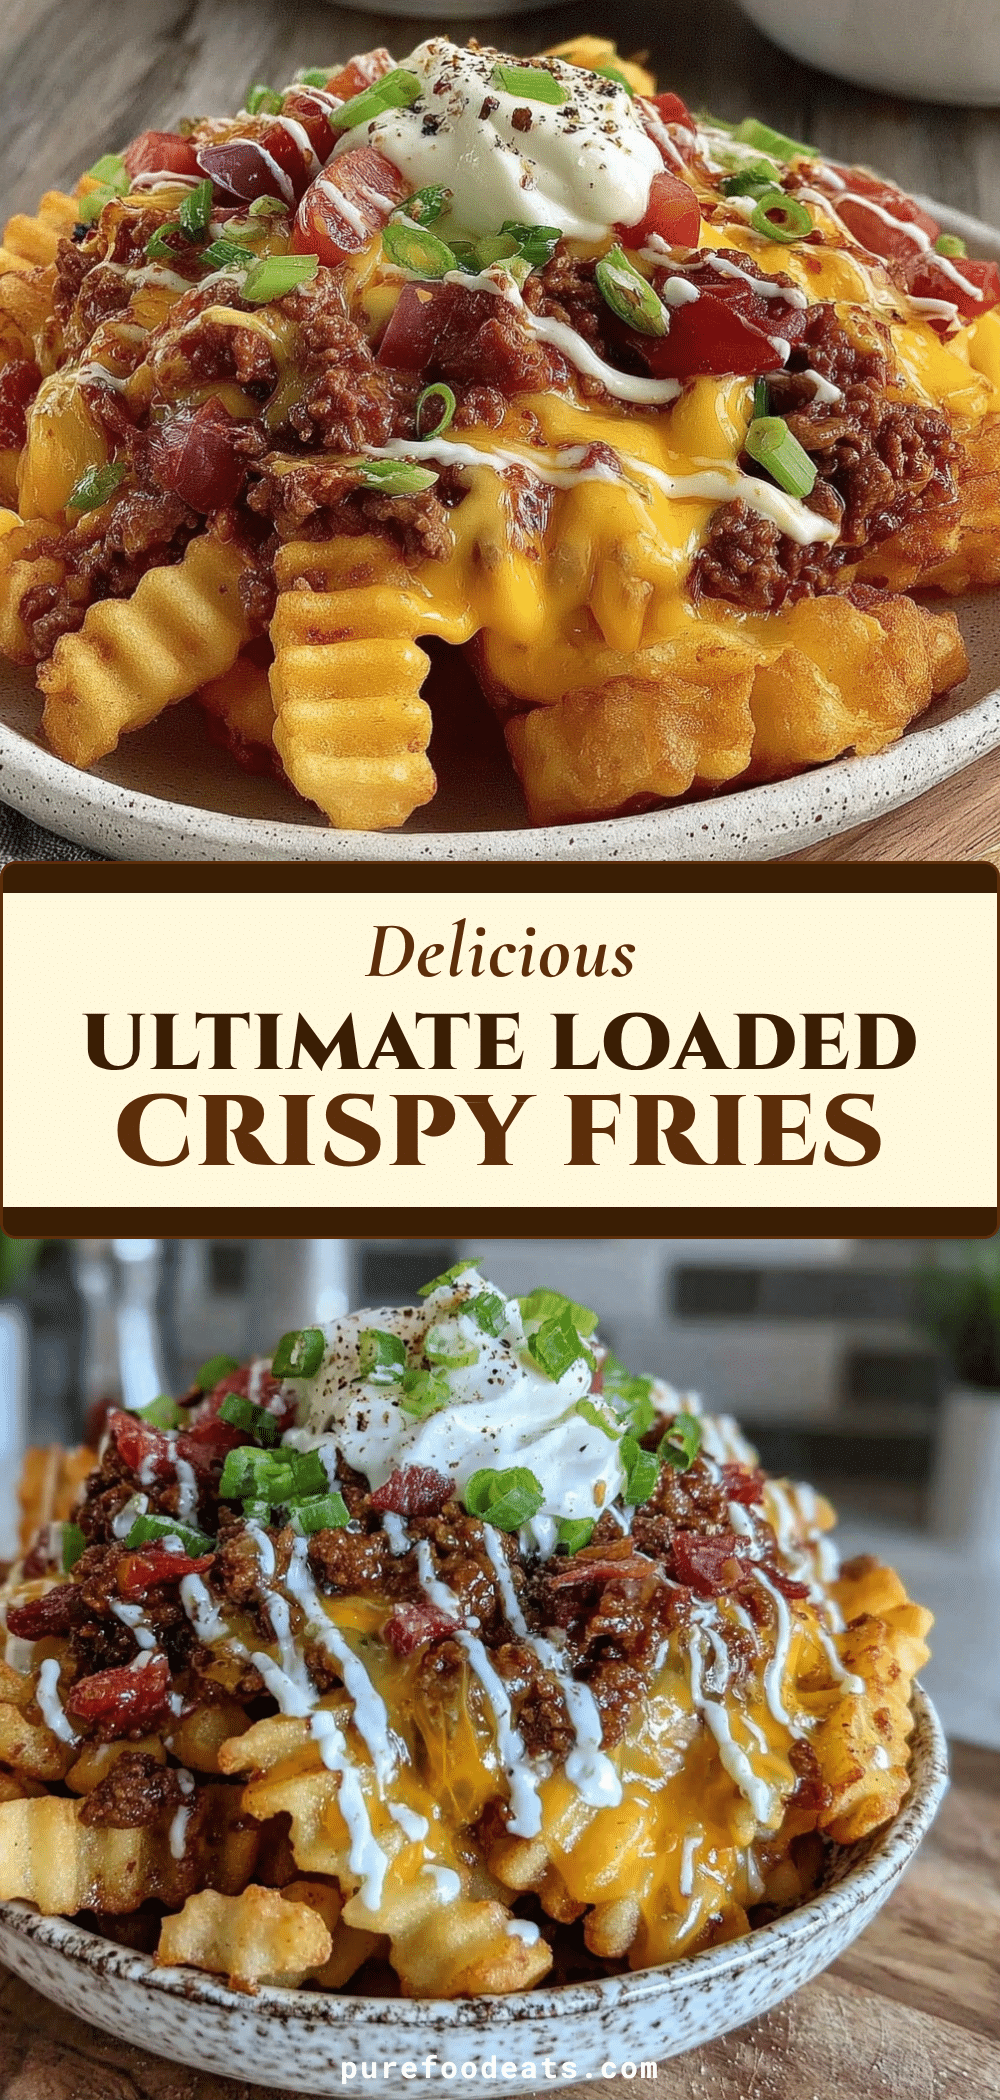

Loaded Crispy Fries: Best Easy Game Day Snack
- Total Time: 1 hour 15 minutes
- Yield: 4 servings
Description
These loaded crispy fries are the ultimate game day snack, featuring a double-fry technique for maximum crunch, topped with melted cheddar cheese, crispy bacon, and fresh green onions.
Ingredients
- Russet potatoes (large)
- Vegetable oil (for frying)
- Cornstarch
- Kosher salt
- Garlic powder
- Sharp cheddar cheese (freshly shredded)
- Thick-cut bacon
- Green onions (thinly sliced)
- Sour cream
- Chili flakes (optional)
Instructions
- Wash, peel, and cut potatoes into 1/4 inch strips. Soak in cold water for 30 minutes, then drain and pat completely dry.
- Heat vegetable oil to 325°F (160°C) in a Dutch oven. Fry half the potatoes for 4-5 minutes until soft and pale. Remove and drain on a wire rack. Repeat with remaining potatoes.
- Let fries cool completely. Increase oil temperature to 375°F (190°C).
- Fry the cooled potatoes in batches for 2-3 minutes until golden brown and crispy. Remove and drain on a wire rack.
- Immediately sprinkle hot fries with kosher salt and garlic powder.
- Preheat oven to 400°F (200°C). Spread fries in a single layer on a large baking sheet.
- Sprinkle shredded cheddar cheese evenly over the fries.
- Bake for 3-5 minutes until cheese is melted and bubbly.
- Remove from oven and top with crumbled bacon, sliced green onions, sour cream, and chili flakes.
- Serve immediately.
Notes
For best results, use a double-fry technique to ensure crispiness. Ensure potatoes are completely dry before frying to prevent splattering and ensure crunch. Use freshly shredded cheese to avoid anti-caking agents that prevent smooth melting. Store leftover fries in the fridge and re-crisp in the oven at 400°F before adding toppings.
- Prep Time: 45 minutes
- Cook Time: 30 minutes
- Category: Appetizer
- Cuisine: American
Nutrition
- Serving Size: 1 plate
- Calories: 650
- Sugar: 2
- Sodium: 850
- Fat: 42
- Saturated Fat: 18
- Carbohydrates: 55
- Fiber: 4
- Protein: 15
Keywords: loaded fries, game day snack, crispy fries, cheese fries, bacon fries, easy appetizer, comfort food, double fry technique