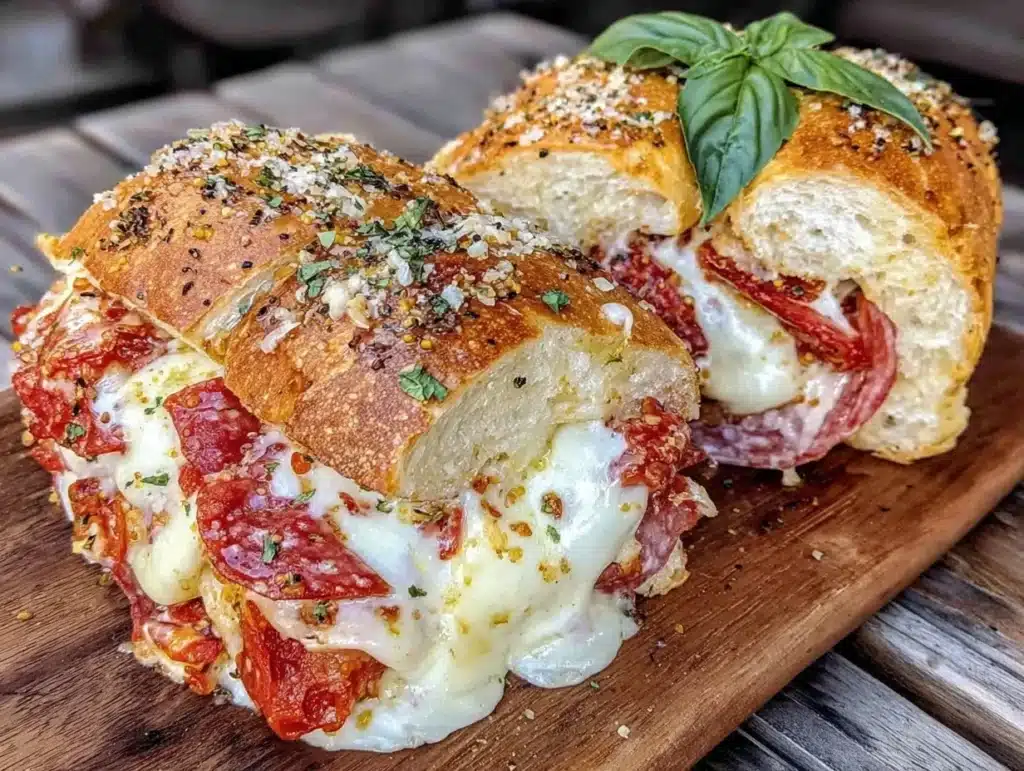
Let’s be honest for a second. There is nothing quite as satisfying as the smell of toasted bread and melted cheese wafting through your kitchen after a long day at work. I remember the first time I made a baked Italian grinder, it was a rainy Tuesday in November. I was exhausted, my kids were hanging off my legs, and I didn’t have the energy to chop vegetables or monitor a stove. I just wanted something warm, hearty, and undeniably delicious without the fuss of frying or boiling.
So, I grabbed a loaf of Italian bread, piled on the meats, cheeses, and veggies, and popped it in the oven. The result? Pure magic. The bread got crispy on the outside and soft on the inside, soaking up all those savory juices from the ham and salami. It felt like a gourmet sub sandwich, but way easier to eat and clean up. Since then, this baked Italian grinder has become my go-to weeknight lunch, especially when I need to feed a family of four on a budget.
What I love most about this recipe is how forgiving it is. You know how some recipes demand precision? This one doesn’t. It’s all about layering flavors and letting the oven do the heavy lifting. The combination of sharp provolone, tangy pepperoncini, and zesty Italian dressing creates a flavor profile that feels like a trip to your favorite sub shop. Plus, it’s perfect for using up leftover deli meats or veggies that are slowly wilting in the crisper drawer.
After making this over a dozen times, I’ve tweaked the ratios and found the sweet spot for maximum flavor and texture. It’s a recipe that brings comfort to the table without requiring you to put on your chef’s apron. Honestly, if you’re looking for a meal that feels indulgent but comes together in under twenty minutes of prep, you need to try this. It’s the kind of dish that makes everyone at the table happy, even the picky eaters who usually turn their noses up at “fancy” food.
Why You’ll Love This Recipe
I’ve tested this baked Italian grinder recipe with my family, my neighbors, and even my book club, and it consistently gets rave reviews. The secret isn’t just in the ingredients; it’s in the technique of baking the whole sandwich together. Here is why this specific version stands out from the crowd:
- Quick & Easy: You can have this on the table in less than 30 minutes. It’s perfect for busy weeknights when you’re racing against the clock but still want a hot, homemade meal.
- Simple Ingredients: You likely have most of these items in your fridge or pantry right now. Deli meats, bread, cheese, and a few veggies are staples in most households.
- Perfect for Meal Prep: This recipe scales up beautifully. You can make multiple loaves and freeze them for later, or just enjoy the leftovers cold the next day (which, let’s be honest, are amazing).
- Crowd-Pleaser: Kids love the cheese pull, and adults appreciate the robust flavors. It bridges the gap between a snack and a full meal effortlessly.
- Unbelievably Delicious: The texture contrast between the crispy, buttery bread and the tender, warm fillings is next-level comfort food. It’s savory, salty, and slightly tangy in all the right ways.
What makes this recipe different from a regular sub sandwich is the transformation that happens in the oven. The heat melts the cheeses into a gooey blanket and softens the raw onions and peppers just enough to sweeten them. It’s not just good; it’s the kind of meal that makes you close your eyes after the first bite. It’s comfort food reimagined—faster, easier, but with the same soul-soothing satisfaction as a sit-down lunch at your favorite deli.
I also love that it’s customizable. If you don’t like peppers, leave them out. If you want it spicier, add some jalapeños. This flexibility makes it a reliable workhorse in your recipe rotation. It’s perfect for impressing guests without stress, or turning a simple Tuesday night dinner into something memorable.
What Ingredients You Will Need
This recipe relies on high-quality, flavorful ingredients to deliver bold taste without the fuss. The key is balancing the salty meats with fresh veggies and a good cheese. Here is what you’ll need to build the perfect baked Italian grinder:
- Italian Loaf or Baguette: You need a sturdy bread that won’t get soggy immediately. A fresh 1.5-pound loaf is ideal. Look for one with a thick crust that can handle the heat. (I recommend a bakery-fresh loaf for the best texture.)
- Unsalted Butter, softened: This is crucial for brushing the bread. It adds richness and helps the herbs stick. (Adds richness and crispiness.)
- Garlic Powder & Dried Oregano: These dried herbs infuse the butter with classic Italian flavors. (Dried oregano is stronger than fresh, so use it sparingly.)
- Provolone Cheese, sliced: The star of the show. Provolone melts beautifully and has a sharp, tangy flavor that cuts through the richness of the meats. (Use medium or sharp provolone for more flavor.)
- Ham, sliced: I prefer thick-cut ham for substance. (Turkey ham works too for a lighter option.)
- Salami or Pepperoni, sliced: These cured meats add a spicy, salty kick. (Spicy salami adds a nice heat.)
- Genoa Salami or Mortadella: For variety, add a milder cured meat to balance the heat. (Mortadella is great for a milder profile.)
- Green Peppers, thinly sliced: They add a crisp texture and a slight bitterness. (Remove seeds for less heat.)
- Red Onion, thinly sliced: Adds sweetness and pungency. (Soak in water for 10 mins to reduce bite.)
- Pepperoncini Peppers: These tangy, mild peppers are essential for that authentic sub shop taste. (Don’t skip these! They provide the signature tang.)
- Italian Dressing: Use a high-quality vinaigrette. (Oil-based dressings work better than creamy ones here.)
- Mozzarella Cheese, shredded: Added for that stretchy, stringy cheese pull. (Low-moisture mozzarella melts better.)
If you want to substitute ingredients, you can swap the meats for roasted chicken or grilled veggies for a vegetarian version. For a gluten-free option, use a gluten-free Italian loaf, though the texture will be slightly different. I always recommend buying pre-sliced deli meats if you’re short on time, but slicing your own cheese can make a huge difference in how it melts.
What Kind of Bread Works Best?
The bread is the foundation of this dish. You want something with a sturdy crumb. A standard Italian loaf works well, but a baguette cut lengthwise is also fantastic. Avoid soft, sandwich-style white bread as it will turn into mush. A ciabatta roll can also be used for individual servings.
Equipment Needed
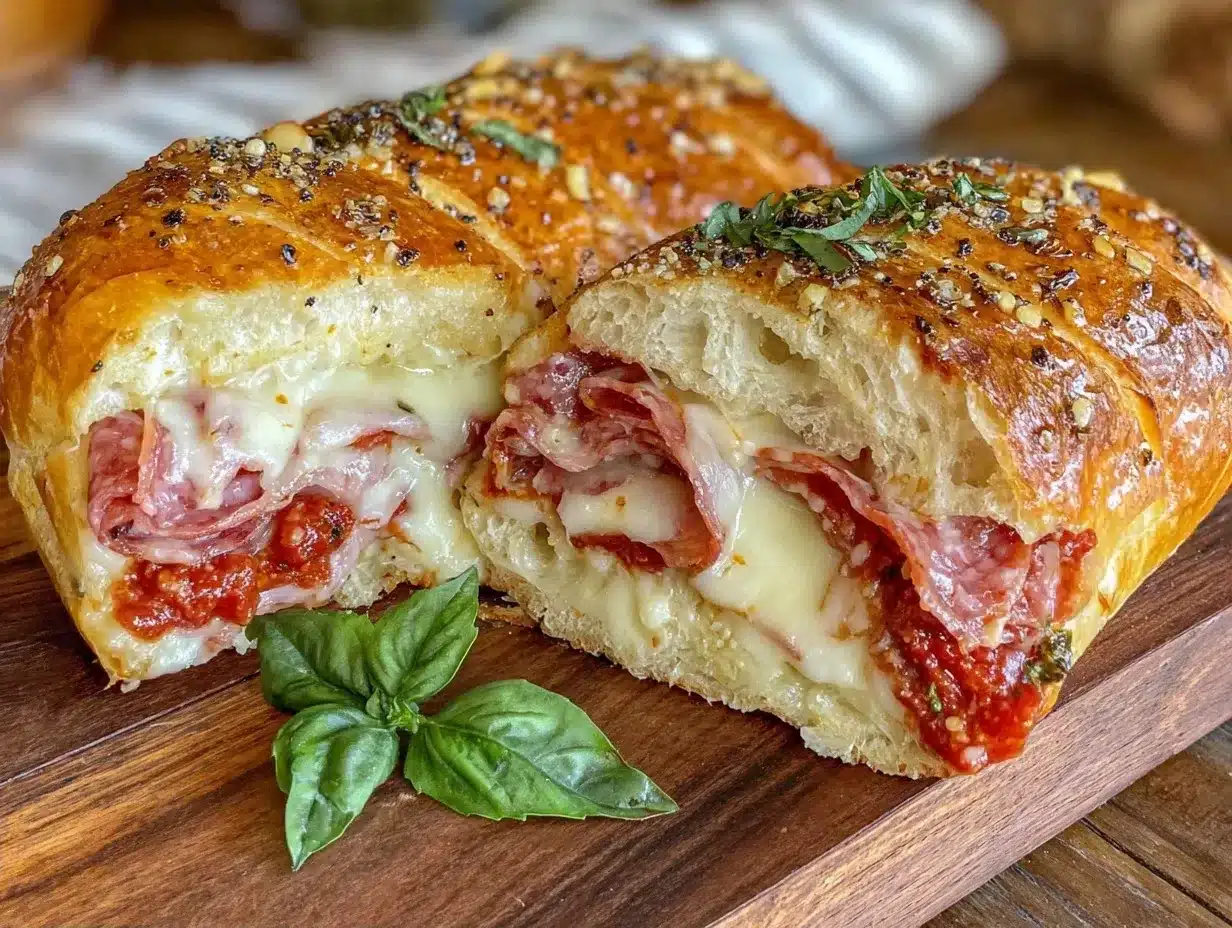
You don’t need any fancy gadgets to make this baked Italian grinder. Here is what you’ll need:
- Baking Sheet or Loaf Pan: A standard rimmed baking sheet works fine, but a loaf pan helps keep the sandwich together. I prefer a baking sheet for easier access to the crispy edges.
- Pastry Brush: Essential for evenly distributing the garlic butter. (A silicone brush is easier to clean.)
- Chef’s Knife: For slicing the bread and chopping veggies. (A serrated knife is better for the bread crust.)
- Small Mixing Bowl: For mixing the butter and herbs. (Any small bowl will do.)
- Aluminum Foil: To cover the sandwich during the initial baking phase to ensure the inside heats through without burning the top.
If you don’t have a pastry brush, you can use a spoon to spread the butter, but it won’t be as even. Also, make sure your baking sheet is large enough to hold the loaf without overhang, or use two sheets. For budget-friendly options, any standard aluminum baking sheet from a discount store works perfectly. Just avoid non-stick sheets if you want maximum crispiness, as bare metal browns better.
Preparation Method
- Preheat the Oven: Start by preheating your oven to 375°F (190°C). This ensures the oven is hot enough when the sandwich goes in, promoting immediate browning. (Time: 10 minutes)
- Prepare the Garlic Butter: In a small bowl, mix 1/4 cup of softened unsalted butter with 1 teaspoon of garlic powder and 1 teaspoon of dried oregano. Stir until well combined. The mixture should be fragrant and spreadable. (Time: 2 minutes)
- Prep the Bread: Slice the Italian loaf in half horizontally, but not all the way through. You want to create a hinge so it opens like a book. If your loaf is very large, you might want to slice it completely in half to make two smaller sandwiches. (Time: 2 minutes)
- Butter the Bread: Generously brush the cut sides of the bread with the garlic butter mixture. Make sure to get into all the nooks and crannies. This step is crucial for flavor and texture. (Time: 3 minutes)
- Layer the Meats: Start layering the deli meats on the bottom half of the bread. Fold or roll the slices slightly to add height. Use a mix of ham, salami, and mortadella. Pile it high! (Time: 3 minutes)
- Add the Veggies: Distribute the sliced green peppers, red onions, and pepperoncini peppers evenly over the meats. Don’t be shy with the peppers; they add a lot of flavor. (Time: 2 minutes)
- Cheese Time: Layer the provolone slices on top of the veggies. Then, sprinkle the shredded mozzarella over the top. The mozzarella will create that desirable stretch. (Time: 2 minutes)
- Drizzle with Dressing: Drizzle about 2-3 tablespoons of Italian dressing over the cheese. This adds moisture and tang. (Time: 1 minute)
- Close and Wrap: Carefully close the sandwich. If it’s too full, you might need to press down gently. Wrap the entire sandwich tightly in aluminum foil. This traps steam and helps the cheese melt evenly. (Time: 2 minutes)
- First Bake: Place the foil-wrapped sandwich on a baking sheet and bake for 15 minutes. This heats the fillings and melts the cheese. (Time: 15 minutes)
- Crisp Up: Remove the sandwich from the oven and carefully unwrap the foil. Brush the top with a little more butter if desired. Return to the oven, uncovered, for 5-7 minutes until the top is golden brown and crispy. (Time: 7 minutes)
- Rest and Serve: Let the sandwich rest for 5 minutes before slicing. This allows the cheese to set slightly, making it easier to cut. Slice into portions and serve immediately. (Time: 5 minutes)
Troubleshooting tip: If the top is browning too quickly, tent it loosely with foil. If the inside isn’t hot enough after 15 minutes, extend the covered baking time by 5 minutes.
Cooking Tips & Techniques
Over the years, I’ve learned a few tricks to make this baked Italian grinder even better. First, don’t skimp on the garlic butter. It’s the primary source of flavor for the bread. Second, if you like a spicier kick, add a pinch of red pepper flakes to the butter mixture. I learned this the hard way after making a mild version that my husband found “boring.”
Another common mistake is overcrowding the sandwich with wet ingredients. If your veggies are too wet, they can make the bread soggy. Pat the peppers and onions dry before adding them. Also, let the sandwich rest after baking. It’s tempting to cut into it immediately, but the cheese is molten lava and will spill out. Resting it for 5 minutes makes slicing much cleaner.
For multitasking, prep all your veggies while the oven is preheating. This way, everything is ready to go as soon as the butter is mixed. I also recommend using a serrated knife to slice the loaf, as it prevents crushing the bread. Consistency is key, so try to slice your veggies uniformly for even cooking and distribution.
Variations & Adaptations
One of the best things about this recipe is how adaptable it is. Here are a few variations I’ve tried:
- Spicy Italian: Add sliced jalapeños and use spicy salami. Drizzle with hot honey after baking for a sweet-heat combo.
- Veggie Lover’s: Skip the meats and add roasted zucchini, eggplant, and mushrooms. Use a garlic aioli instead of butter for extra richness.
- Chicken Parmesan Style: Use sliced breaded chicken cutlets instead of deli meats. Top with marinara sauce and mozzarella.
- Gluten-Free: Use a gluten-free Italian loaf. Note that GF bread can be more fragile, so handle with care.
I once made a version with turkey and swiss cheese for a lighter option, and it was still delicious. The key is to maintain the balance of salty, tangy, and creamy elements. Feel free to experiment with different cheeses like gouda or fontina for unique flavor profiles.
Serving & Storage Suggestions
This baked Italian grinder is best served hot and fresh. Pair it with a simple green salad or some potato chips for a complete meal. A glass of red wine or a cold soda complements the savory flavors well.
For storage, wrap leftovers tightly in plastic wrap or foil. They can be refrigerated for up to 3 days. To reheat, unwrap and bake at 350°F for 10-15 minutes until warmed through. You can also freeze the unbaked, assembled sandwich (wrapped tightly in foil) for up to 1 month. Thaw in the fridge overnight before baking.
The flavors actually improve after a day or two, as the bread has time to absorb the dressing and juices. However, the texture will be softer. For the best experience, aim to eat it fresh out of the oven.
Nutritional Information & Benefits
This recipe is relatively balanced, providing a good mix of protein from the meats and cheese, and carbs from the bread. Provolone is a good source of calcium and protein. Using leaner meats like turkey or chicken can reduce the saturated fat content. The veggies add fiber and vitamins, though the amount can vary based on how much you use.
For a lower-carb option, use a low-carb bread or wrap the fillings in large lettuce leaves. Be mindful of the sodium content in deli meats and choose low-sodium varieties if possible. Overall, it’s a satisfying meal that can fit into most dietary patterns with minor adjustments.
Conclusion
This baked Italian grinder is more than just a sandwich; it’s a solution to the nightly dinner dilemma. It’s easy, delicious, and brings everyone to the table. I love it because it feels like a treat but requires minimal effort. Give it a try and let me know how it turns out!
Feel free to customize it with your favorite ingredients. I’d love to hear your variations in the comments below. Don’t forget to share your photos on social media so I can see your creations. Happy baking!
Frequently Asked Questions
Can I use a different type of bread?
Yes, you can use baguettes, ciabatta rolls, or even French bread. Just ensure the bread is sturdy enough to hold the fillings without falling apart.
How do I prevent the bread from getting soggy?
Make sure to brush the bread with butter and create a barrier with cheese. Also, avoid adding too much wet dressing. Letting the sandwich rest after baking helps the structure set.
Can I make this ahead of time?
Yes, you can assemble the sandwich and wrap it tightly in foil. Refrigerate for up to 24 hours before baking. You may need to add a few minutes to the baking time.
What cheese is best for melting?
Provolone and mozzarella are excellent choices for melting. You can also add a slice of Swiss or cheddar for extra flavor.
Is this recipe kid-friendly?
Absolutely! Kids love the melted cheese and familiar flavors. You can omit the peppers or onions if your children are sensitive to strong tastes.
Pin This Recipe!
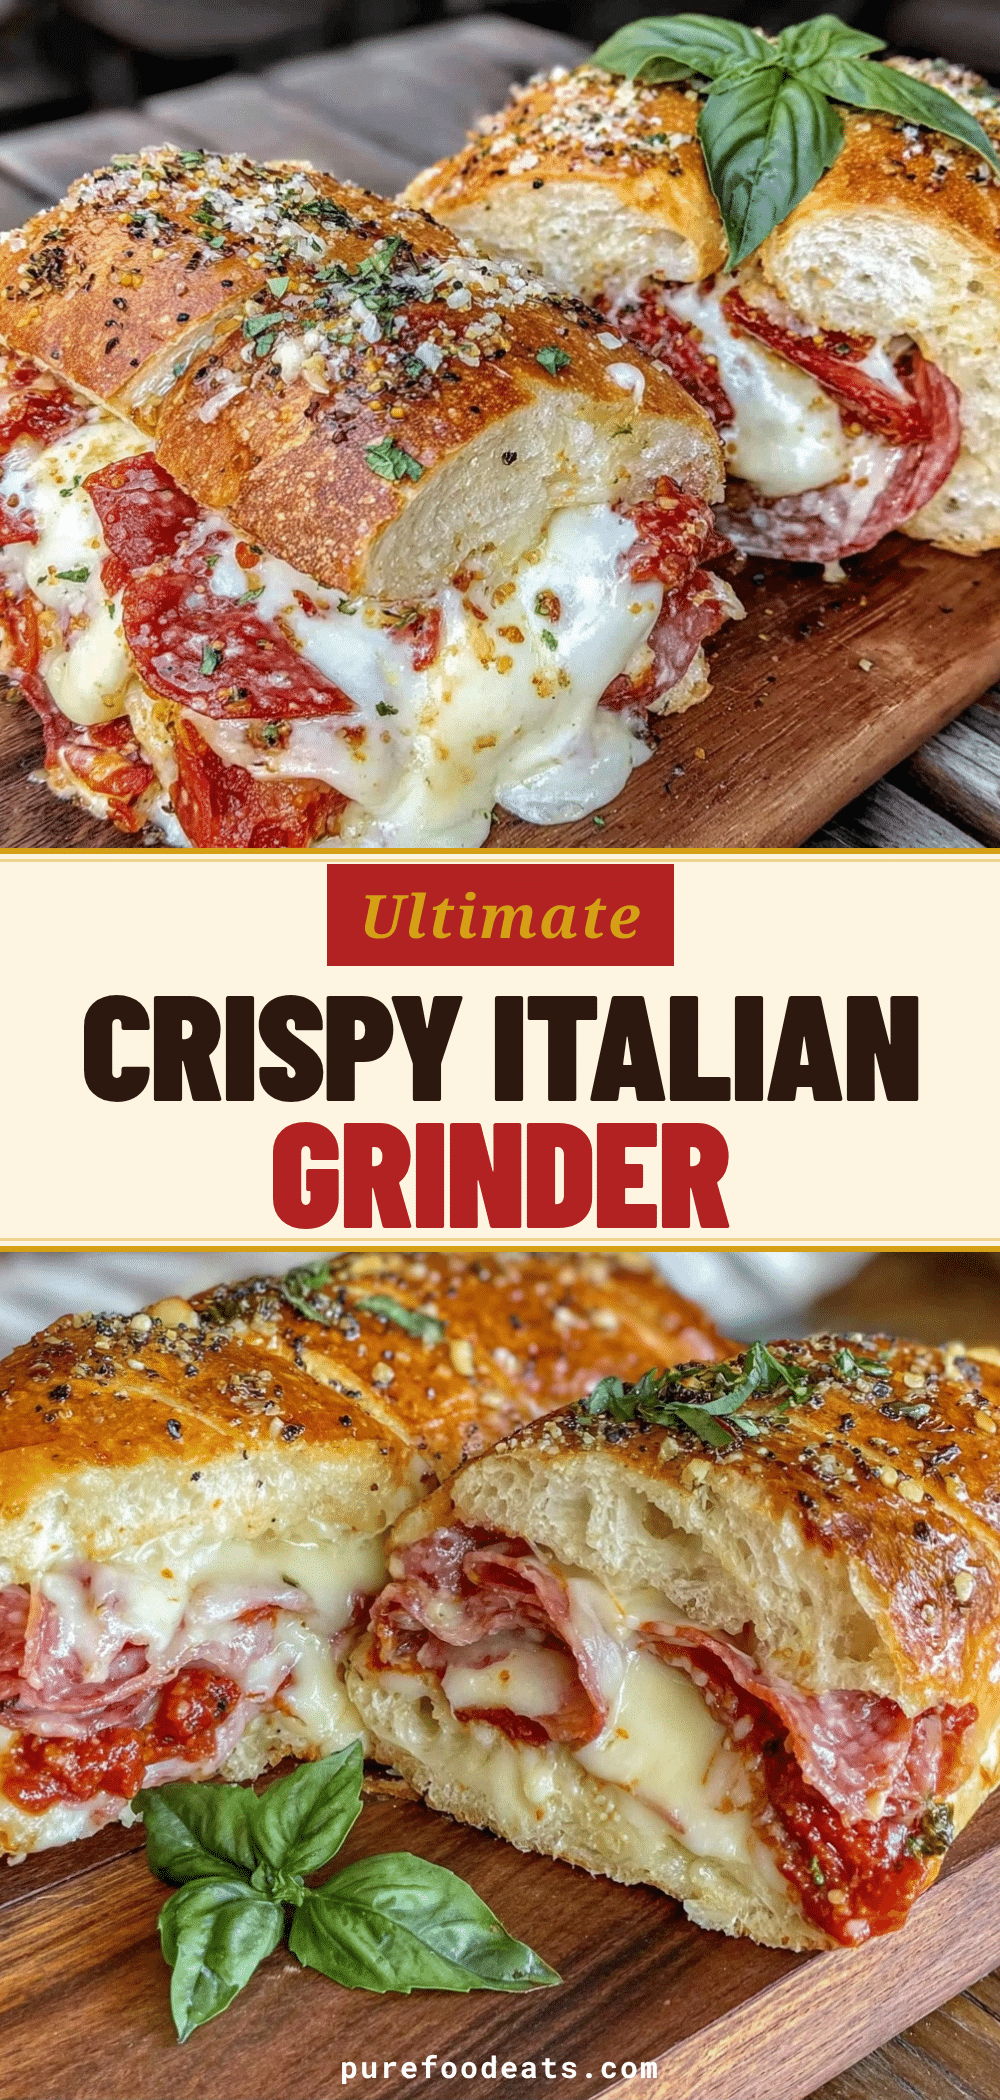

Baked Italian Grinder: Easy Weeknight Lunch Idea
- Total Time: 42 minutes
- Yield: 4 servings 1x
Description
A hearty, crispy baked sandwich featuring layers of deli meats, provolone and mozzarella cheeses, and fresh veggies on a sturdy Italian loaf, all brushed with garlic butter and baked to perfection.
Ingredients
- 1.5-pound Italian loaf or baguette
- 1/4 cup unsalted butter, softened
- 1 teaspoon garlic powder
- 1 teaspoon dried oregano
- Sliced provolone cheese (medium or sharp)
- Sliced ham (thick-cut preferred)
- Sliced salami or pepperoni
- Sliced Genoa salami or mortadella
- Green peppers, thinly sliced
- Red onion, thinly sliced
- Pepperoncini peppers
- 2–3 tablespoons Italian dressing
- Shredded mozzarella cheese (low-moisture)
Instructions
- Preheat oven to 375°F (190°C).
- In a small bowl, mix softened butter, garlic powder, and dried oregano until combined.
- Slice the Italian loaf in half horizontally, creating a hinge so it opens like a book.
- Generously brush the cut sides of the bread with the garlic butter mixture.
- Layer deli meats (ham, salami, mortadella) on the bottom half of the bread.
- Distribute sliced green peppers, red onions, and pepperoncini peppers over the meats.
- Layer provolone slices on top of the veggies, then sprinkle with shredded mozzarella.
- Drizzle Italian dressing over the cheese.
- Close the sandwich and wrap tightly in aluminum foil.
- Place on a baking sheet and bake for 15 minutes.
- Remove from oven, unwrap foil, and brush top with additional butter if desired.
- Return to oven uncovered for 5-7 minutes until golden brown and crispy.
- Let rest for 5 minutes before slicing and serving.
Notes
Pat veggies dry to prevent soggy bread. Let the sandwich rest for 5 minutes after baking to allow cheese to set. Can be frozen unbaked for up to 1 month. For a lighter option, use turkey ham and low-sodium meats.
- Prep Time: 20 minutes
- Cook Time: 22 minutes
- Category: Lunch
- Cuisine: Italian-American
Nutrition
- Serving Size: 1/4 of the loaf
- Calories: 650
- Sugar: 6
- Sodium: 1200
- Fat: 35
- Saturated Fat: 15
- Carbohydrates: 45
- Fiber: 3
- Protein: 30
Keywords: baked Italian grinder, weeknight lunch, easy sandwich recipe, Italian sub, comfort food, family dinner, quick meals