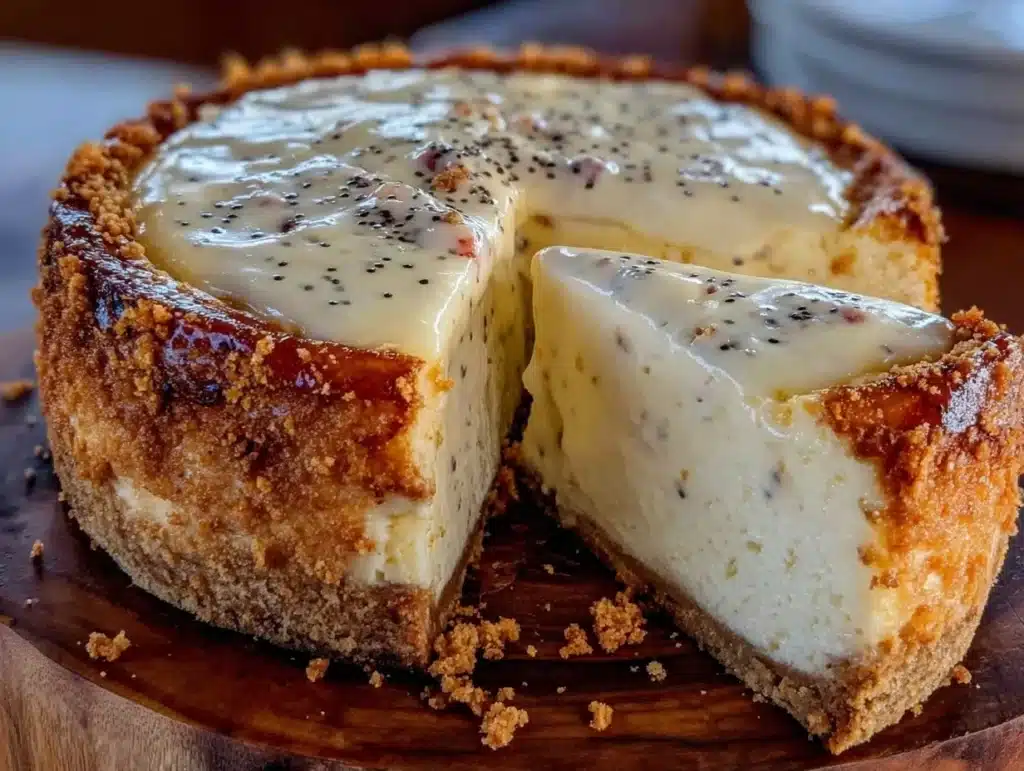
Let’s be honest, the holiday table is a battlefield of competing flavors. Between the savory roast, the sweet potatoes, and the cranberry sauce, there is often no room left for another heavy, dense dessert. That is exactly why I fell in love with this tender vanilla bean cheesecake. It doesn’t try to overpower the meal; instead, it gently finishes it.
I first made this specific version during a chaotic Christmas Eve dinner three years ago. I had burned the pie crusts and was scrambling for a no-bake alternative that still felt elegant. The result was so creamy and light that my picky uncle, who usually sticks to black coffee, asked for seconds. Since then, it has become the non-negotiable centerpiece of our holiday menu.
What makes this tender vanilla bean cheesecake for holidays special is its texture. Traditional cheesecakes can be dense and heavy, weighing you down after a large meal. This version uses a unique technique to keep it airy and smooth. It melts on the tongue, leaving only the warm, aromatic scent of real vanilla.
It is also incredibly easy to make ahead. You can prepare it two days before the big day, which takes a huge load off your shoulders when you are trying to coordinate everything else. It is perfect for impressing guests without the last-minute stress. Plus, the subtle sweetness pairs beautifully with strong coffee or tea, making it the ideal end to a festive dinner.
Why You’ll Love This Recipe
After testing dozens of cheesecake recipes, I can confidently say this one stands out. It is not just another dessert; it is a carefully balanced experience that respects your time and your taste buds. Here is why this recipe deserves a spot in your holiday rotation:
- Effortlessly Light: Unlike dense New York-style cheesecakes, this version is whipped to perfection. It feels almost like a mousse but holds its shape. It is perfect for those who want dessert without the heavy feeling.
- Pantry-Friendly Ingredients: You likely have most of these items in your kitchen already. No need for a special grocery run on the day before Christmas. The cream cheese, vanilla, and simple crust ingredients are staples for a reason.
- Make-Ahead Friendly: This recipe actually tastes better the next day. The flavors meld together in the fridge, making it the ultimate stress-free holiday dessert. You can make it days in advance.
- Elegant Yet Simple: It looks sophisticated on the table with just a dusting of powdered sugar or fresh berries. It requires no complex piping or advanced skills. Anyone can make this.
- Real Vanilla Flavor: By using actual vanilla bean paste or seeds, you get a depth of flavor that artificial extract simply cannot match. It tastes rich and expensive, but it is quite simple to prepare.
What truly sets this apart is the “tender” aspect. Many recipes fail because the crust gets soggy or the filling cracks. This method uses a water bath technique that ensures a crack-free surface every time. It is the kind of dessert that makes you close your eyes after the first bite. It is comfort food reimagined for the holidays—lighter, faster, but with that soul-soothing satisfaction you crave.
What Ingredients You Will Need
This recipe relies on high-quality, simple ingredients to deliver bold flavor. The magic happens in the ratio of cream cheese to sugar and the inclusion of real vanilla. Here is what you will need to gather before you start baking.
For the Crust
- Vanilla Wafer Cookies: About 2 cups of crushed cookies. I prefer Nabisco brand for their buttery taste. You can also use graham crackers if you prefer a slightly less sweet base.
- Unsalted Butter: 6 tablespoons, melted. This binds the crust together. Using unsalted allows you to control the saltiness of the final dessert.
- Granulated Sugar: 1 tablespoon. Just a touch to help caramelize the crust slightly and add a hint of sweetness.
- Pinch of Salt: This is crucial to balance the sweetness of the cookies and butter.
For the Tender Filling
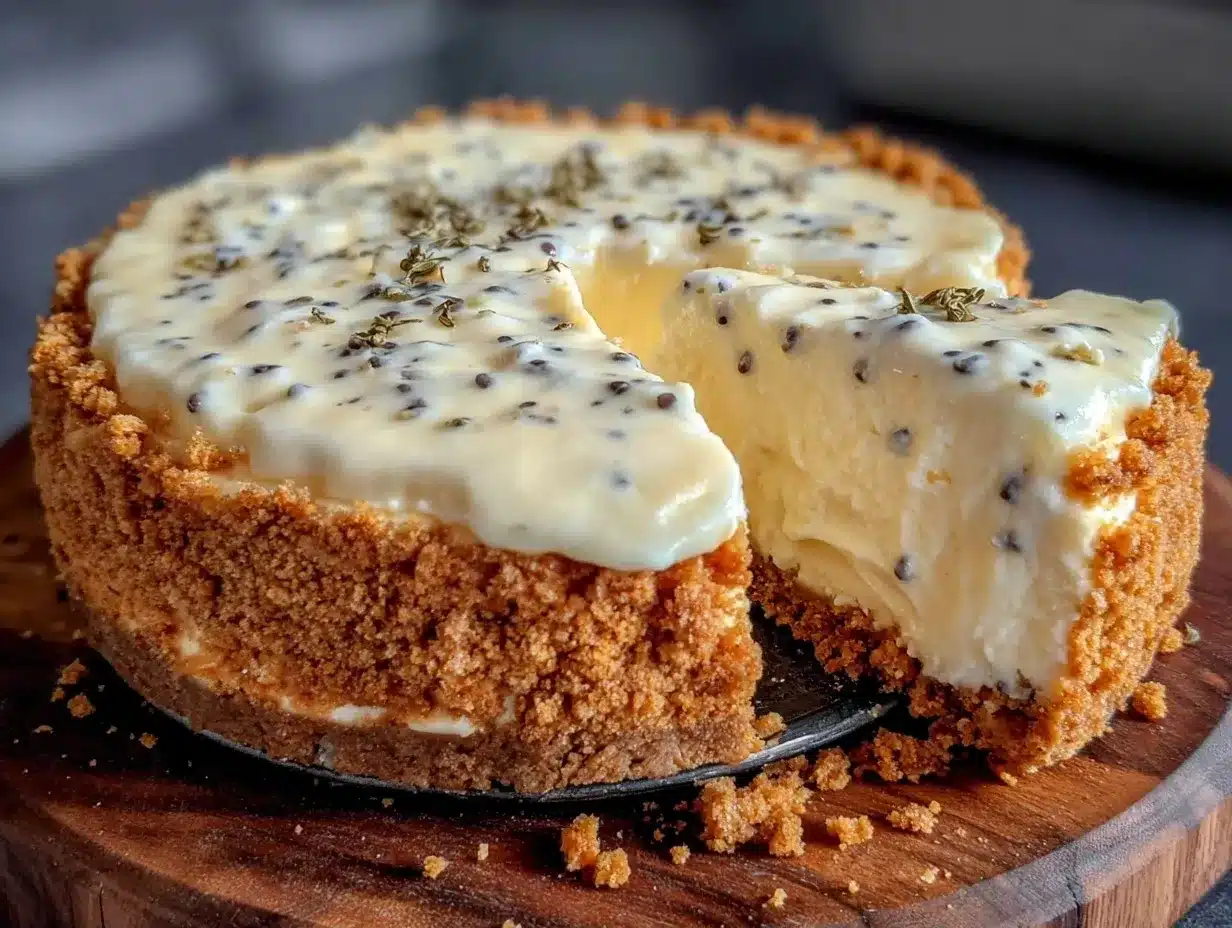
- Full-Fat Cream Cheese: 32 ounces (about 900g), softened to room temperature. This is the most important ingredient. Do not use low-fat versions as they will result in a grainy texture. Brands like Kraft or Philadelphia work well.
- Granulated Sugar: 1 cup (200g). This provides sweetness and helps with the structure. Do not reduce this significantly or the cheesecake will not set properly.
- Sour Cream: 1 cup (240g). This adds tanginess and moisture, ensuring the texture stays tender rather than dense. Use full-fat sour cream for best results.
- Heavy Cream: 1 cup (240ml), lightly whipped. This is the secret to the airy texture. It folds into the batter to lighten it up.
- Large Eggs: 4 large eggs, room temperature. Cold eggs can cause the batter to curdle, so let them sit out for an hour.
- Vanilla Bean Paste: 2 teaspoons (or seeds from 1 vanilla bean). This gives the beautiful speckled look and intense flavor. If you cannot find paste, use 1 tablespoon of high-quality extract.
- Cornstarch: 2 tablespoons. This stabilizes the filling and helps prevent cracking during baking.
For the Topping (Optional)
- Fresh Berries: Strawberries, raspberries, or blueberries. These add a fresh, acidic contrast to the rich cheesecake.
- Whipped Cream: Homemade or store-bought, for garnish.
Equipment Needed
You do not need fancy gadgets to make this dessert, but having the right tools will make your life much easier. Here is what you will need to have on hand.
- 9-Inch Springform Pan: This is essential for a cheesecake. It allows you to release the sides easily without damaging the delicate cake. Make sure it is in good condition so batter does not leak out.
- Stand Mixer or Hand Mixer: A mixer is highly recommended to ensure the cream cheese is smooth. Mixing by hand can be very tiring and may leave lumps.
- Large Roasting Pan: You will need this for the water bath. It should be large enough to hold the springform pan with room for water to circulate.
- Aluminum Foil: Heavy-duty foil is best. You will wrap the bottom of the springform pan to keep water out during the bath.
- Instant-Read Thermometer: This is optional but helpful. It ensures you do not overbake the cheesecake. The center should reach 150°F (65°C).
- Spatula: A silicone spatula is great for folding in the whipped cream without deflating it.
If you do not have a springform pan, you can bake this in a regular cake pan, but removing it will be more difficult. You may need to invert it onto a plate. Also, ensure your mixer bowls are clean and grease-free, as any fat can prevent the cream cheese from whipping smoothly.
Preparation Method
Follow these steps carefully to achieve that perfect, tender texture. The process is straightforward, but attention to detail is key.
- Prepare the Pan: Preheat your oven to 325°F (165°C). Take your 9-inch springform pan and wrap the bottom and sides tightly with heavy-duty aluminum foil. This is critical to prevent water from seeping into the cake during the water bath. Grease the inside of the pan lightly with butter or cooking spray.
- Make the Crust: Crush the vanilla wafers into fine crumbs. You can use a food processor or place them in a zip-top bag and crush them with a rolling pin. Mix the crumbs with the melted butter, sugar, and salt. Press this mixture firmly into the bottom of the prepared pan. Use the bottom of a glass to compact it evenly. Place the crust in the refrigerator while you make the filling.
- Beat the Cream Cheese: In a large mixing bowl, beat the softened cream cheese on medium-low speed until it is completely smooth and creamy. This may take 2-3 minutes. Scrape down the sides of the bowl with a spatula. Do not skip this step, as lumps will ruin the texture.
- Add Sugar and Stabilizers: Add the granulated sugar and cornstarch to the cream cheese. Beat on low speed until combined. Scrape the bowl again to ensure everything is incorporated.
- Incorporate Eggs and Vanilla: Add the eggs one at a time, beating on low speed just until blended. Overmixing at this stage can incorporate too much air, which causes cracking. Stir in the vanilla bean paste or extract until the mixture is uniform and speckled.
- Fold in Sour Cream and Heavy Cream: Add the sour cream and gently mix until smooth. In a separate bowl, whip the heavy cream until soft peaks form. Gently fold the whipped cream into the cheesecake batter using a spatula. Do this in two additions to keep the batter light and airy.
- Prepare the Water Bath: Place the foil-wrapped springform pan into the large roasting pan. Pour hot water from the kettle into the roasting pan until it reaches about one inch up the side of the springform pan. Be careful not to splash water into the cake.
- Bake: Carefully transfer the roasting pan to the oven. Bake for 55-65 minutes. The edges should be set, but the center should still jiggle slightly like Jell-O when you gently shake the pan. It will continue to set as it cools.
- Cool Gradually: Turn off the oven and crack the door open slightly. Let the cheesecake sit in the oven for one hour. This gradual cooling prevents cracking. Then, remove it from the water bath and let it cool completely on a wire rack.
- Chill: Once cool, cover the pan with plastic wrap and refrigerate for at least 6 hours, preferably overnight. This step is non-negotiable for the best texture.
Why Does My Cheesecake Crack?
Cracking usually happens due to overmixing or sudden temperature changes. By beating the eggs on low speed and cooling the cake gradually in the oven, you minimize this risk. If you do see small cracks, they are often unnoticeable once you add the topping.
Cooking Tips & Techniques
Having baked this tender vanilla bean cheesecake for holidays many times, I have learned a few tricks that make a huge difference. Here are some professional tips to ensure success.
Room Temperature is Key: Your cream cheese and eggs must be at room temperature. Cold ingredients create lumps that are impossible to mix out completely. If you forgot to take them out, place the cream cheese blocks in warm water for 10 minutes.
Do Not Overmix: Once you add the eggs, mix on the lowest speed possible. Overmixing incorporates air bubbles into the batter. These bubbles expand in the oven and then collapse, causing cracks. You want a dense, smooth batter, not a fluffy one.
The Water Bath Technique: This is the secret to a creamy texture. The steam from the water bath keeps the oven environment humid, which prevents the surface from drying out and cracking. If you are worried about leaks, use a double layer of foil.
Listen to the Oven: Every oven is different. Start checking the cheesecake at 50 minutes. It is done when the edges are firm but the center 2 inches still have a slight wobble. It should not look wet or jiggly like liquid, just soft.
Patience Pays Off: I know it is tempting to cut into it as soon as it is cool. But the flavor develops and the texture sets properly only after a long chill in the fridge. Rushing this step will result in a messy slice. Trust the process.
Variations & Adaptations
While the classic vanilla bean version is my favorite, this recipe is very adaptable. Here are a few ways to customize it for different tastes or dietary needs.
Chocolate Swirl: Melt 4 ounces of semi-sweet chocolate and drizzle it over the batter before baking. Use a knife to swirl it into the batter for a marbled effect. This adds a rich contrast to the vanilla.
Strawberry Vanilla: Puree 1 cup of fresh strawberries and mix them into the batter. This adds a natural sweetness and beautiful pink color. It pairs wonderfully with the holiday season.
Gluten-Free Option: Simply swap the vanilla wafers for gluten-free vanilla cookies or gluten-free graham crackers. Ensure your vanilla bean paste is certified gluten-free if you have celiac disease.
Lemon Zest: Add the zest of one lemon to the batter for a brighter, more citrusy flavor. This cuts through the richness of the cream cheese and is refreshing after a heavy meal.
Mineral Water Substitute: If you want a slightly lighter texture, you can substitute half of the heavy cream with whipped mineral water. This adds air without adding fat, though the flavor will be more subtle.
Serving & Storage Suggestions
This dessert is best served chilled. It holds its shape well when sliced, making it easy to serve to a crowd. Here is how to present and store it.
Presentation: Dust the top with powdered sugar using a fine-mesh sieve for an elegant look. Add fresh berries and a sprig of mint or rosemary for a pop of color. The contrast of red berries against the white cake looks stunning on a holiday table.
Serving Size: This recipe yields 12-16 slices. Given its richness, a small slice is usually sufficient. Serve it with a dollop of whipped cream and a cup of strong black coffee or Earl Grey tea.
Storage: Store leftovers in the refrigerator, covered tightly with plastic wrap or in an airtight container. It will keep well for up to 5 days. The flavor actually improves after the second day.
Freezing: You can freeze this cheesecake. Wrap the entire pan (or individual slices) tightly in plastic wrap and then aluminum foil. It can be frozen for up to 2 months. Thaw it overnight in the refrigerator before serving. Note that the texture may become slightly softer after freezing, but it will still taste delicious.
Reheating: Do not reheat this cheesecake. It is best enjoyed cold. If you prefer a softer texture, let it sit at room temperature for 15 minutes before serving.
Nutritional Information & Benefits
While this is a dessert, understanding its nutritional profile can help you plan your holiday meals. Each slice (assuming 12 servings) contains approximately 450 calories.
The primary ingredients are cream cheese and eggs, which provide protein and calcium. The use of real vanilla bean adds antioxidants. However, it is high in saturated fat due to the cream cheese and butter. Enjoy it as a special treat rather than an everyday snack.
For those watching their sugar intake, you can reduce the sugar in the crust and filling by 25% without significantly affecting the texture. Using a sugar substitute like erythritol is also an option, though it may alter the browning of the crust.
This recipe is not gluten-free by default, but it can be easily adapted. It is dairy-free only if you substitute the cream cheese and butter with vegan alternatives, though the texture will be different.
Conclusion
Making a tender vanilla bean cheesecake for holidays does not have to be intimidating. With the right technique and a few simple ingredients, you can create a dessert that is elegant, delicious, and stress-free. It is the perfect way to end a festive meal, leaving your guests with a sweet memory.
I encourage you to try this recipe and make it your own. Add your favorite berries or a hint of liqueur if you wish. The beauty of baking is in the personal touch. Share your results with friends and family, and let me know how it turned out in the comments below.
This dessert has become a staple in my home for good reason. It is reliable, beautiful, and absolutely delicious. I hope it brings joy to your holiday table as much as it has to mine. Happy baking!
Frequently Asked Questions
Can I make this cheesecake without a water bath?
Yes, you can bake it without a water bath, but the texture may be slightly denser and more prone to cracking. If you skip the water bath, bake at a lower temperature (300°F) and check it frequently to avoid overcooking.
Why is my cheesecake runny in the middle?
If the center is liquid, it may need more baking time. However, a slight jiggle is normal. If it is completely runny like soup, you may have undercooked it. Remember that it will continue to set as it cools in the fridge.
Can I use Greek yogurt instead of sour cream?
Yes, you can substitute Greek yogurt for sour cream. It will add a similar tang and moisture. Use full-fat Greek yogurt for the best texture and richness.
How long do I need to chill the cheesecake?
For the best results, chill the cheesecake for at least 6 hours. Overnight is ideal. This allows the flavors to meld and the structure to firm up completely for clean slicing.
Can I freeze this cheesecake?
Absolutely. Wrap it tightly in plastic and foil, and it will last in the freezer for up to 2 months. Thaw it in the refrigerator before serving. The texture may soften slightly but will remain delicious.
Pin This Recipe!
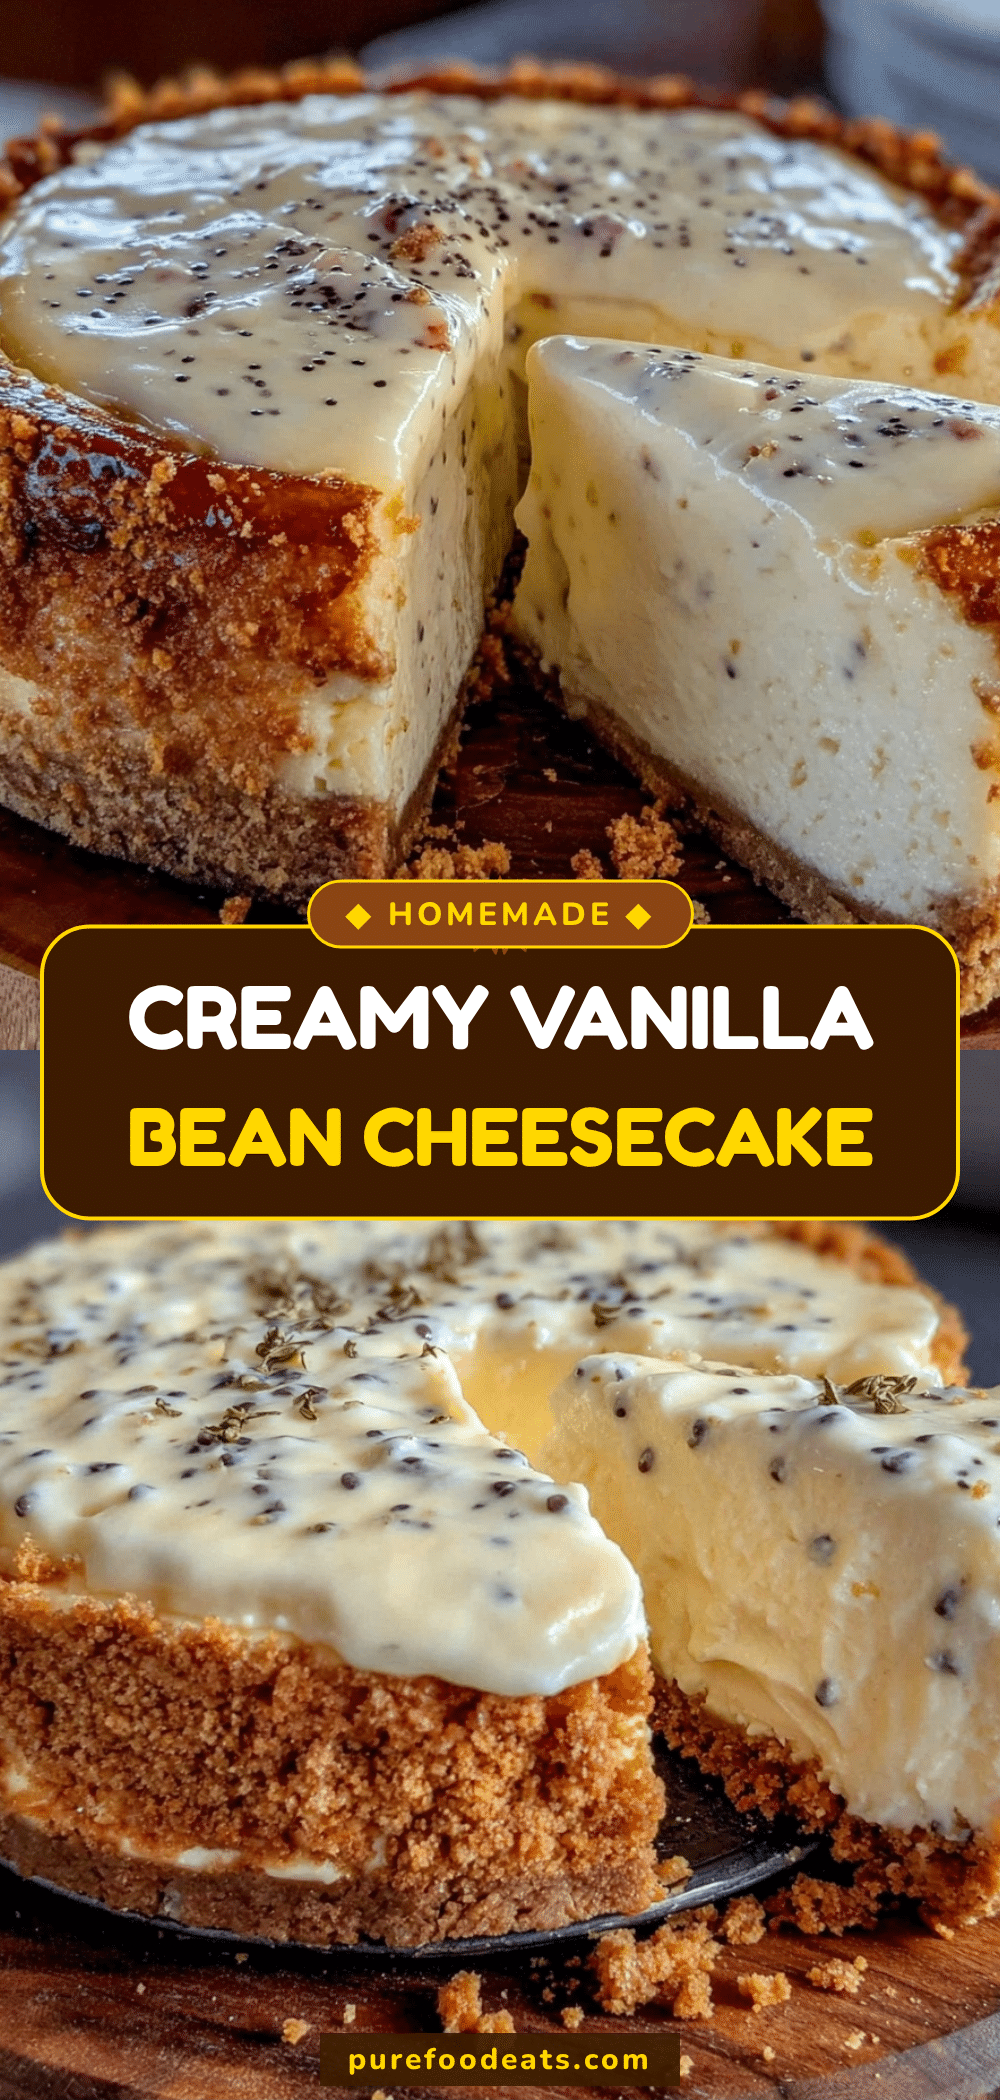

Tender Vanilla Bean Cheesecake: Best Holiday Dessert
- Total Time: 95 minutes
- Yield: 12 servings 1x
Description
A light, airy, and tender vanilla bean cheesecake that is perfect for holiday meals. This recipe uses a water bath technique to ensure a crack-free surface and a mousse-like texture that isn’t too heavy after a large dinner.
Ingredients
- 2 cups crushed vanilla wafer cookies (such as Nabisco)
- 6 tablespoons unsalted butter, melted
- 1 tablespoon granulated sugar
- Pinch of salt
- 32 ounces (about 900g) full-fat cream cheese, softened to room temperature
- 1 cup (200g) granulated sugar
- 1 cup (240g) full-fat sour cream
- 1 cup (240ml) heavy cream, lightly whipped
- 4 large eggs, room temperature
- 2 teaspoons vanilla bean paste (or seeds from 1 vanilla bean)
- 2 tablespoons cornstarch
- Optional: Fresh berries and whipped cream for topping
Instructions
- Preheat oven to 325°F (165°C). Wrap the bottom and sides of a 9-inch springform pan tightly with heavy-duty aluminum foil to prevent water leakage. Lightly grease the inside of the pan.
- Crush vanilla wafers into fine crumbs. Mix with melted butter, 1 tablespoon sugar, and a pinch of salt. Press firmly into the bottom of the prepared pan. Refrigerate while making the filling.
- In a large mixing bowl, beat softened cream cheese on medium-low speed until smooth and creamy (2-3 minutes). Scrape down the sides of the bowl.
- Add 1 cup granulated sugar and cornstarch. Beat on low speed until combined. Scrape the bowl again.
- Add eggs one at a time, beating on low speed just until blended. Do not overmix. Stir in vanilla bean paste until uniform.
- Add sour cream and mix until smooth. In a separate bowl, whip heavy cream to soft peaks. Gently fold the whipped cream into the batter in two additions.
- Place the foil-wrapped springform pan into a large roasting pan. Pour hot water into the roasting pan until it reaches about one inch up the side of the springform pan.
- Carefully transfer to the oven and bake for 55-65 minutes. The edges should be set, but the center should jiggle slightly like Jell-O.
- Turn off the oven and crack the door open slightly. Let the cheesecake sit in the oven for one hour to cool gradually.
- Remove from the water bath and let cool completely on a wire rack.
- Cover with plastic wrap and refrigerate for at least 6 hours, preferably overnight, before serving.
Notes
Ensure all dairy ingredients (cream cheese, eggs, sour cream) are at room temperature to prevent lumps. Do not overmix after adding eggs to avoid incorporating air, which causes cracking. The water bath is crucial for a creamy texture and preventing cracks. The cheesecake tastes better the next day as flavors meld.
- Prep Time: 30 minutes
- Cook Time: 65 minutes
- Category: Dessert
- Cuisine: American
Nutrition
- Serving Size: 1 slice
- Calories: 450
- Sugar: 20
- Sodium: 250
- Fat: 35
- Saturated Fat: 20
- Carbohydrates: 25
- Protein: 6
Keywords: vanilla bean cheesecake, holiday dessert, tender cheesecake, no bake alternative, water bath cheesecake, easy holiday baking