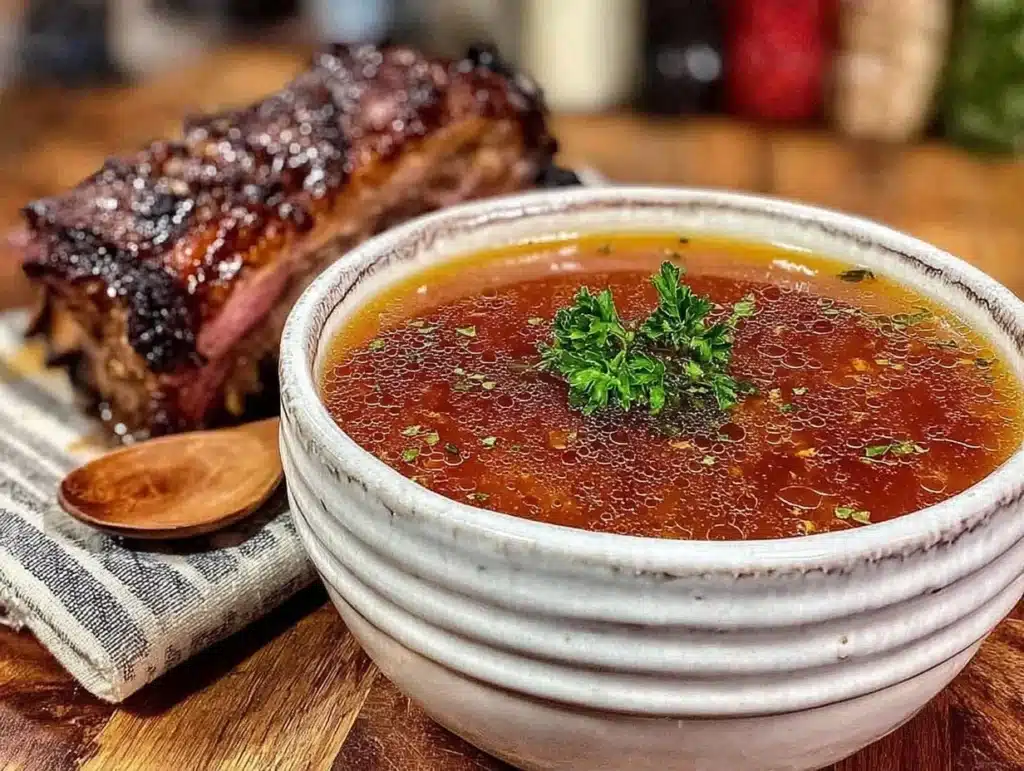
The smell of rich beef bone broth simmering for 24 hours is the kind of comfort that fills your entire house with warmth. I remember the first time I made it, I was skeptical about the time investment. But honestly, the deep, savory aroma that greeted me that morning was worth every second of waiting. It’s not just soup; it’s liquid gold for your gut health and overall wellness.
After testing this recipe over a dozen times, I’ve perfected the balance of minerals and flavor. As someone who prioritizes clean eating, I found that store-bought versions often lack depth or contain too much sodium. This homemade version is pure, nutrient-dense, and incredibly easy to manage in a slow cooker. You know how hard it is to find time for cooking? This recipe does the heavy lifting while you sleep.
I’ve shared this rich beef bone broth with friends who were worried about the effort. They were surprised by how simple the prep is. You just chop, dump, and wait. The result is a gelatinous, flavorful broth that supports joint health and digestion. It’s become a staple in my weekly meal prep routine. If you want to feel nourished from the inside out, this is the recipe to try.
Why You’ll Love This Recipe
Making broth from scratch might seem like a chore, but once you taste the difference, you’ll never go back. This isn’t just another soup recipe; it’s a foundational element of healthy cooking. I’ve spent years experimenting with different bones and acids to get the perfect extraction of collagen. Here is why this specific slow cooker method stands out:
- Effortless Preparation: You spend about 15 minutes prep time, and the slow cooker handles the rest. It’s perfect for busy weeknights or lazy weekends.
- Pantry Staples: You likely already have vinegar, onions, and carrots in your kitchen. No fancy grocery trips are needed to start this process.
- Ultimate Comfort: The deep, roasted flavor profile makes it feel like a hug in a mug. It’s soothing for cold days or when you’re feeling under the weather.
- Health Benefits: Packed with collagen, glycine, and minerals, it supports gut lining repair and joint mobility. It’s a natural immune booster.
- Crowd-Pleaser: Even picky eaters enjoy it when served warm with a pinch of salt. It’s versatile enough for soups, stews, or sipping alone.
- Flavor Depth: Roasting the bones first creates a Maillard reaction that adds a complexity you can’t get from raw bones alone.
This recipe is different because of the roasting step. Many people skip it, but it adds a rich, nutty undertone that elevates the final product. It’s the kind of broth that makes you close your eyes after the first sip. It’s comfort food reimagined for modern health needs. You get all the satisfaction of a slow-simmered stock without the constant monitoring.
What Ingredients You Will Need
Getting the right ingredients is crucial for a rich, gelatinous broth. You want high-quality bones that have been cooked properly to release their nutrients. Here is what you’ll need to make this batch, along with some tips on selection.
- Beef Knuckle or Marrow Bones (3-4 lbs): These provide the collagen and marrow. I recommend buying from a local butcher who can roast them for you if you don’t have time. (Adds richness)
- Beef Feet or Oxtail (1 lb): These are high in collagen, which helps the broth set into a jelly. (Essential for texture)
- Apple Cider Vinegar (2 tbsp): The acid helps draw minerals out of the bones. Use an organic brand like Bragg. (Crucial for extraction)
- Onions (2 large, quartered): Adds savory depth. You can leave the skins on for extra color. (Flavor base)
- Carrots (3 large, chopped): Provides a subtle sweetness. (Vegetable base)
- Celery Stalks (4 stalks, chopped): Adds earthy notes. (Vegetable base)
- Garlic Cloves (6 cloves, smashed): Enhances the aromatic profile. (Aromatic)
- Bay Leaves (2 leaves): Adds a subtle herbal note. (Herb)
- Black Peppercorns (1 tbsp): Adds a gentle heat. (Spice)
- Fresh Parsley (1 bunch, stems included): Adds freshness. (Garnish/Herb)
- Water (Approx. 1.5 gallons): Use filtered water to ensure purity. (Liquid base)
I always look for pasture-raised bones when possible. The flavor is noticeably better, and the nutrient profile is superior. If you can’t find beef feet, knuckles work well, but feet give that incredible gelatinous texture. For the vinegar, make sure it’s unfiltered to get the “mother” for extra benefits. These simple choices make a huge difference in the final quality of your rich beef bone broth.
Equipment Needed
You don’t need fancy tools to make great broth. A large slow cooker is the star of the show here. I use a 6-quart model, but if you have a larger family, a 7-quart or bigger is better to ensure you have enough headspace. Make sure your slow cooker is in good condition with a tight-fitting lid to prevent evaporation.
A large roasting pan is also essential for browning the bones. A cast-iron skillet works well if you don’t have a roasting pan. You’ll need a sharp knife for chopping vegetables and a colander for straining. I recommend using a fine-mesh sieve or cheesecloth for the final straining to get a crystal-clear broth. For storage, glass mason jars are best because they don’t retain odors like plastic might.
If your slow cooker doesn’t have a “low” setting, you might need to adjust the time. Low and slow is key for extracting collagen without breaking down the proteins too much. Keep your equipment clean and dry to prevent any off-flavors. A good ladle makes serving much easier, so don’t underestimate its value.
Preparation Method
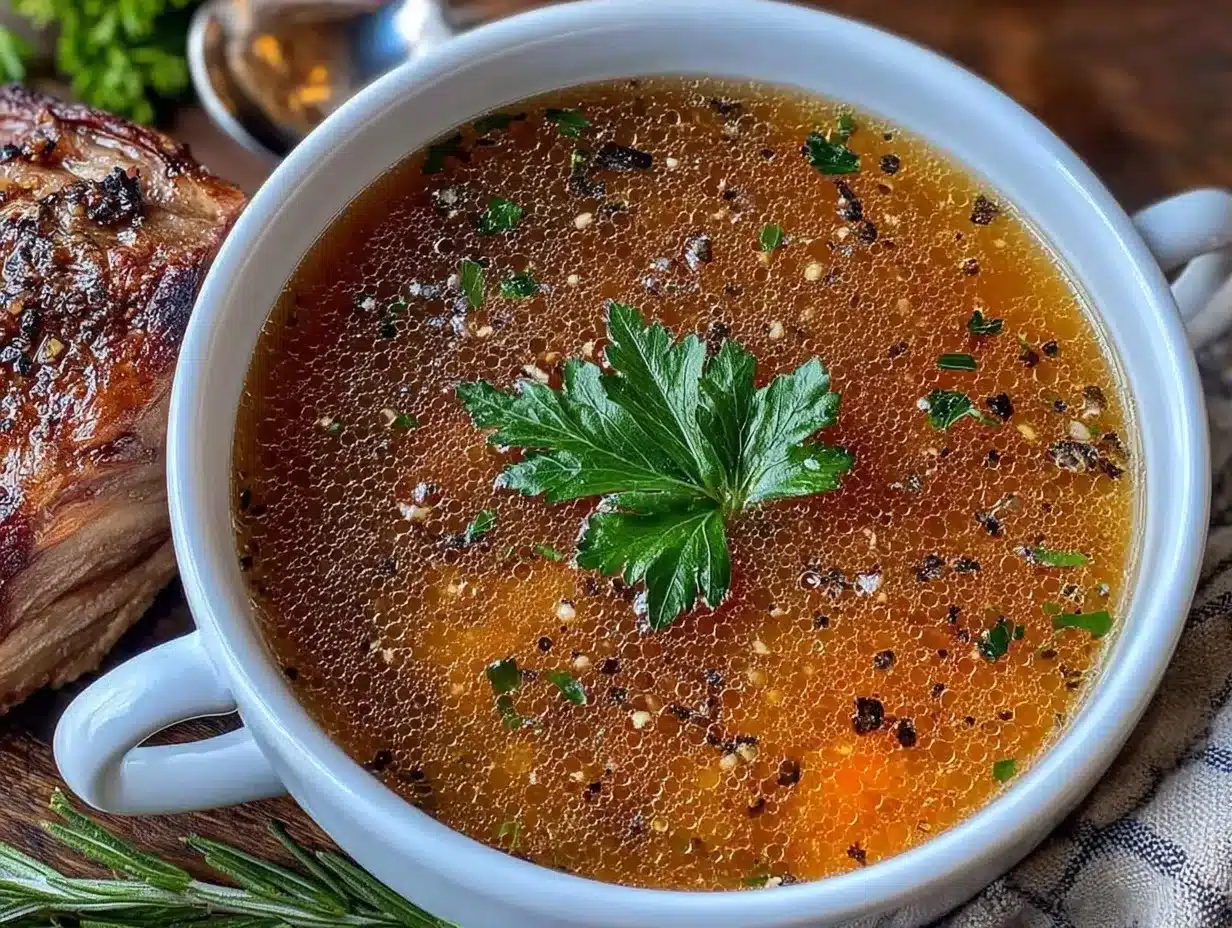
Let’s walk through the steps to make this rich beef bone broth. It’s straightforward, but attention to detail matters.
- Roast the Bones (30 minutes): Preheat your oven to 400°F (200°C). Place the beef bones on a large roasting pan. Roast for 20-30 minutes until deeply browned. This step is non-negotiable for flavor. Flip them halfway through to ensure even browning. (Time: 30 mins)
- Chop Vegetables (10 minutes): While bones roast, chop onions, carrots, and celery. You don’t need them uniform, just roughly chopped. Smash the garlic cloves with the side of your knife. (Time: 10 mins)
- Sauté Aromatics (5 minutes): Once bones are done, remove them from the oven. In the same pan, add the vegetables and sauté for 5 minutes. This deglazes the pan and caramelizes the veggies slightly. (Time: 5 mins)
- Transfer to Slow Cooker (5 minutes): Place the roasted bones and vegetables into your slow cooker. Add the apple cider vinegar, bay leaves, peppercorns, and parsley stems. (Time: 5 mins)
- Add Water (5 minutes): Pour in enough filtered water to cover the bones by about an inch. Leave some headspace at the top. Stir gently to mix the vinegar. (Time: 5 mins)
- Cook on Low (18-24 hours): Cover the slow cooker and set it to low. Do not cook on high, as it won’t extract enough collagen. Let it simmer gently for 18 to 24 hours. The longer it cooks, the richer it gets. (Time: 18-24 hours)
- Strain the Broth (10 minutes): Carefully remove the large bones and vegetables. Use a large slotted spoon. Then, strain the liquid through a fine-mesh sieve or cheesecloth into a large bowl. Discard the solids. (Time: 10 mins)
- Chill and Skim (Overnight): Let the broth cool to room temperature. Then, refrigerate it overnight. The fat will solidify on top, making it easy to remove. This step clarifies the broth and improves texture. (Time: 8-12 hours)
- Store or Freeze (5 minutes): Scoop off the hardened fat layer. Pour the clear broth into jars or freezer bags. Label with the date. It keeps in the fridge for 5 days or freezer for 6 months. (Time: 5 mins)
Pay attention to the color during roasting. If they burn, it will taste bitter. You want a deep mahogany brown. When straining, be gentle to avoid breaking up any small bone fragments that might have slipped through. The final product should be golden and clear.
How to Get the Best Results
One common mistake is rushing the roasting process. If the bones aren’t browned enough, the broth will look pale and taste flat. Another issue is overcrowding the slow cooker. Give the bones space so the heat circulates properly. Also, don’t skip the vinegar. It’s the key to unlocking the minerals in the bones.
I’ve learned that multitasking is key here. While the broth simmers, you can prep other meals. The slow cooker is hands-off, so it’s perfect for busy schedules. If you notice a lot of foam forming, skim it off occasionally. It’s mostly impurities and doesn’t affect flavor much, but it helps with clarity.
For consistency, use the same type of bones each time. Once you find your favorite ratio, stick with it. Also, taste the broth before salting. It might be salty if you use stock cubes later, so season at the end. Keep your slow cooker lid on as much as possible to retain heat and moisture.
Variations & Adaptations
This recipe is very flexible. You can tweak it to suit your dietary needs or flavor preferences. Here are some ideas I’ve tried:
- Herb-Infused: Add thyme, rosemary, or sage during the last 4 hours of cooking. It adds a lovely aromatic quality.
- Spicy Version: Throw in a chopped jalapeño or a dash of cayenne pepper. Great for digestive health and warmth.
- Vegetarian Twist: Swap beef bones for roasted mushroom stems and soy sauce. It mimics the umami flavor beautifully.
- Low-Sodium: Skip adding salt entirely during cooking. You can always add it when serving. This is good for those watching sodium intake.
- Quick Pressure Cooker: Use an Instant Pot on high pressure for 2 hours. It’s faster but yields less collagen. Adjust water levels accordingly.
I often add a splash of coconut aminos for a touch of sweetness in winter. It complements the beef flavor well. For a lighter version, use fewer marrow bones and more knuckles. These small changes keep the recipe exciting and prevent boredom.
Serving & Storage Suggestions
Serve this broth hot in a ceramic mug. It’s perfect as a morning ritual or an evening wind-down. Pair it with a slice of sourdough bread for dipping. You can also use it as a base for soups, risottos, or grain bowls.
For storage, let it cool completely before refrigerating. It will keep for up to 5 days in the fridge. In the freezer, it lasts for 6 months. I like to freeze it in ice cube trays for easy portioning in sauces. When reheating, do so gently on the stove. Microwave heating can sometimes alter the texture, so stovetop is best.
The flavors deepen over time. If you make it a few days before serving, it might taste even better. Always check for off-smells before consuming. If it smells sour, discard it. Proper storage ensures safety and quality.
Nutritional Information & Benefits
One cup of this broth contains approximately 10-20 calories, depending on the fat content. It’s virtually fat-free if you skim the top. It’s rich in collagen, which supports skin elasticity and joint health. The glycine content aids in sleep and detoxification. It’s also a good source of minerals like calcium and magnesium.
This broth is gluten-free, dairy-free, and paleo-friendly. It’s suitable for most dietary plans. It’s gentle on the stomach, making it great for those with digestive issues. I enjoy it for its ability to nourish the gut lining. It’s a simple way to boost your nutrient intake daily.
Conclusion
Making rich beef bone broth in a slow cooker is a game-changer for home cooks. It’s easy, healthy, and incredibly rewarding. I hope you try this recipe and experience the benefits yourself. Feel free to adjust the ingredients to your taste. I’d love to hear how it turns out for you!
Leave a comment below with your tips or variations. Share this post with friends who love healthy eating. Thank you for joining me in this culinary journey. Here’s to your health and happiness!
Frequently Asked Questions
Can I use raw bones instead of roasted?
Yes, you can, but the flavor won’t be as deep. Roasting adds a nutty, savory note that is hard to replicate with raw bones. If you’re short on time, raw bones work, but roasted is preferred.
How do I know when the broth is done?
The broth is done when it has a rich, dark color and a gelatinous texture when chilled. The bones should be soft and easily crumble. If it’s thin after chilling, cook it longer.
Can I add salt during cooking?
It’s best to wait until serving. Salt can make the broth cloudy and might make it too salty if you reduce it later. Season to taste when you’re ready to eat.
How long does it last in the fridge?
It lasts up to 5 days in the refrigerator. Make sure it’s in an airtight container. If it smells sour or looks slimy, throw it out.
Can I freeze this broth?
Absolutely. Freeze it in jars or bags for up to 6 months. Leave some headspace in jars to allow for expansion. It thaws quickly in the fridge.
Pin This Recipe!


Rich Beef Bone Broth: Easy Slow Cooker Recipe
- Total Time: 18-24 hours
- Yield: Approximately 1.5 gallons 1x
Description
A nutrient-dense, gelatinous beef bone broth made in a slow cooker with roasted bones and vegetables. This recipe supports gut health, joint mobility, and overall wellness with minimal effort.
Ingredients
- 3–4 lbs Beef Knuckle or Marrow Bones
- 1 lb Beef Feet or Oxtail
- 2 tbsp Apple Cider Vinegar
- 2 large Onions, quartered
- 3 large Carrots, chopped
- 4 Celery Stalks, chopped
- 6 Garlic Cloves, smashed
- 2 Bay Leaves
- 1 tbsp Black Peppercorns
- 1 bunch Fresh Parsley, stems included
- Approx. 1.5 gallons Filtered Water
Instructions
- Preheat oven to 400°F (200°C). Place beef bones on a large roasting pan and roast for 20-30 minutes until deeply browned, flipping halfway through.
- While bones roast, roughly chop onions, carrots, and celery. Smash garlic cloves.
- Remove bones from oven. In the same pan, sauté vegetables for 5 minutes to deglaze and caramelize slightly.
- Transfer roasted bones and vegetables to a slow cooker. Add apple cider vinegar, bay leaves, peppercorns, and parsley stems.
- Pour in filtered water to cover bones by about an inch. Stir gently to mix.
- Cover and cook on Low for 18-24 hours. Do not cook on High.
- Remove large bones and vegetables with a slotted spoon. Strain liquid through a fine-mesh sieve or cheesecloth into a large bowl, discarding solids.
- Let broth cool to room temperature, then refrigerate overnight. The fat will solidify on top.
- Scoop off hardened fat layer. Pour clear broth into jars or freezer bags. Label with date.
Notes
Roasting the bones is non-negotiable for deep flavor. Use unfiltered apple cider vinegar for extra benefits. Skim foam occasionally during cooking. Do not add salt during cooking to prevent cloudiness; season to taste when serving. Ensure slow cooker lid is tight to prevent evaporation.
- Prep Time: 15 minutes
- Cook Time: 18-24 hours
- Category: Soup
- Cuisine: American
Nutrition
- Serving Size: 1 cup
- Calories: 15
- Sugar: 0.5
- Sodium: 10
- Fat: 0.5
- Saturated Fat: 0.2
- Carbohydrates: 1
- Protein: 2
Keywords: beef bone broth, slow cooker recipe, gut health, collagen, paleo, gluten-free, dairy-free, homemade broth, joint health, wellness