Let’s be honest for a second. There is nothing quite as terrifying as that 1 PM hunger pang that hits like a freight train. You know the one. Your stomach starts growling so loud you’re convinced your colleagues can hear it over the keyboard clicks. For years, my solution was a sad, soggy sandwich from the office vending machine or a sad desk salad that left me hungrier than before.
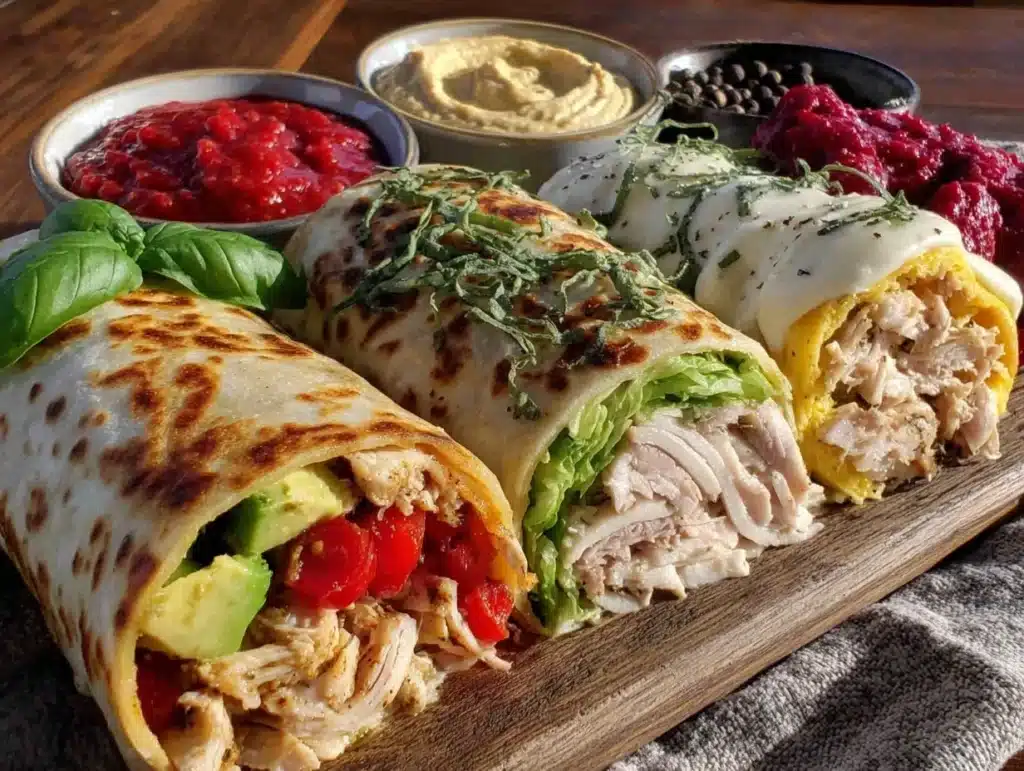
I first realized I needed a change when I tried to stick to a new protein-focused routine. I was exhausted, cranky, and constantly reaching for sugary snacks just to stay awake. That’s when I stumbled upon the idea of protein-packed lunch wraps. Honestly, it started as a desperate experiment with leftover rotisserie chicken and some random veggies in the crisper drawer. But the result? It was a game-changer.
These wraps aren’t just food; they are the habit that makes healthy the default. No more frantic decision-making at noon. No more regretting your choices. Just a simple, satisfying meal that fuels you through the afternoon slump. If you’re a busy parent, a corporate worker, or someone who just wants to feel good in their body without spending hours in the kitchen, this is your answer.
I’ve tested this recipe over a dozen times, tweaking the fillings and tortilla types to find the perfect balance. It’s high in protein, low in mess, and incredibly versatile. Let’s face it, life is complicated enough. Your lunch shouldn’t be. These wraps give you that comfort food feel while keeping your energy stable and your cravings in check. It’s not about restriction; it’s about nourishment that actually tastes good.
Why You’ll Love This Recipe
After spending years trying different meal prep strategies, I’ve learned that consistency is key. And consistency is impossible when your lunch is boring or messy. This recipe works because it solves three major problems: time, taste, and energy levels. It’s not just another salad in a container that gets soggy by 2 PM. It’s a structured, flavorful meal that holds up beautifully.
- Quick & Easy Prep: You can assemble five of these wraps in under 20 minutes. That’s less time than it takes to scroll through social media. Perfect for busy Sunday mornings or even a quick weekday lunch break.
- Simple Ingredients: You likely have most of these items in your kitchen right now. No fancy grocery trips needed. Just fresh veggies, a good protein source, and a flavorful spread.
- Perfect for Meal Prep: These wraps stay fresh in the fridge for up to four days. They don’t get mushy if you wrap them correctly, which is a huge win for texture lovers.
- Crowd-Pleaser: Whether you’re packing lunch for a picky eater or impressing colleagues, these get rave reviews. The combination of crunch and creaminess is just next-level comfort food.
- Unbelievably Delicious: The texture and flavor combo hits all the right notes. It’s savory, fresh, and satisfying without feeling heavy or lethargic.
What makes this recipe different from the rest is the emphasis on moisture control. Most people fail at meal prepping wraps because the tortilla gets soggy. I’ve cracked the code with a simple barrier layer and smart ingredient placement. This isn’t just a version of a wrap; it’s the best version I’ve ever made. It’s the kind of meal that makes you close your eyes after the first bite. It’s comfort food reimagined—healthier, faster, but with the same soul-soothing satisfaction. It’s perfect for impressing guests without stress, or turning a simple meal into something memorable.
What Ingredients You Will Need
This recipe uses simple, wholesome ingredients to deliver bold flavor and satisfying texture without the fuss. The beauty here is in the balance. You want a good mix of fiber, protein, and healthy fats to keep you full. I recommend using high-quality, small-curd cottage cheese or Greek yogurt for the base, as it blends smoother and tastes less cheesy. Look for firm, fresh vegetables to ensure that crunch lasts through the week.
For the Wraps
- Large whole wheat or spinach tortillas: (6-inch or 8-inch depending on appetite) – I prefer whole wheat for the extra fiber, but spinach adds a nice color and subtle flavor.
- Hummus or mashed avocado: (2 tablespoons per wrap) – This acts as the moisture barrier. I recommend Sabah Hummus for its creamy texture and clean ingredient list.
For the Filling
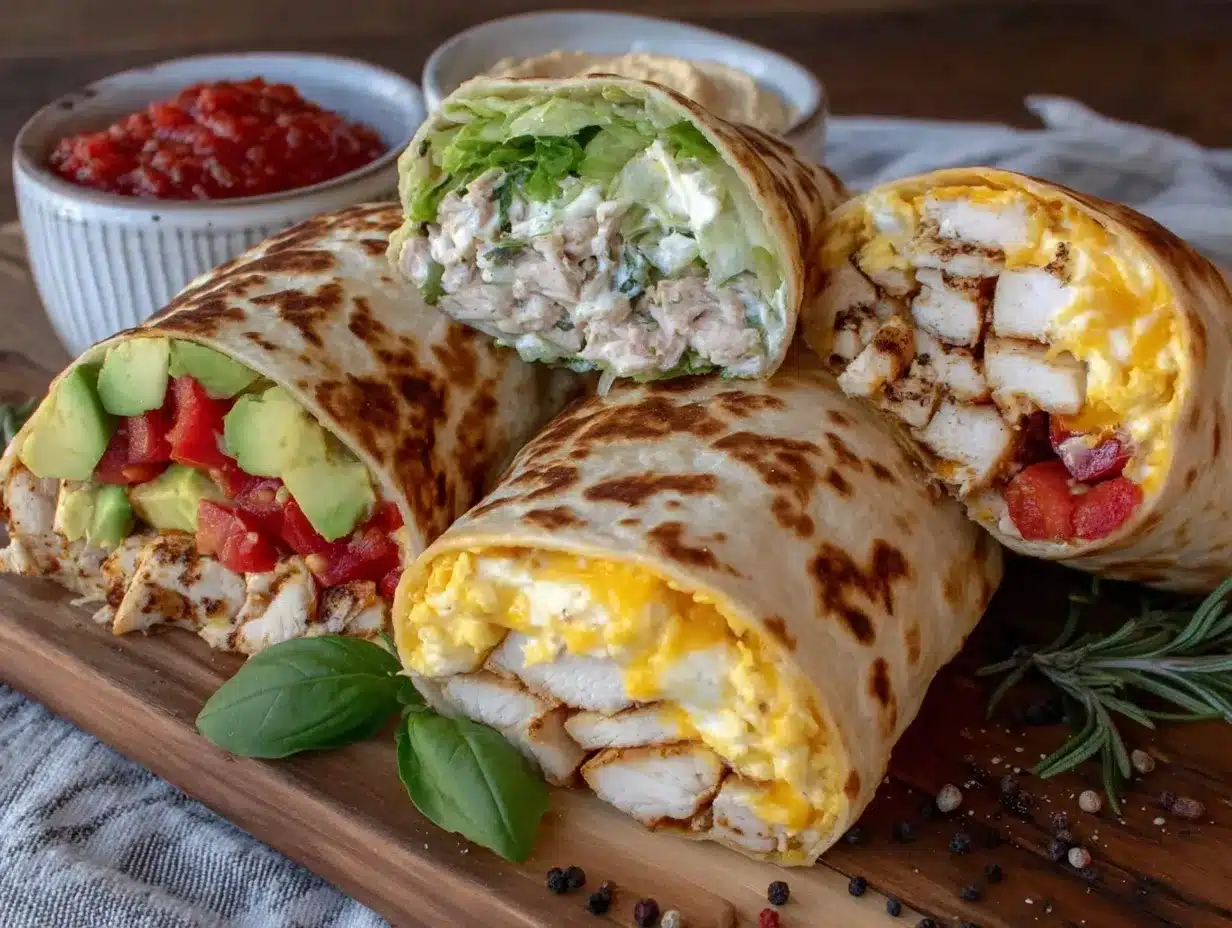
- Grilled chicken breast or turkey breast: (4 oz per wrap) – You can use rotisserie chicken for speed, or grill fresh for better flavor. Low-sodium is best for meal prep.
- Shredded carrots: (1/4 cup) – Adds natural sweetness and crunch. Pre-shredded saves time.
- Sliced cucumbers: (2 tablespoons) – Use English cucumbers as they have fewer seeds and less water, preventing sogginess.
- Red onion: (1 tablespoon, thinly sliced) – Adds a sharp kick. Soak in cold water for 5 minutes if you want to mellow the flavor.
- Feta cheese or goat cheese: (1 tablespoon, crumbled) – Adds a salty, tangy punch. Use dairy-free alternatives if needed.
- Fresh spinach or arugula: (1 handful) – Arugula holds up better in the fridge than delicate spinach.
For the Dressing
- Lemon juice: (1 teaspoon) – Freshly squeezed is best.
- Extra virgin olive oil: (1 teaspoon) – Adds healthy fats.
- Dried oregano: (1/4 teaspoon) – For that classic Mediterranean flavor.
- Salt and black pepper: To taste.
For seasonal variations, swap in roasted red peppers in the winter or fresh strawberries in the spring for a unique twist. If you’re gluten-free, use cassava flour tortillas or large lettuce leaves like butter lettuce. These substitutions are easy and keep the recipe accessible for everyone.
Equipment Needed
You don’t need a fancy kitchen to make these. A few basic tools will get you through this meal prep session in no time. First, you’ll need a large cutting board. I prefer wood because it’s gentle on my knives and doesn’t slip around as much. A sharp chef’s knife is essential for even slicing of the chicken and veggies.
A mixing bowl is needed for tossing the filling ingredients. A medium-sized stainless steel bowl works well. You’ll also need a spatula or spoon for spreading the hummus or avocado evenly on the tortillas. For storage, airtight containers or heavy-duty resealable bags are your best friends. I recommend using rigid plastic containers if you have the fridge space, as they protect the wraps from getting crushed. If you’re on a budget, reusable silicone bags are a great eco-friendly alternative. Just make sure they are clean and dry before storing your wraps.
Preparation Method
Let’s get into the nitty-gritty of making these wraps. The key is efficiency. We want to get everything prepped and assembled quickly so you can spend more time relaxing and less time in the kitchen. Here is exactly how I do it.
- Prepare the Protein (10 minutes): If you are using raw chicken breasts, season them with salt, pepper, and a little paprika. Cook them in a skillet over medium-high heat for about 6-7 minutes per side, or until the internal temperature reaches 165°F (74°C). Let them rest for 5 minutes before slicing. This rest period is crucial for retaining juices. If using rotisserie chicken, just shred it with two forks. Slice or shred the meat into bite-sized pieces.
- Prep the Vegetables (5 minutes): While the chicken rests, wash and chop your veggies. Shred the carrots using a box grater or food processor. Slice the cucumbers into thin half-moons. Thinly slice the red onion. If the onion is strong, soak it in a bowl of ice water for 5 minutes to reduce the bite. Pat everything dry with a paper towel. Moisture is the enemy of a good wrap, so dry veggies are non-negotiable.
- Make the Dressing (2 minutes): In a small bowl, whisk together the lemon juice, olive oil, oregano, salt, and pepper. You want an emulsion, so whisk until it looks slightly creamy. Taste it and adjust seasoning if needed.
- Assemble the Wraps (10 minutes): Lay out your tortillas on a clean surface. Spread 2 tablespoons of hummus or mashed avocado down the center of each tortilla. This is your moisture barrier. Layer the spinach or arugula on top of the spread. Add the sliced chicken, shredded carrots, cucumber, and red onion. Sprinkle the crumbled cheese over the top. Drizzle a teaspoon of the dressing over the filling.
- Roll and Wrap (5 minutes): Fold the bottom of the tortilla up over the filling, tucking it in tightly. Fold in the sides, then roll tightly from the bottom up. Use plastic wrap or parchment paper to wrap each roll tightly. This step is critical for maintaining shape and preventing the tortilla from absorbing moisture. Place the wrapped wraps seam-side down in your storage container.
Repeat this process for the remaining wraps. You should be able to prep 4-5 wraps in about 30 minutes total. Store them in the refrigerator immediately.
Cooking Tips & Techniques
I’ve made my fair share of soggy wraps in my time. Here are some professional techniques to help you avoid common mistakes. First, never skip the moisture barrier. The hummus or avocado layer is not just for flavor; it protects the tortilla from the wet veggies. Second, pat your veggies dry. I know it’s tedious, but water is what causes sogginess. Third, don’t overfill the wraps. If you pack them too tight, they will burst when you try to roll them. A moderate filling ensures a clean roll and easier eating.
Another tip is to assemble the wraps just before eating if you are prepping for more than three days. If you know you’ll eat them within three days, assembly is fine. But for longer storage, prep the ingredients separately and assemble fresh. This keeps the tortilla perfectly pliable. Also, let the chicken cool completely before assembling. Warm chicken creates steam, which leads to condensation and soggy wraps. Finally, use a sharp knife to cut the wraps in half. A dull knife will crush the layers and make a mess.
Variations & Adaptations
One of the best things about this recipe is how adaptable it is. You can tweak it to fit your dietary needs or taste preferences. For a vegetarian option, swap the chicken for grilled tofu or chickpeas. Marinate the tofu in soy sauce and ginger before grilling for extra flavor. If you’re low-carb, use large lettuce leaves like butter lettuce or romaine as the wrap base. This is called a “lettuce wrap” and is very refreshing.
For a spicy kick, add some sliced jalapeños or a dash of sriracha to the dressing. If you love Mediterranean flavors, add some kalamata olives and sun-dried tomatoes. For a different protein source, try using shredded beef or salmon. Salmon pairs beautifully with dill and cream cheese. You can also swap the hummus for tzatziki sauce for a cooler, tangier profile. These variations keep the recipe exciting and prevent meal prep boredom.
Serving & Storage Suggestions
These wraps are best served cold or at room temperature. They don’t really benefit from reheating, as the tortilla can become chewy. For presentation, cut the wrap diagonally for a classic look. Serve with a side of fresh fruit or a small handful of nuts for a complete meal. Pair it with a glass of iced tea or sparkling water for a refreshing lunch.
For storage, keep the wraps in an airtight container in the refrigerator for up to 4 days. If you wrapped them tightly in plastic or parchment paper, they will stay fresh and moist. To reheat, you can microwave them for 30 seconds if you prefer a warm wrap, but be aware the texture will change. The flavors actually meld together nicely after a day in the fridge, so day 2 wraps might taste even better than day 1.
Nutritional Information & Benefits
Each wrap contains approximately 350-400 calories, depending on the size of the tortilla and amount of cheese used. They are packed with about 25-30 grams of protein, which is essential for muscle repair and satiety. The whole wheat tortilla provides complex carbohydrates for sustained energy, while the veggies add fiber and vitamins. The olive oil and avocado provide healthy monounsaturated fats, which are good for heart health. This balance helps stabilize blood sugar levels, preventing the afternoon crash. It’s a nutrient-dense meal that supports overall wellness without feeling like a diet.
Conclusion
These protein-packed lunch wraps are more than just a meal; they are a tool for better health and a more organized life. By prepping these on Sunday, you set yourself up for success all week long. No more stress, no more unhealthy choices. Just delicious, nourishing food that tastes great. I hope you try this recipe and find it as life-changing as I did. Feel free to customize it with your favorite ingredients. Let me know in the comments how you like to eat your wraps! Happy meal prepping!
Frequently Asked Questions
Can I freeze these wraps?
It is not recommended to freeze these wraps. The vegetables, especially cucumbers and lettuce, will become mushy and watery when thawed. The tortilla may also become brittle. It’s best to keep them in the fridge for up to 4 days.
What is the best tortilla to use?
Whole wheat or spinach tortillas are great for their fiber content. However, if you prefer a lighter option, low-carb wraps or large lettuce leaves work well. Just ensure the tortilla is pliable and not cracked.
Can I use canned chicken?
Yes, you can use canned chicken, but drain it well and pat it dry to remove excess moisture. Freshly grilled chicken is preferred for better texture and flavor, but canned is a convenient backup.
How do I prevent the wrap from getting soggy?
The key is the moisture barrier. Always spread hummus or avocado on the tortilla before adding wet ingredients. Also, ensure all vegetables are patted dry before assembly. Avoid adding dressing directly to the tortilla.
Can I make these ahead for more than 4 days?
For best quality, assemble within 4 days. If you need to prep for longer, consider prepping the ingredients separately and assembling the wraps fresh each day. This ensures the best texture and freshness.
Pin This Recipe!
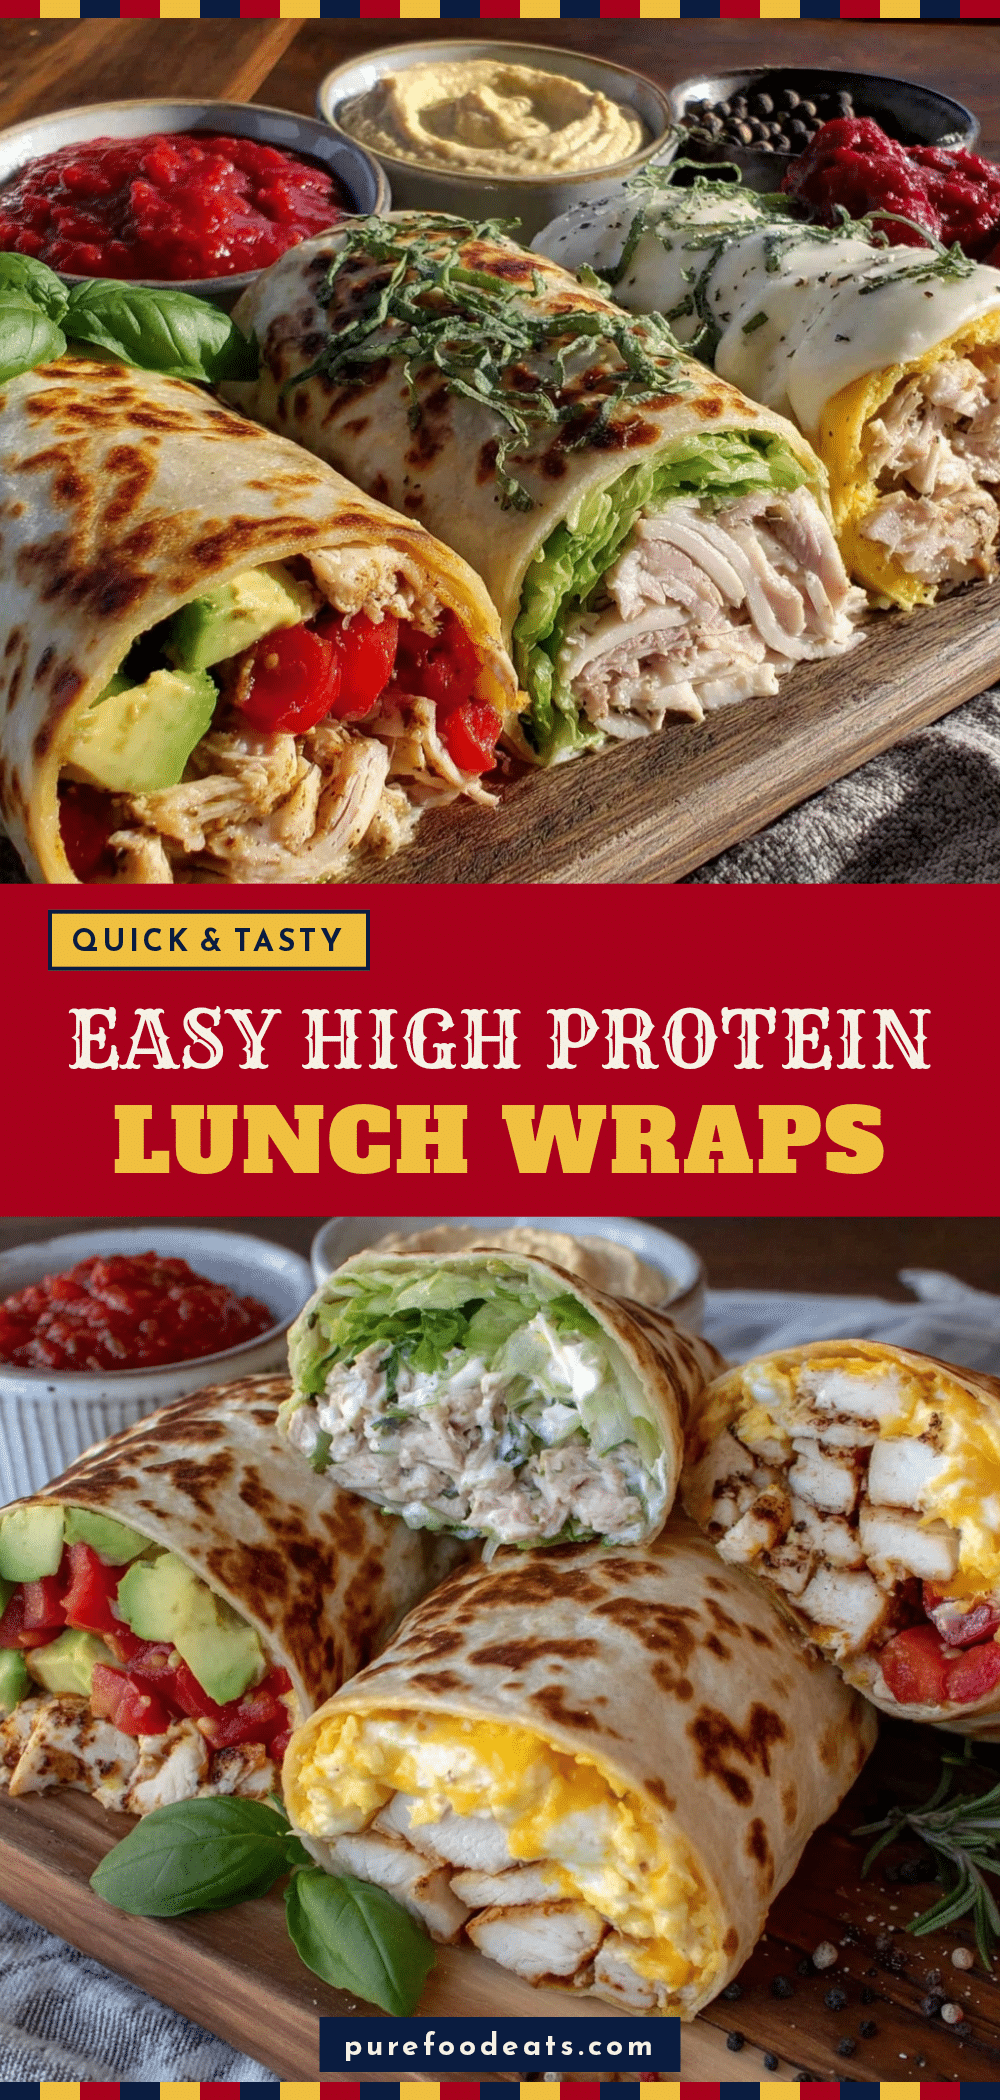

Protein Packed Lunch Wraps: Easy Meal Prep Habit
- Total Time: 30 minutes
- Yield: 4-5 servings
Description
These protein-packed lunch wraps are a quick, versatile, and satisfying meal prep solution designed to prevent afternoon hunger. By using a moisture barrier and smart assembly techniques, they stay fresh for up to four days without getting soggy.
Ingredients
- Large whole wheat or spinach tortillas (6-inch or 8-inch)
- Hummus or mashed avocado (2 tablespoons per wrap)
- Grilled chicken breast or turkey breast (4 oz per wrap)
- Shredded carrots (1/4 cup)
- Sliced cucumbers (2 tablespoons)
- Red onion, thinly sliced (1 tablespoon)
- Feta cheese or goat cheese, crumbled (1 tablespoon)
- Fresh spinach or arugula (1 handful)
- Lemon juice (1 teaspoon)
- Extra virgin olive oil (1 teaspoon)
- Dried oregano (1/4 teaspoon)
- Salt and black pepper to taste
Instructions
- Prepare the protein: Season chicken with salt, pepper, and paprika. Cook in a skillet over medium-high heat for 6-7 minutes per side until internal temperature reaches 165°F. Let rest for 5 minutes, then slice or shred into bite-sized pieces.
- Prep the vegetables: Shred carrots, slice cucumbers into half-moons, and thinly slice red onion. Soak onion in ice water for 5 minutes if desired to mellow flavor. Pat all vegetables completely dry with a paper towel.
- Make the dressing: Whisk together lemon juice, olive oil, oregano, salt, and pepper until emulsified.
- Assemble the wraps: Lay out tortillas and spread 2 tablespoons of hummus or avocado down the center to create a moisture barrier. Layer spinach/arugula, then add chicken, carrots, cucumbers, and onion. Sprinkle with cheese and drizzle with dressing.
- Roll and wrap: Fold the bottom of the tortilla up over the filling, tucking it in tightly. Fold in the sides and roll tightly from the bottom up. Wrap each roll in plastic wrap or parchment paper and place seam-side down in an airtight container.
Notes
Ensure all vegetables are patted dry to prevent sogginess. The hummus or avocado layer acts as a crucial moisture barrier. For best texture, assemble wraps within 4 days of prep. If storing longer, prep ingredients separately and assemble fresh. Do not freeze as vegetables will become mushy.
- Prep Time: 20 minutes
- Cook Time: 10 minutes
- Category: Main Course
- Cuisine: Mediterranean
Nutrition
- Serving Size: 1 wrap
- Calories: 375
- Sugar: 4
- Sodium: 450
- Fat: 15
- Saturated Fat: 4
- Carbohydrates: 35
- Fiber: 5
- Protein: 27
Keywords: meal prep, protein wraps, healthy lunch, chicken wraps, meal prep ideas, high protein, low carb options, lunch on the go