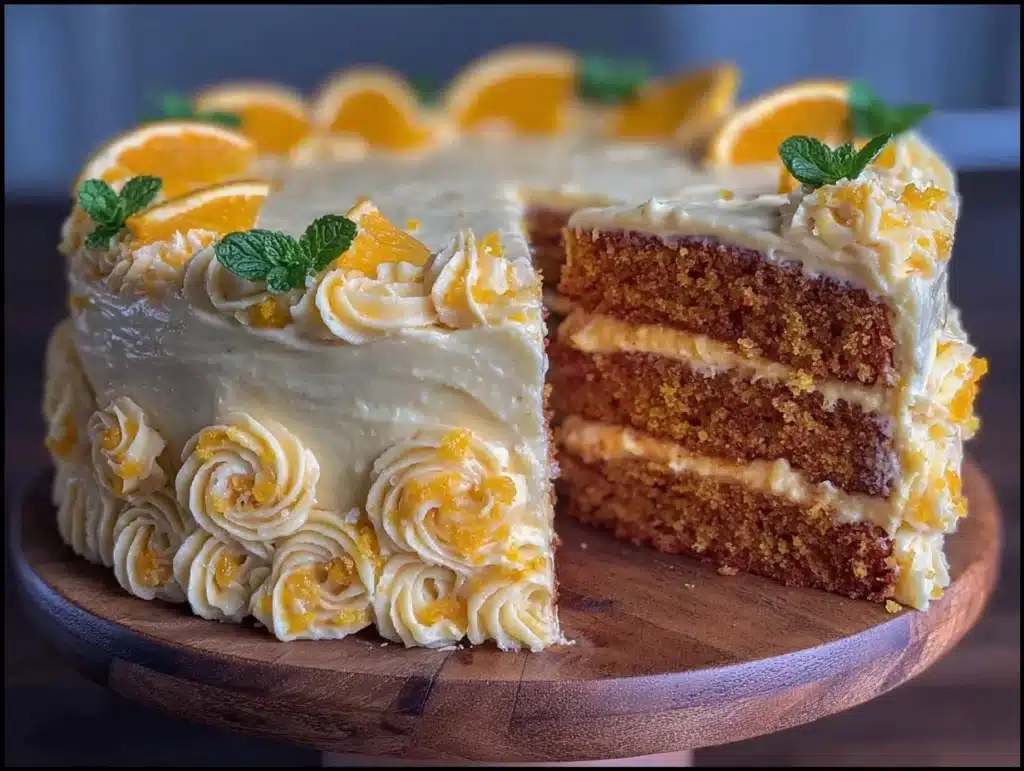
The moment that first slice of orange velvet cake hits your tongue, you know exactly why spring exists. It’s that bright, citrusy pop that cuts through the richness of the cream cheese frosting, leaving you wanting just one more bite. Honestly, I didn’t plan to make this for my neighborhood potluck last May. I was supposed to bring something simple, like a fruit salad or those store-bought brownies we all pretend we made ourselves. But then I saw the orange blossoms blooming outside my kitchen window, and I just knew. I had to make something that tasted like sunshine.
So, I whipped up this homemade orange velvet cake. It started as a quick experiment to use up some extra oranges from my neighbor’s tree. You know how it goes—too many gifts, not enough time to eat them all. The result was so good that my husband ate half the batter before I even finished mixing. And let’s face it, if the batter tastes that good, the cake has to be amazing, right? Well, it turned out even better than I hoped. The texture is incredibly tender, almost like a cloud, and the orange flavor is bold without being overpowering.
When I brought it to the potluck, people actually stopped talking to ask me for the recipe. That never happens with my usual banana bread. It became the star of the table, sitting right next to the deviled eggs but stealing all the attention. If you’re looking for a dessert that feels special but is surprisingly easy to make, this homemade orange velvet cake is your answer. It’s perfect for spring gatherings, Easter brunches, or just because you deserve a treat on a Tuesday. Trust me, once you try it, you’ll be making it for every occasion.
Why You’ll Love This Recipe
After testing this orange velvet cake over a dozen times to get the ratio of citrus to sweetness just right, I can confidently say this is the only recipe you’ll ever need for spring desserts. It’s not just another cake; it’s a celebration in a slice. Here is why this recipe stands out from the crowd:
- Quick & Easy: You can have this cake ready for the oven in under 20 minutes. No complicated techniques or hours of prep time. It’s perfect for busy moms or anyone who wants to bake without a stress headache.
- Simple Ingredients: You likely already have most of these items in your pantry. Flour, sugar, eggs, oil, and fresh oranges. No fancy, hard-to-find ingredients that require a trip to three different specialty stores.
- Perfect for Spring: The bright orange hue and fresh citrus flavor make it the ultimate seasonal dessert. It captures the essence of spring in every bite, making it ideal for Easter, Mother’s Day, or any garden party.
- Crowd-Pleaser: Kids love the sweet orange taste, and adults appreciate the sophisticated hint of zest in the frosting. It’s a rare dessert that satisfies every palate in the room.
- Unbelievably Delicious: The crumb is moist and tender, and the cream cheese frosting adds a tangy contrast that keeps it from being too sweet. It’s comfort food with a fresh twist.
What makes this recipe different is the balance. Many orange cakes can be too dry or too sour. This one hits the sweet spot. I use a combination of fresh orange juice and zest to ensure the flavor is real and vibrant. It’s the kind of cake that makes you close your eyes after the first bite and smile. It’s not just food; it’s a mood. And honestly, who doesn’t need more of that mood in their life?
What Ingredients You Will Need
This recipe uses simple, wholesome ingredients to deliver bold flavor and satisfying texture without the fuss. The magic lies in the quality of your oranges, so try to find juicy, thin-skinned ones for the best juice yield. Here is what you need to gather:
- All-purpose flour: 2 cups (250g). This is your base. Don’t substitute with cake flour unless you want a different texture, as this gives it that classic velvet crumb.
- Granulated sugar: 1 ½ cups (300g). This provides sweetness and helps create a tender crumb. If you prefer less sweet, you can reduce to 1 ¼ cups, but the texture might change slightly.
- Unsalted butter: ½ cup (115g), softened. This adds richness and flavor. Room temperature butter creams better with the sugar for a light texture.
- Vegetable oil: ½ cup (120ml). Oil keeps the cake moist longer than butter alone. I use a neutral oil so it doesn’t overpower the orange flavor.
- Eggs: 3 large eggs, room temperature. These bind the ingredients together and add structure. Cold eggs can cause the batter to curdle, so let them sit out for 30 minutes.
- Fresh orange juice: ½ cup (120ml). This is crucial. Use freshly squeezed juice, not from concentrate. The flavor difference is night and day.
- Orange zest: From 2 large oranges. Only the orange part of the peel, not the white pith, which is bitter. This is where the intense aroma lives.
- Baking powder: 1 teaspoon. Helps the cake rise and stay fluffy.
- Baking soda: ½ teaspoon. Reacts with the acidity of the orange juice to create lift.
- Salt: ½ teaspoon. Enhances the sweetness and balances the citrus.
- Vanilla extract: 1 teaspoon. Adds depth and warmth to the citrus notes.
- Cream cheese: 8 oz (225g), softened. For the frosting, this adds a tangy richness that pairs perfectly with the sweet cake.
- Powdered sugar: 2 cups (240g). For the frosting, this provides sweetness and structure.
- Heavy cream: 2-3 tablespoons. Helps thin the frosting to a spreadable consistency.
I personally recommend using organic oranges if you can find them, as the zest flavor is often more potent. Also, make sure your cream cheese is fully softened but not melted. If it’s too warm, your frosting will be runny. Keep everything cool and fresh for the best results.
Equipment Needed
You don’t need a lot of fancy gadgets to make this cake, but having the right tools makes a huge difference. A standard 9-inch round cake pan or a 9×13 inch baking dish works perfectly. I usually prefer the 9×13 for potlucks because it’s easier to slice and serve. Make sure to grease your pan well with butter or non-stick spray to prevent sticking.
A large mixing bowl is essential. I like using a glass or stainless steel bowl because it’s sturdy and easy to clean. You’ll also need an electric mixer, either a hand mixer or a stand mixer, to cream the butter and sugar properly. This step is key for getting that light, airy texture. If you don’t have a mixer, you can do it by hand, but it will take a bit more arm strength.
A zester or microplane is handy for getting fine orange zest. A box grater works too, just be careful not to get the white pith. For measuring, use standard measuring cups and spoons. For best accuracy, I recommend weighing your flour if you have a kitchen scale. Finally, a cooling rack is necessary to let the cake cool completely before frosting. Warm cake will melt the frosting, and nobody wants a messy dessert.
Preparation Method
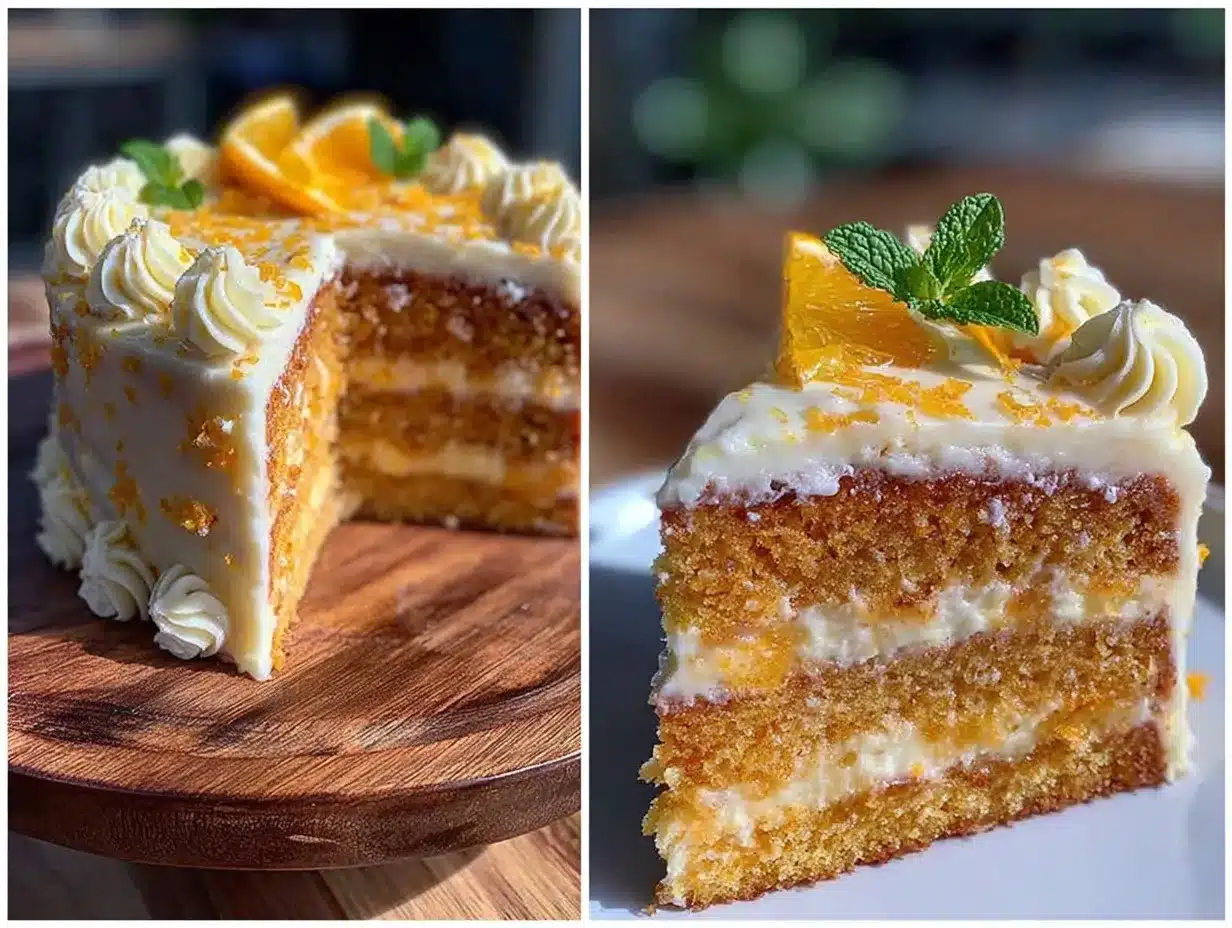
Let’s get baking! This process is straightforward, but attention to detail ensures success. First, preheat your oven to 350°F (175°C). Grease and flour your baking pan, or line it with parchment paper for easy removal. This step is non-negotiable if you want your cake to come out cleanly.
In a medium bowl, whisk together the flour, baking powder, baking soda, and salt. Set this aside. In a large bowl, use your electric mixer to cream the softened butter and granulated sugar together on medium speed for about 3-4 minutes. You want it to look pale and fluffy. This incorporates air into the batter, which helps the cake rise.
Next, add the eggs one at a time, beating well after each addition. Mix in the vanilla extract. Now, add the vegetable oil and fresh orange juice. Mix until just combined. It’s okay if the mixture looks a little curdled at this point; it will come together in the next step.
Gradually add the dry ingredients to the wet ingredients, mixing on low speed. Start and end with the flour mixture. Mix until you no longer see streaks of flour, but do not overmix. Overmixing develops gluten, which can make the cake tough. The batter should be smooth and thick.
Pour the batter into your prepared pan and smooth the top with a spatula. Bake for 30-35 minutes if using a 9×13 pan, or 25-30 minutes for two 9-inch round layers. Check for doneness by inserting a toothpick into the center. If it comes out clean or with a few moist crumbs, it’s done. Do not overbake, or the cake will be dry.
Let the cake cool in the pan for 10 minutes, then transfer it to a wire rack to cool completely. This is crucial. If you frost a warm cake, the frosting will slide right off. While the cake cools, you can make the frosting. Beat the softened cream cheese until smooth. Gradually add the powdered sugar and heavy cream, beating on medium-high until fluffy. Spread this over the cooled cake and garnish with fresh orange slices or zest if desired.
Cooking Tips & Techniques
One common mistake people make is using too much flour. If you scoop the flour directly with the measuring cup, you might pack it down, leading to a dense cake. Instead, fluff the flour with a spoon and then scoop it lightly, or better yet, use a kitchen scale. Precision matters in baking.
Another tip is to ensure your ingredients are at room temperature. Cold eggs and butter don’t blend well, which can result in a lumpy batter. If you forgot to take them out, you can warm the eggs by placing them in a bowl of warm water for 5-10 minutes. This small step makes a big difference in texture.
Don’t skip the zest! The oil in the orange peel contains the most flavor. When you zest, be gentle and only remove the orange part. The white pith is bitter and will ruin the taste. Also, juice your oranges right before you bake them. Store-bought juice often loses its fresh flavor and can taste metallic or flat.
If you’re making the cake ahead of time, wrap it tightly in plastic wrap after it has cooled completely. It can be stored at room temperature for up to two days. For longer storage, freeze it for up to three months. Thaw it in the refrigerator overnight before frosting. This actually helps the flavors meld together, making the cake taste even better the next day.
Variations & Adaptations
This recipe is very flexible, so feel free to make it your own. If you want a gluten-free option, you can substitute the all-purpose flour with a 1:1 gluten-free baking blend. Make sure it contains xanthan gum, or add ½ teaspoon to help with structure. The texture will be slightly different but still delicious.
For a dairy-free version, use vegan butter instead of regular butter and a dairy-free cream cheese alternative for the frosting. Coconut oil can also be used in place of vegetable oil for a subtle coconut flavor that pairs well with orange. However, keep in mind that the flavor profile will change slightly.
If you’re not a fan of cream cheese frosting, try a simple orange glaze. Mix powdered sugar with a little orange juice and drizzle it over the cooled cake. It’s lighter and less sweet. You can also add white chocolate chips to the batter for a sweet, creamy contrast. I tried this once, and it was a hit with the kids.
For a more intense orange flavor, add a tablespoon of orange liqueur like Grand Marnier or Triple Sec to the batter. This is great for adult potlucks. Just be aware that it adds alcohol, so label it accordingly if serving to a mixed crowd.
Serving & Storage Suggestions
This cake looks beautiful when served with a dusting of powdered sugar and fresh orange slices on top. It’s visually striking and hints at the flavor inside. Pair it with a cup of herbal tea or black coffee for a complete spring experience. The bitterness of the coffee balances the sweetness of the cake perfectly.
For storage, keep the frosted cake in an airtight container in the refrigerator. It will last for up to five days. The cold temperature helps set the frosting, making it easier to slice. Let it sit at room temperature for 15-20 minutes before serving to soften the frosting slightly. This enhances the flavor and texture.
If you have leftovers, you can freeze slices individually wrapped in plastic wrap and then in foil. They will keep for up to three months. Thaw them in the fridge overnight. The cake remains moist even after freezing, which is rare for many baked goods. The flavors actually develop and become more pronounced over time, so it’s often better on day two than day one.
Nutritional Information & Benefits
While this cake is a treat, it’s made with relatively simple ingredients. Each slice contains approximately 350 calories, depending on the size of the slice and the amount of frosting used. The cake provides carbohydrates for energy and some fat from the butter and oil. The orange juice adds a boost of Vitamin C, which is great for immune health.
For those watching their sugar intake, you can reduce the sugar in the cake by ¼ cup without significantly affecting the texture. The cream cheese frosting is high in fat and sugar, so use it sparingly if you’re counting calories. This recipe is not suitable for vegans unless substitutions are made, and it contains gluten and dairy.
I always try to balance my desserts with a healthy lifestyle. Enjoying a slice of this cake as part of a balanced diet is totally fine. It’s about moderation and savoring the moment. The fresh orange zest adds antioxidants, which is a nice bonus. Just remember that it’s a special occasion treat, so savor every bite.
Conclusion
Making this homemade orange velvet cake is a wonderful way to celebrate spring. It’s easy, delicious, and sure to impress everyone at your next gathering. I hope you try this recipe and enjoy it as much as I do. Don’t be afraid to experiment with the variations to find your favorite version. Whether you stick to the classic or add a twist, it’s bound to be a hit.
If you make this cake, please let me know how it turns out. Leave a comment below with your thoughts or share a photo on social media. I love seeing your creations! Tag me so I can see your beautiful orange velvet cakes. Thank you for reading, and happy baking. Here’s to many more spring celebrations and delicious desserts.
Frequently Asked Questions
Can I use bottled orange juice?
It’s not recommended. Freshly squeezed juice has a much brighter flavor and acidity that bottled juice lacks. Bottled juice often contains preservatives that can affect the taste and texture of the cake.
How do I store leftover cake?
Store the cake in an airtight container in the refrigerator for up to five days. You can also freeze unfrosted cake layers for up to three months. Thaw in the refrigerator before frosting.
Can I make this cake gluten-free?
Yes, you can substitute the all-purpose flour with a 1:1 gluten-free baking blend. Ensure the blend contains xanthan gum for the best texture. The cake will be slightly denser but still delicious.
What if I don’t have a stand mixer?
You can use a hand mixer or even mix by hand. It will take a bit more effort to cream the butter and sugar, but it’s possible. Just make sure your butter is soft enough to mix well.
Can I add food coloring?
The cake is naturally pale yellow. If you want that classic velvet orange color, you can add a few drops of orange food coloring to the batter. It’s optional but adds to the visual appeal.
Pin This Recipe!
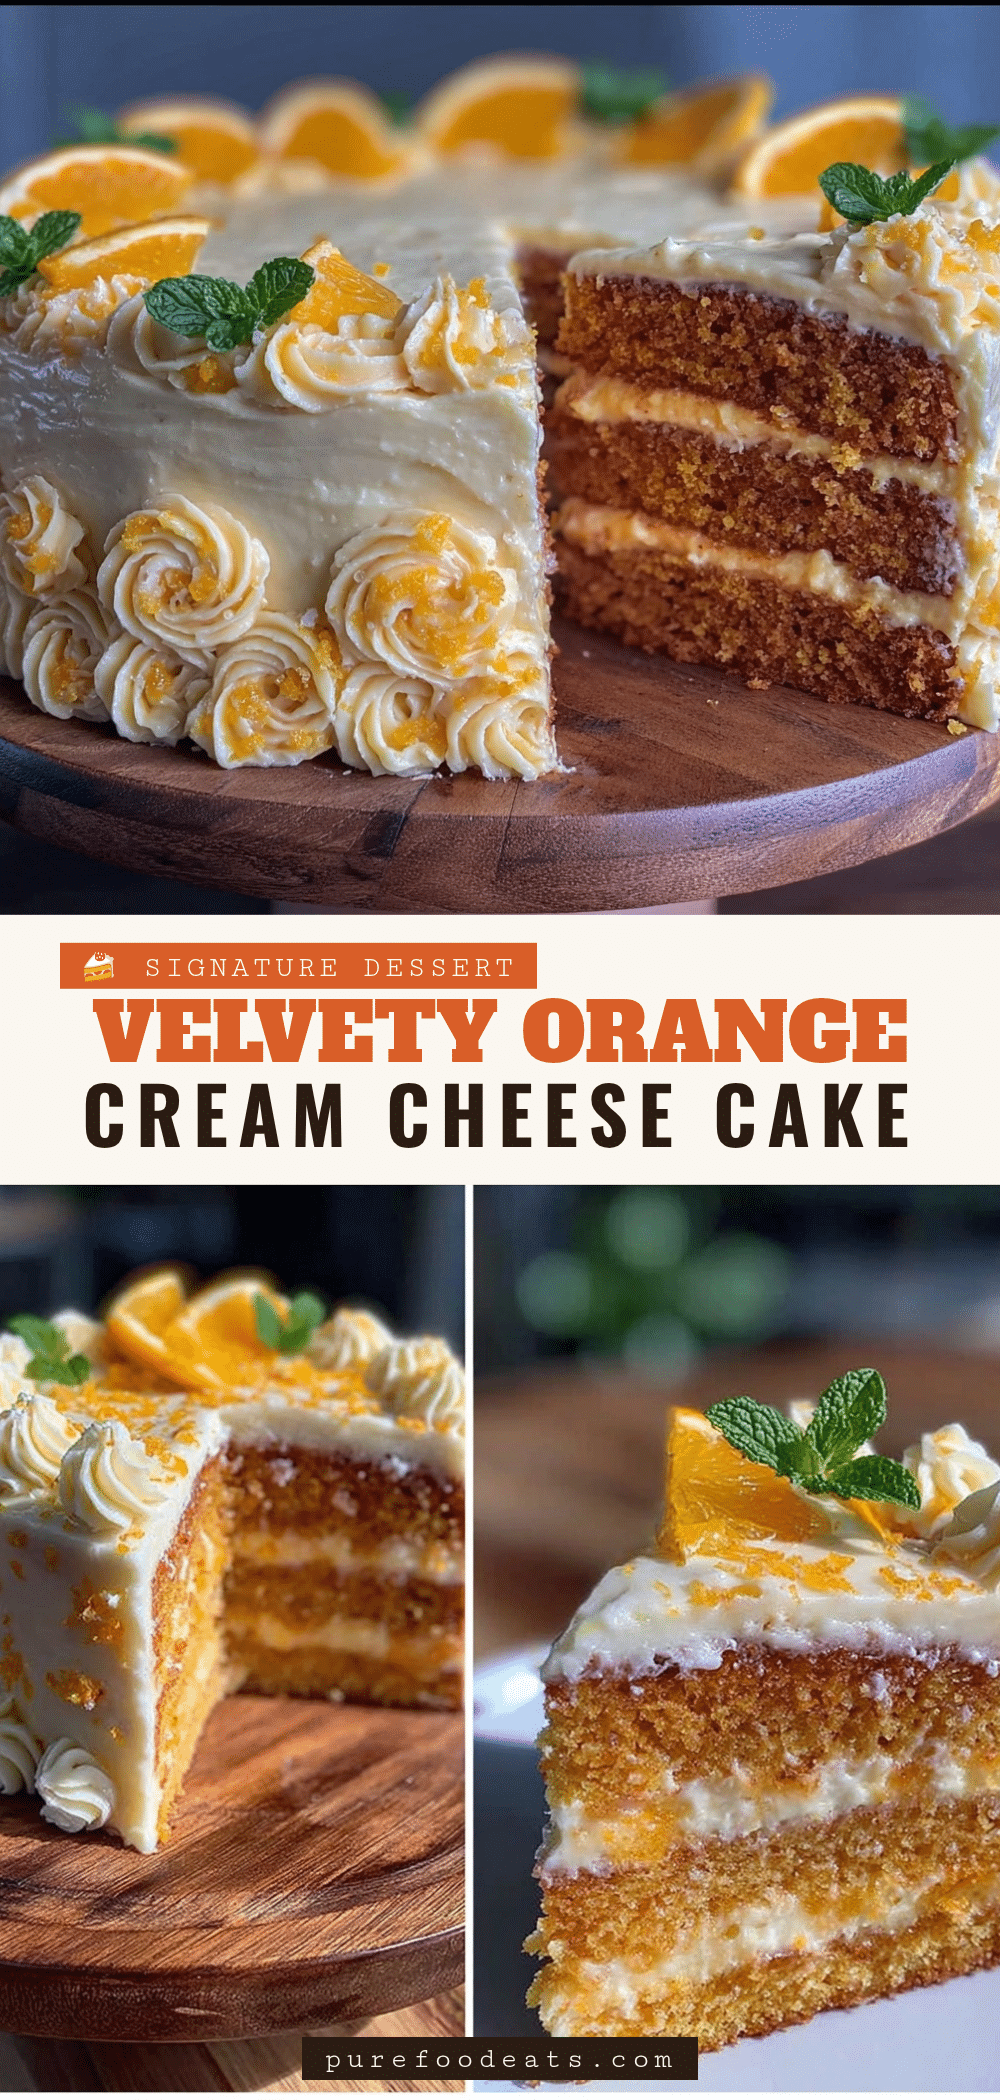

Orange Velvet Cake: Easy Homemade Spring Recipe
- Total Time: 50 minutes
- Yield: 12 servings 1x
Description
A bright, citrusy homemade orange velvet cake with a tender crumb and tangy cream cheese frosting, perfect for spring gatherings and Easter brunches.
Ingredients
- 2 cups (250g) all-purpose flour
- 1 ½ cups (300g) granulated sugar
- ½ cup (115g) unsalted butter, softened
- ½ cup (120ml) vegetable oil
- 3 large eggs, room temperature
- ½ cup (120ml) fresh orange juice
- Zest from 2 large oranges
- 1 teaspoon baking powder
- ½ teaspoon baking soda
- ½ teaspoon salt
- 1 teaspoon vanilla extract
- 8 oz (225g) cream cheese, softened (for frosting)
- 2 cups (240g) powdered sugar (for frosting)
- 2–3 tablespoons heavy cream (for frosting)
Instructions
- Preheat oven to 350°F (175°C). Grease and flour a 9×13 inch baking pan or line with parchment paper.
- In a medium bowl, whisk together the flour, baking powder, baking soda, and salt. Set aside.
- In a large bowl, use an electric mixer to cream the softened butter and granulated sugar on medium speed for 3-4 minutes until pale and fluffy.
- Add eggs one at a time, beating well after each addition. Mix in the vanilla extract.
- Add the vegetable oil and fresh orange juice. Mix until just combined.
- Gradually add the dry ingredients to the wet ingredients on low speed, starting and ending with the flour mixture. Mix until no streaks remain, being careful not to overmix.
- Pour batter into the prepared pan and smooth the top. Bake for 30-35 minutes (or 25-30 minutes for round layers) until a toothpick inserted in the center comes out clean.
- Let the cake cool in the pan for 10 minutes, then transfer to a wire rack to cool completely.
- While the cake cools, beat the softened cream cheese until smooth. Gradually add powdered sugar and heavy cream, beating on medium-high until fluffy.
- Spread the frosting over the completely cooled cake. Garnish with fresh orange slices or zest if desired.
Notes
Ensure ingredients are at room temperature for best texture. Do not overmix the batter to avoid a tough cake. Use fresh orange juice and zest for the best flavor. The cake can be stored in the refrigerator for up to 5 days or frozen for up to 3 months.
- Prep Time: 20 minutes
- Cook Time: 30 minutes
- Category: Dessert
- Cuisine: American
Nutrition
- Serving Size: 1 slice
- Calories: 350
- Sugar: 35
- Sodium: 250
- Fat: 18
- Saturated Fat: 8
- Carbohydrates: 45
- Fiber: 1
- Protein: 4
Keywords: orange velvet cake, spring dessert, easy cake recipe, cream cheese frosting, citrus cake, Easter dessert, homemade cake