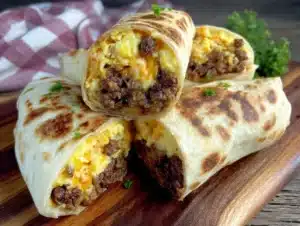
I still remember the morning I almost gave up on mornings. It was a Tuesday in November, raining sideways, and I had a 7:00 AM meeting. My coffee was cold, my hair was a mess, and I was running out the door with nothing but a granola bar and regret. I realized then that my “healthy breakfast” routine was actually just a collection of excuses. I didn’t have time to cook, and I certainly didn’t have time to clean up. That was the moment I decided to stop romanticizing the chaos and start planning for reality.
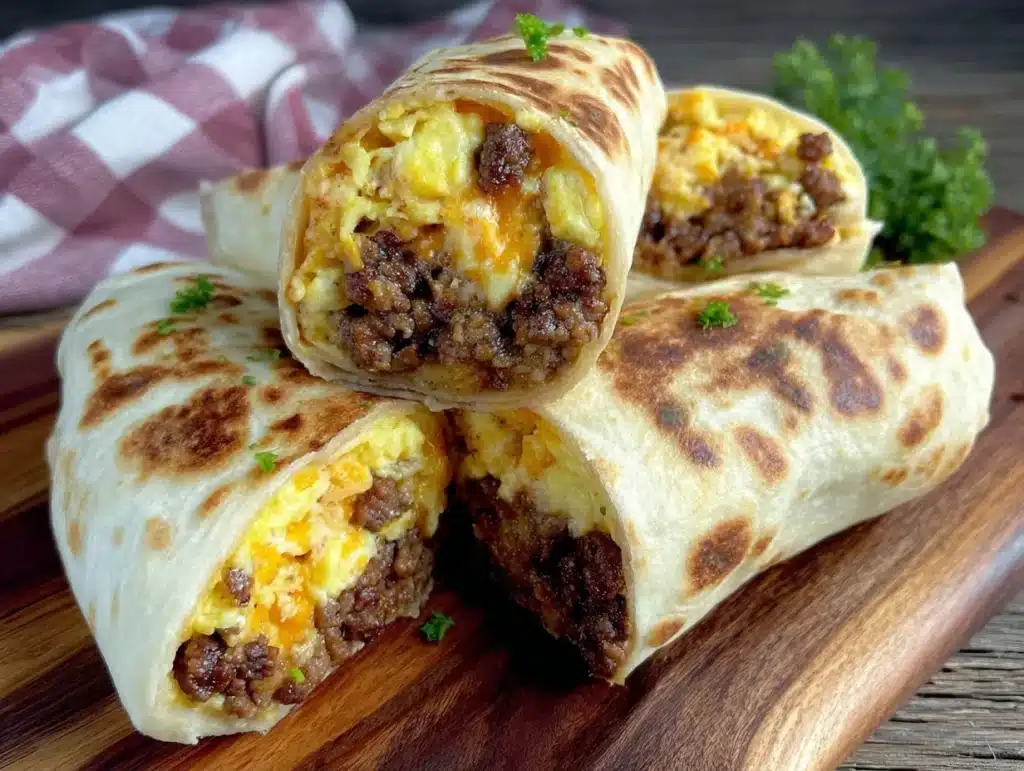
That’s when I discovered the magic of freezer breakfast burritos. Honestly, they are the unsung heroes of my week. They aren’t fancy. They don’t look like something you’d see in a glossy magazine. But they are the difference between a frantic, stressful start to the day and one where I actually have five minutes to sip my coffee and read the news. If you’ve ever stared into your open fridge at 6:30 AM wondering what to eat, you know exactly how I feel. These burritos are the answer.
Over the last few years, I’ve tested dozens of versions. Some were too dry, some fell apart in the freezer, and others tasted like cardboard by Wednesday. But this specific recipe? It’s the one that stuck. I make a double batch every other Sunday. It takes about an hour of active time, but it saves me at least two hours of morning stress during the week. Whether you’re a busy parent, a student, or just someone who hates wasting food, this method is a game-changer. You’re going to love how easy it is to grab one, wrap it in a towel, and go.
Why You’ll Love This Recipe
Let’s be real for a second. Most meal prep recipes sound great in theory but fail in practice. Maybe the eggs get rubbery, or the tortillas get soggy. I’ve been there. I’ve thrown away perfectly good ingredients because the texture was off. This freezer breakfast burrito recipe is different because it’s built for the freezer from the ground up. I’ve tested this with various cheeses, meats, and veggies, and the structure holds up beautifully. It’s not just a quick fix; it’s a reliable system that works every single time.
Here is why this specific combination wins every time:
- Quick & Easy: Once you get the rhythm, you can assemble twenty burritos in under an hour. That’s less than five minutes per burrito. It’s perfect for those Sunday afternoons when you want to get things done but don’t want to spend your whole day in the kitchen.
- Simple Ingredients: You likely have most of this in your kitchen right now. Eggs, cheese, tortillas, maybe some sausage or veggies. No exotic spices or hard-to-find ingredients. It’s comfort food, simplified.
- Perfect for On-the-Go: Let’s face it, mornings are rushed. These burritos are designed to be eaten with one hand while you’re tying your shoes or loading the car. They don’t drip. They don’t make a mess. They just work.
- Crowd-Pleaser: My kids, my husband, and even my picky eater cousin all love these. I’ve served them at brunches, and people always ask for the recipe. It’s a versatile base that lets everyone customize their own fillings if you do a “build-your-own” station.
- Unbelievably Delicious: The key is the moisture balance. By using slightly undercooked eggs and wrapping them tightly, the steam during reheating finishes the cooking process perfectly. The result is a soft, fluffy interior with a crispy exterior if you pan-fry it. It’s next-level comfort food.
What makes this recipe stand out from the rest is the wrapping technique. Most tutorials skip this step, but it’s crucial. If you don’t wrap them tight enough, they unravel in the freezer. If you wrap them too tight, the tortilla tears. I’ve spent years perfecting this fold, and it ensures that your breakfast stays intact from the freezer to your plate. It’s not just another version; it’s the version that actually survives the journey.
What Ingredients You Will Need
This recipe relies on wholesome, accessible ingredients that deliver bold flavor without the fuss. The beauty of this dish is its flexibility. You can use what you have on hand, what’s on sale, or what your kids will actually eat. I recommend sticking to high-quality eggs and fresh vegetables, as these form the backbone of the flavor profile. The tortillas need to be pliable enough to roll but sturdy enough to hold the filling. Here is what you’ll need to get started.
- Large Flour Tortillas (10-12 inch): You need large tortillas to accommodate the filling. I recommend brands like Mission or La Tortilla Factory because they stay soft even after freezing. Smaller tortillas will tear, so don’t skimp on the size. Look for ones that are labeled “burrito size” for best results.
- Eggs (Large): About 12-15 eggs depending on how big you like your burritos. I use large eggs because they provide the right volume without making the burrito too heavy. You can use whole eggs or a mix of whole eggs and egg whites if you want to lighten it up slightly.
- Shredded Cheese: About 2 cups of shredded Mexican blend or cheddar. Pre-shredded cheese contains anti-caking agents, which can sometimes affect meltiness. However, for freezer meals, pre-shredded is actually convenient and prevents clumping. If you shred your own, let it come to room temperature before adding.
- Cooked Sausage or Bacon: About 1 pound of pork sausage or bacon, cooked and crumbled. Pork sausage adds a savory depth that pairs perfectly with eggs. If you prefer turkey, that works too, though it’s leaner. Make sure to drain excess grease so the tortillas don’t get soggy.
- Vegetables (Onions and Bell Peppers): One medium yellow onion and one red bell pepper, diced. Sautéing these first removes their raw bite and concentrates their sweetness. You can also add spinach or mushrooms if you want extra nutrients. Just make sure to squeeze out excess moisture from spinach.
- Seasonings: Salt, black pepper, and a pinch of paprika or cumin. Keep it simple. You don’t want to overpower the eggs. A little garlic powder works well if you have it on hand.
- Butter or Oil: For greasing the pan. I use butter for flavor, but avocado oil works if you want a neutral taste. This is for cooking the eggs and veggies, not the burritos themselves.
I personally prefer small-curd cottage cheese in some variations for added protein, but for this classic version, I stick to the basics. The key is to keep the filling dry. Wet fillings are the enemy of a good freezer burrito. If your veggies are watery, cook them down until they’re dry. This ensures your burritos maintain their structure in the freezer.
Which Equipment Do You Need?
You don’t need any fancy gadgets to make these. A large non-stick skillet is the most important tool. I use a 12-inch cast iron skillet because it distributes heat evenly, preventing the eggs from sticking. If you don’t have cast iron, a high-quality non-stick pan works just as well. You’ll also need a large mixing bowl for whisking the eggs and a baking sheet lined with parchment paper for freezing the burritos initially. This “flash freezing” step is crucial to prevent them from sticking together. I also recommend having plenty of plastic wrap or freezer bags on hand. Budget-friendly options include using reusable silicone bags if you want to reduce waste, though plastic wrap is faster for this specific technique. Just make sure your wrapping is airtight to prevent freezer burn.
Preparation Method
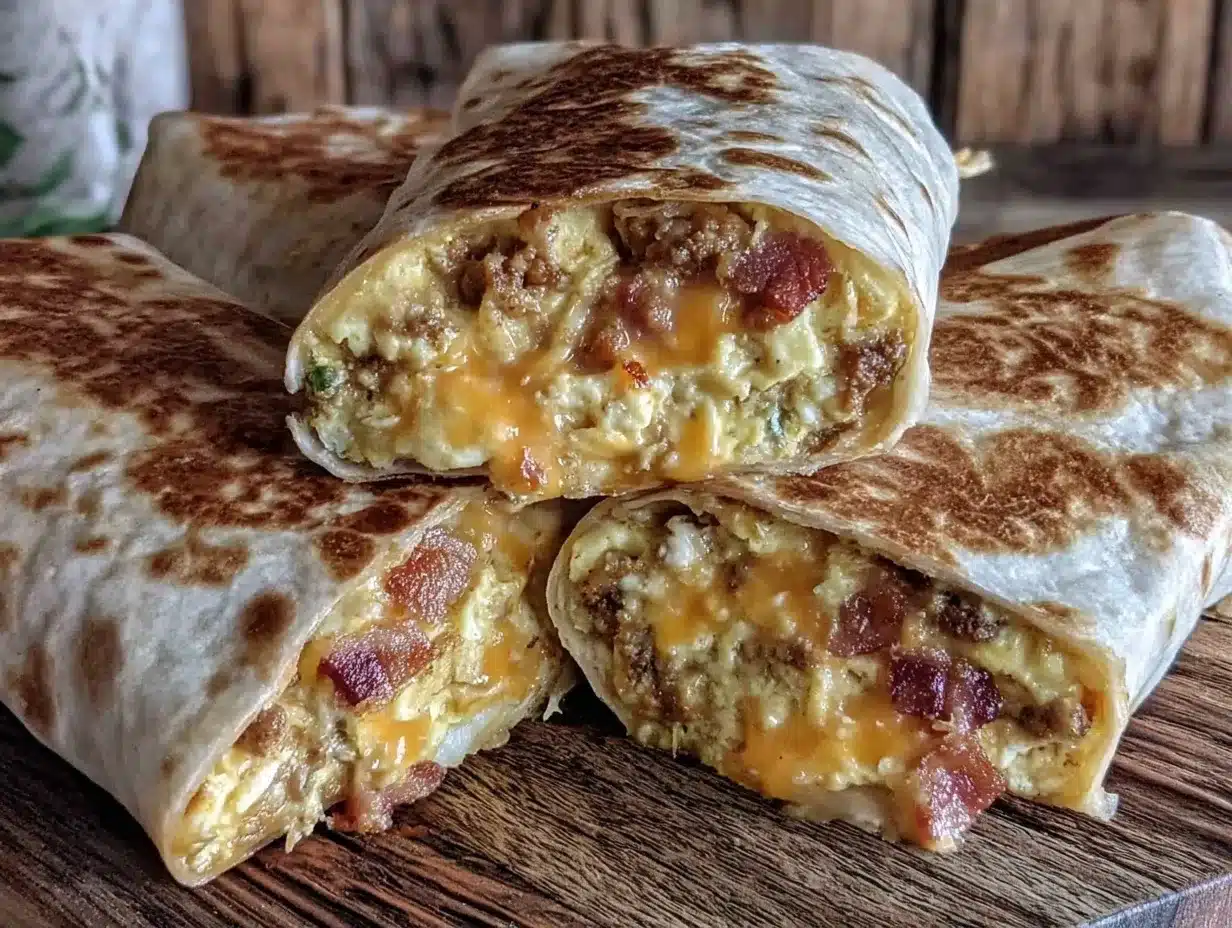
Let’s walk through the process step-by-step. This might seem like a lot at first, but once you see how it flows, it becomes a meditative routine. I usually put on a podcast or some music and just let the assembly line happen.
- Prepare the Veggies and Meat (10 minutes): Start by heating a large skillet over medium heat. Add a little oil or butter. Add your diced onions and bell peppers. Sauté them for about 5 minutes until they are soft and translucent. If you are using sausage, add it to the pan now and cook until browned and crumbled. Drain any excess grease. This step is important because you want the filling to be dry. Set this mixture aside to cool completely. Warm filling will cook the eggs prematurely and make the tortillas soggy.
- Whisk the Eggs (5 minutes): In a large bowl, crack your eggs. Add salt, pepper, and any other dry seasonings like paprika. Whisk them vigorously until the yolks and whites are fully combined. For extra fluffiness, you can add a splash of milk or cream, but it’s not strictly necessary. I prefer just eggs for a richer flavor. If you are using cottage cheese, blend it first until smooth and then mix it in.
- Cook the Egg Scramble (10 minutes): Wipe out your skillet and return it to medium-low heat. Add a little butter. Pour in the egg mixture. Let it sit for a few seconds, then gently stir with a spatula. You want to create large, soft curds. Do not overcook them! This is the most critical step. The eggs should look slightly underdone, about 80% cooked. They will continue to cook when you reheat the burrito later. If you cook them until they are fully done now, they will be rubbery after freezing. Transfer the eggs to a bowl and let them cool.
- Assemble the Burritos (15 minutes): Lay out a tortilla on a clean surface. Place a portion of the cooled egg mixture in the center. Top with cheese, veggies, and meat. Leave about an inch of space on all sides. The key is not to overstuff. A good rule of thumb is about 1/2 cup of filling per burrito. Fold the bottom of the tortilla up over the filling, tuck it in tightly, fold in the sides, and roll it up. It should feel snug but not tight enough to tear. Wrap each burrito tightly in plastic wrap. Place them on a baking sheet and put them in the freezer for at least 1 hour. This flash-freezing step prevents them from sticking together in the bag.
- Store for the Freezer (5 minutes): Once the burritos are firm, remove them from the baking sheet. Stack them in a heavy-duty freezer bag or airtight container. Squeeze out as much air as possible. Label the bag with the date. They will last for up to 3 months in the freezer.
Pro tip: If you are making a large batch, set up an assembly line. Have one station for filling, one for rolling, and one for wrapping. It speeds up the process significantly. I usually make 20 burritos at a time, which lasts my family about two weeks.
Cooking Tips & Techniques
After making hundreds of these, I’ve learned a few things the hard way. The biggest mistake people make is using hot filling. Always, always let your filling cool down before assembling. Heat creates steam, and steam makes tortillas mushy. Another common error is overfilling. It’s tempting to load them up, but a overstuffed burrito will burst open in the freezer or when you try to reheat it. Stick to moderate portions.
When it comes to reheating, patience is key. Do not microwave them on high power. This will turn the eggs into rubber and the tortillas into leather. Instead, use the defrost setting or low power. If you want a crispy exterior, pan-fry the thawed burrito in a little butter over medium heat for 2-3 minutes per side. This is my favorite method. It brings back that fresh-made texture. If you’re in a rush, the microwave is fine, but wrap the burrito in a damp paper towel to keep it moist.
Also, consider the type of cheese you use. Harder cheeses like cheddar melt better than soft cheeses like feta. If you love creaminess, add a little cream cheese to the egg mixture before cooking. It adds stability and richness. I also recommend adding a pinch of baking powder to the eggs if you want them extra fluffy. It’s a small trick that makes a big difference in texture.
Variations & Adaptations
One of the best things about this recipe is how adaptable it is. Here are a few variations I love:
- Vegetarian Option: Skip the meat and add extra veggies like mushrooms, spinach, or zucchini. Sauté the mushrooms until all their moisture is gone. Add some black beans for protein. This version is hearty and satisfying.
- Low-Carb Option: Use low-carb or keto-friendly tortillas. These are often made with almond flour or coconut flour. They can be brittle, so handle them gently. You can also wrap the filling in a large lettuce leaf if you want to be strict, but the texture is different.
- Spicy Kick: Add diced jalapeños to the egg mixture or use a spicy chorizo instead of regular sausage. Top with hot sauce after reheating for an extra burst of flavor.
- Mediterranean Twist: Use feta cheese, sun-dried tomatoes, and spinach. Season with oregano and garlic. This variation is lighter and has a bright, tangy flavor profile that is great for spring mornings.
I once tried making these with sweet potato hash browns instead of regular potatoes. It was a hit with my kids, who love the sweetness. Just make sure the hash browns are crispy before adding them to the burrito. Moisture is always the enemy in these recipes.
Serving & Storage Suggestions
When you’re ready to eat, take the burrito out of the freezer and let it thaw in the fridge overnight if you have time. If you’re in a hurry, you can cook it from frozen, but it will take longer. For the best texture, I recommend thawing it first. Reheat it in a skillet with a little butter for a golden, crispy exterior. This takes about 5-7 minutes total. If you use the microwave, do it in 30-second intervals, flipping halfway through.
These burritos pair well with a side of fresh fruit or a simple green salad. I often serve them with a dollop of sour cream or salsa for added creaminess and tang. They also travel well for picnics or road trips. Just make sure they are wrapped securely to avoid any leaks. In terms of storage, they keep well in the freezer for up to 3 months. After that, they might start to develop freezer burn. Always label your bags with the date so you can rotate your stock. The flavors meld together nicely over the first few days, so they often taste better on day two than day one.
Nutritional Information & Benefits
While these are indulgent, they are also balanced. Each burrito contains a good amount of protein from the eggs and cheese, which helps keep you full until lunch. The vegetables add fiber and vitamins. If you use turkey sausage or lean ham, you can keep the saturated fat content lower. For those watching their sodium, use low-sodium cheese and sausage. The eggs provide choline, which is great for brain health. I love that I can customize the nutritional profile to fit my family’s needs. It’s a practical way to ensure everyone gets a nutritious start to the day, even on the busiest mornings.
Conclusion
Freezer breakfast burritos are more than just a meal; they are a peace of mind strategy. They allow you to take control of your mornings instead of letting them control you. I hope this recipe helps you create your own stress-free routine. Feel free to experiment with different fillings to find what your family loves most. The beauty of this method is in its simplicity and reliability. I’d love to hear how you customize your burritos. Share your variations in the comments below! And if you try this recipe, don’t forget to rate it. Here’s to lazy mornings and happy bellies.
Frequently Asked Questions
Can I freeze these burritos without plastic wrap?
It’s not recommended. Plastic wrap is crucial for preventing freezer burn and keeping the tortillas soft. If you want to avoid plastic, you can use reusable silicone bags, but make sure they are airtight. Aluminum foil alone won’t protect them well enough and can cause off-flavors.
How do I reheat them in the microwave?
Remove the plastic wrap and place the burrito on a microwave-safe plate. Wrap it in a damp paper towel. Microwave on defrost or 50% power for 1-2 minutes, flipping halfway through. This prevents the edges from getting tough while the center heats up.
Can I use egg whites instead of whole eggs?
Yes, you can. Egg whites will make the burritos lighter and lower in calories. However, they can be less creamy. I recommend adding a little milk or cream to the egg whites to mimic the richness of whole eggs.
Do these burritos work for meal prep for one person?
Absolutely. You can make a smaller batch. Just follow the same assembly process. They are perfect for individual portions, allowing you to grab exactly what you need without waste.
What is the best way to prevent the tortillas from tearing?
Use large, high-quality tortillas. Don’t overstuff them. And make sure your filling is cool. Warm filling can make the tortillas pliable but also sticky, which increases the risk of tearing. Roll them tightly but gently.
Pin This Recipe!
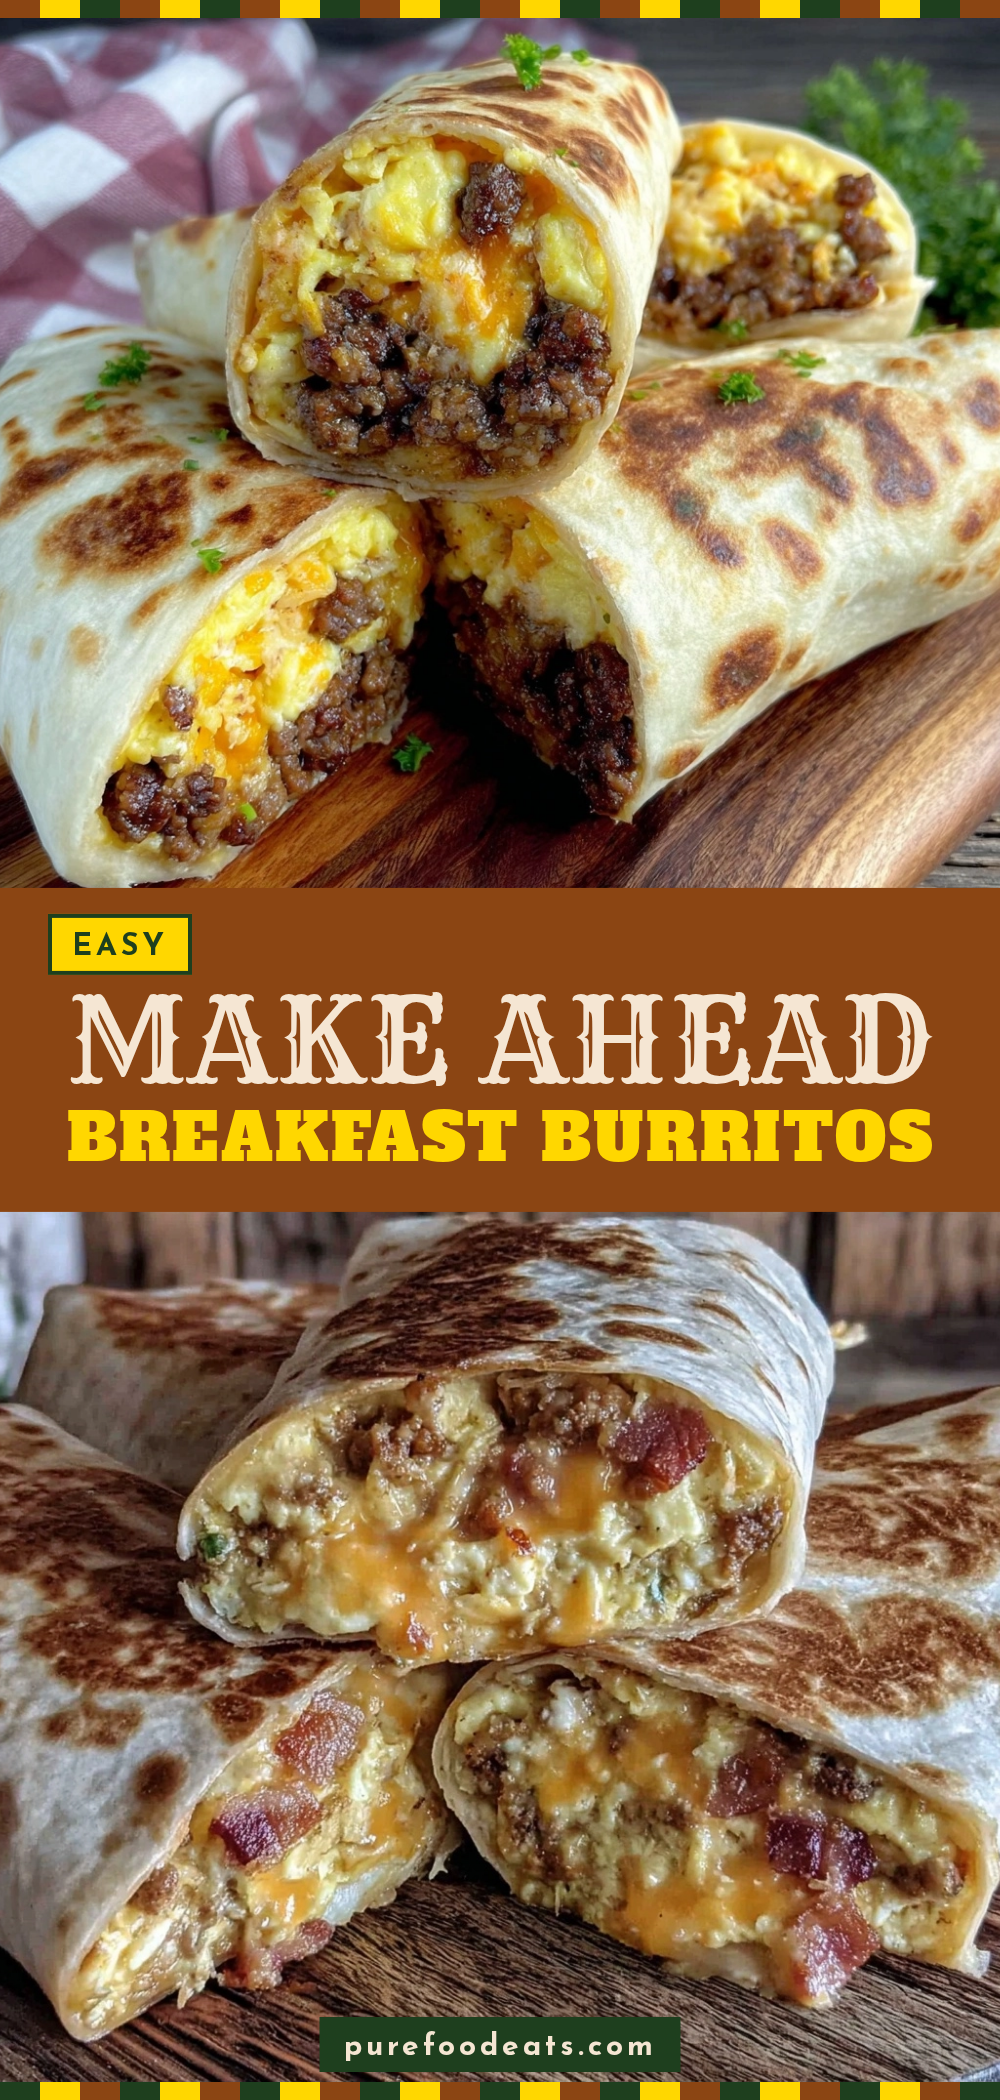

Freezer Breakfast Burritos: 5 Easy Make Ahead Meal Prep Ideas
- Total Time: 1 hour 25 minutes
- Yield: 20 servings 1x
Description
These freezer breakfast burritos are the ultimate make-ahead meal prep solution for busy mornings. Featuring a reliable wrapping technique and balanced ingredients, they stay intact in the freezer and reheat perfectly for a stress-free, delicious start to your day.
Ingredients
- 20 Large Flour Tortillas (10–12 inch, burrito size)
- 12–15 Large Eggs
- 2 cups Shredded Cheese (Mexican blend or cheddar)
- 1 pound Cooked Sausage or Bacon (pork or turkey), crumbled and drained
- 1 medium Yellow Onion, diced
- 1 Red Bell Pepper, diced
- Salt and Black Pepper to taste
- Pinch of Paprika or Cumin
- Pinch of Garlic Powder (optional)
- Butter or Oil for cooking
Instructions
- Heat a large skillet over medium heat with oil or butter. Sauté diced onions and bell peppers for 5 minutes until soft and translucent.
- Add the cooked sausage or bacon to the skillet and cook until browned. Drain any excess grease thoroughly.
- Set the vegetable and meat mixture aside to cool completely. This prevents the tortillas from becoming soggy.
- In a large bowl, whisk eggs with salt, pepper, and dry seasonings until fully combined.
- Wipe out the skillet and return to medium-low heat with butter. Pour in the egg mixture and stir gently to create large, soft curds.
- Remove eggs from heat when they are about 80% cooked (slightly underdone) to prevent rubberiness after freezing. Let cool.
- Lay out a tortilla and place approximately 1/2 cup of the cooled filling in the center.
- Top with cheese, veggies, and meat. Fold the bottom up, tuck tightly, fold in the sides, and roll up snugly.
- Wrap each burrito tightly in plastic wrap. Place on a baking sheet and flash-freeze for at least 1 hour.
- Transfer frozen burritos to heavy-duty freezer bags, squeezing out excess air. Label with date and store for up to 3 months.
Notes
Ensure all filling ingredients are completely cool before assembling to prevent soggy tortillas. Do not overstuff the burritos to avoid tearing. For reheating, pan-frying thawed burritos in butter yields the best texture. If microwaving, use defrost setting and a damp paper towel.
- Prep Time: 1 hour
- Cook Time: 25 minutes
- Category: Breakfast
- Cuisine: American
Nutrition
- Serving Size: 1 burrito
- Calories: 350
- Sugar: 2
- Sodium: 600
- Fat: 22
- Saturated Fat: 8
- Carbohydrates: 25
- Fiber: 2
- Protein: 18
Keywords: freezer breakfast burritos, meal prep, make ahead breakfast, easy breakfast, egg burritos, batch cooking, healthy breakfast ideas