Let’s be honest for a second. I used to think that eating healthy meant eating bland. You know the kind of meal where the chicken breast is dry enough to use as sandpaper? Yeah, that was my reality for years. I was trying to stick to a clean eating plan, but I was miserable. Then, a few years ago, I stumbled upon a restaurant dish that changed everything for me. It was this incredibly moist, cheesy, herb-crusted chicken that tasted like a cheat meal but was actually pretty good for you.
I spent the next six months testing it at home. I tried dozens of variations. Some were too heavy, some lacked flavor, and others just fell apart in the oven. But then, I found the sweet spot. I realized that the secret wasn’t fancy ingredients; it was about layering flavors and keeping the meat juicy. That’s when Juicy Baked Monterey Chicken was born. It’s not just a recipe; it’s my go-to solution for busy weeknights when I want to feel nourished but also want something that tastes indulgent.
The best part? It only takes four main ingredients to pull off. Seriously. You don’t need a grocery run for obscure spices or expensive cuts of meat. You probably have most of this in your fridge right now. I’ve made this over a dozen times for my family, and it never fails to get clean plates. It’s high-protein, low-carb friendly, and incredibly satisfying. If you’re looking for a dinner that supports your wellness goals without feeling like a diet, this is it. Let’s get cooking.
Why You’ll Love This Recipe
There are a lot of chicken recipes out there, so why should you pick this one? Well, honestly, it’s because it solves the biggest problem people have with healthy cooking: dryness. I’ve tested this method so many times that I can guarantee the chicken will come out tender and succulent every single time. Here is why this dish has become a staple in my kitchen routine:
- Quick & Easy: This comes together in under 15 minutes of prep time. After that, it’s just sitting in the oven. Perfect for those nights when you’re exhausted after work and don’t want to stand over a stove.
- Simple Ingredients: No fancy grocery trips needed. You likely already have chicken breasts, Monterey Jack cheese, green chiles, and maybe some sour cream or mayo in your kitchen. It’s pantry-friendly and stress-free.
- Perfect for Meal Prep: This recipe stores beautifully. I often make a double batch on Sunday to have high-protein lunches ready for the week. It reheats well in the microwave or even the oven without drying out.
- Crowd-Pleaser: My kids, who usually pick at their food, devour this. The melty cheese and mild spice from the chiles make it irresistible to adults too. It’s a guaranteed win at the dinner table.
- Unbelievably Delicious: The texture is next-level comfort food. The cheese creates a golden, bubbly crust, while the creamy topping keeps the chicken moist. It’s savory, rich, and deeply satisfying.
What makes this different from other baked chicken recipes? It’s the specific combination of Monterey Jack and green chiles. Monterey Jack melts beautifully without becoming greasy, and the chiles add a subtle kick that cuts through the richness. It’s not just good; it’s the kind of meal that makes you close your eyes after the first bite. It’s comfort food reimagined—healthier, faster, but with the same soul-soothing satisfaction. Plus, it pairs perfectly with my cauliflower rice stir-fry for a complete low-carb meal.
What Ingredients You Will Need
This recipe relies on simple, wholesome ingredients to deliver bold flavor and satisfying texture without the fuss. You don’t need a pantry full of specialty items. In fact, the beauty of Juicy Baked Monterey Chicken is its accessibility. Here is what you’ll need to make it happen.
- Boneless, Skinless Chicken Breasts: Look for medium-sized breasts. If they are huge, pound them down to an even thickness so they cook uniformly. I prefer organic, free-range chicken when possible because the flavor is just better, but standard supermarket chicken works fine too.
- Monterey Jack Cheese: This is the star of the show. I recommend buying a block and grating it yourself. Pre-shredded cheese contains anti-caking agents that can prevent it from melting smoothly. A block of Sharp Monterey Jack gives a stronger flavor, while Mild Jack is creamier.
- Diced Green Chiles: You’ll find these in the canned vegetable aisle. Look for a 4-ounce can. I like to drain them slightly if they are very wet, but some of that juice adds great flavor to the topping. If you can’t find them, mild jalapeños work as a substitute.
- Sour Cream or Greek Yogurt: This is the secret to keeping the chicken juicy. Sour cream adds richness, while Greek yogurt adds protein and tang. I use full-fat Greek yogurt to keep it creamy but with a bit more nutritional value. Make sure it’s plain and unsweetened.
- Garlic Powder: Just a teaspoon. It adds a savory depth that enhances the cheese without overpowering the dish.
- Chili Powder: Another teaspoon. This adds a warm, earthy note that complements the Mexican-inspired flavors. Adjust this if you prefer less heat.
- Sea Salt and Black Pepper: To taste. Always season your chicken before baking to ensure the flavor penetrates the meat.
If you want to switch things up, you can swap the Monterey Jack for Pepper Jack if you like more spice. For a dairy-free option, use a dairy-free cheese alternative and coconut yogurt. However, I must admit, the traditional combo is hard to beat for that authentic melt-in-your-mouth texture.
Equipment Needed
You don’t need a fancy kitchen to make this dish. Here is what you’ll need:
- Baking Dish: An 8×8 inch or 9×9 inch baking dish is perfect. Glass or ceramic works best because it distributes heat evenly. If you only have metal, that works too, but watch the cooking time closely as metal heats up faster.
- Meat Mallet or Rolling Pin: This is optional but highly recommended. Pounding the chicken to an even ½-inch thickness ensures it cooks at the same rate. Uneven chicken leads to dry spots and raw spots, which is no fun.
- Grater: If you buy block cheese, a box grater is your friend. Microplane works great for fine shreds that melt quickly.
- Mixing Bowl: A small bowl to mix your cheese, chiles, and creamy topping.
- Aluminum Foil: Optional. You can cover the dish with foil for the first half of baking to keep the top from burning, then uncover it to brown the cheese.
I’ve tried using a cast-iron skillet for this too, which is a great alternative if you want to go from oven to table. It adds a nice rustic touch. Just make sure your skillet is oven-safe. Also, keep your grater clean—it’s much easier to grate cheese right before you need it than to clean a cheese-covered grater later!
Preparation Method
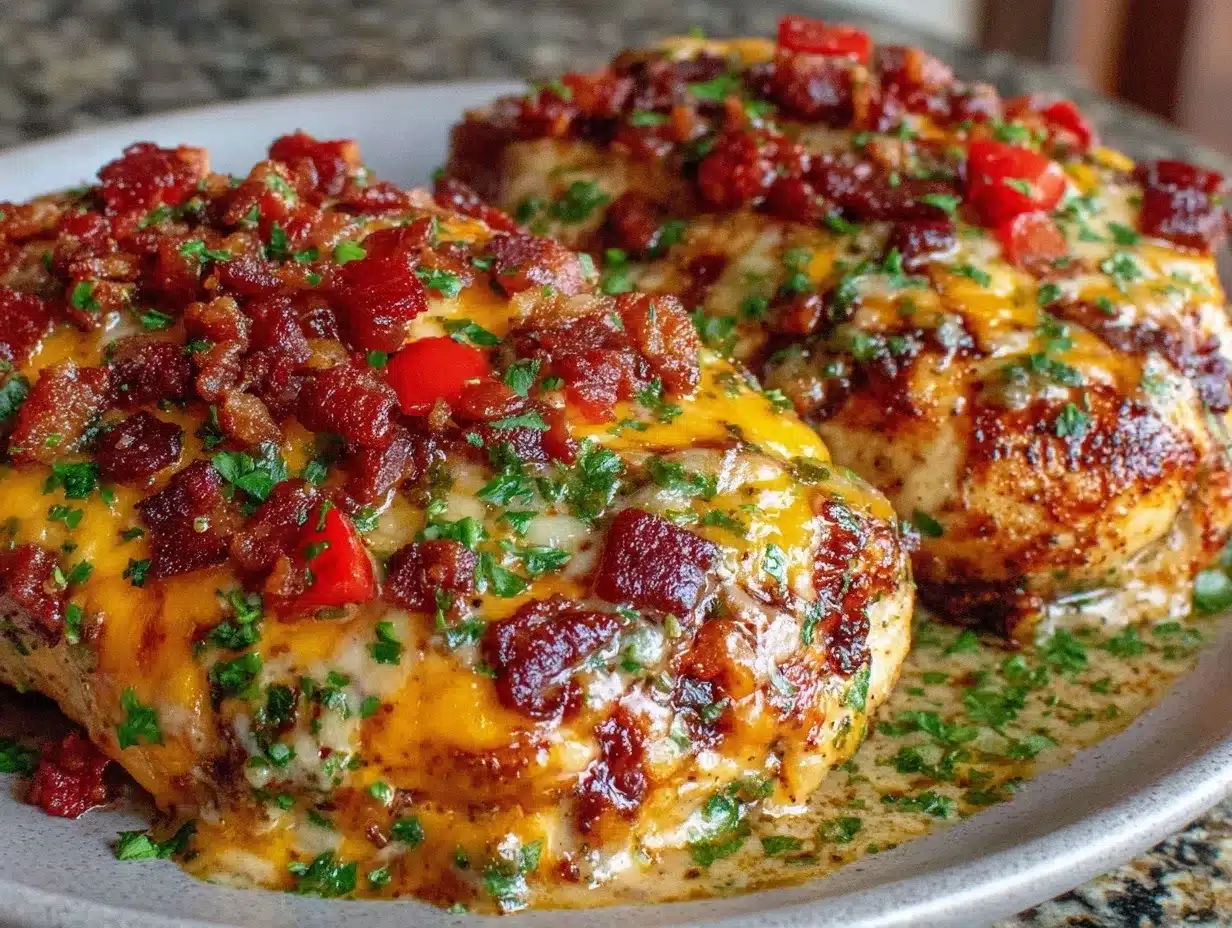
Let’s walk through the steps. I’ve broken this down so you can follow along easily, even if you’re tired at the end of the day.
- Preheat your oven: Set your oven to 375°F (190°C). This temperature is high enough to cook the chicken through quickly but low enough to keep it tender. While it heats up, take your chicken breasts out of the fridge. Let them sit for 10 minutes to take the chill off. This helps them cook more evenly.
- Prepare the chicken: Place the chicken breasts on a cutting board. If they have a thick end, place a piece of plastic wrap over them and gently pound them with a meat mallet until they are about ½-inch thick all around. This step is crucial for uniform cooking. Season both sides generously with salt, pepper, garlic powder, and chili powder. The seasoning should be visible on the surface.
- Arrange in the dish: Lightly spray your baking dish with cooking spray or rub it with a little olive oil. Place the seasoned chicken breasts in the dish in a single layer. Do not overcrowd the pan. If you have to overlap them, the cooking time will change, and the cheese might not melt properly.
- Mix the topping: In a small bowl, combine the grated Monterey Jack cheese, diced green chiles (drained), and your sour cream or Greek yogurt. Mix until well combined. You want a thick, spreadable paste. If it’s too runny, add a bit more cheese. If it’s too thick, add a teaspoon more of the creamy component.
- Top the chicken: Spoon the cheese mixture evenly over each chicken breast. Use the back of a spoon to spread it out to the edges. You want a generous layer of topping on each piece. The topping should cover the chicken completely to lock in moisture.
- Bake: Place the dish in the preheated oven. Bake for 20-25 minutes. The chicken is done when it reaches an internal temperature of 165°F (74°C). If you don’t have a thermometer, cut into the thickest part to check. The juices should run clear, and the meat should be opaque.
- Rest and serve: Remove the dish from the oven and let it rest for 5 minutes. This allows the juices to redistribute throughout the meat. If you cut into it immediately, all the juices will run out, and the chicken will be dry. Serve warm with your favorite sides.
Pro tip: If you notice the cheese is browning too quickly before the chicken is cooked, tent the dish loosely with aluminum foil. This will protect the topping while the heat penetrates the meat.
Cooking Tips & Techniques
I’ve made a few mistakes along the way, so you don’t have to. Here are some professional techniques to ensure success.
Don’t skip the pounding: I know it’s an extra step, but uneven chicken breasts are the enemy of juicy meat. The thick end cooks faster than the thin end. By pounding them to an even thickness, you ensure that every bite is perfectly cooked. It takes about 30 seconds per breast.
Grate your own cheese: I cannot stress this enough. Pre-shredded cheese has cornstarch added to prevent clumping. While this is great for storage, it makes the cheese slide off the chicken in the oven rather than melting into a gooey blanket. Block cheese melts beautifully and sticks to the chicken.
Watch the oven temperature: Every oven is different. If your oven runs hot, check the chicken at 20 minutes. If it runs cool, it might take 25-30 minutes. Use a meat thermometer to be sure. Overcooked chicken is dry chicken, and we don’t want that.
Multitask wisely: While the chicken is baking, you can start prepping your sides. This recipe is low-carb friendly, so it pairs well with roasted vegetables or a simple green salad. Use the 5-minute resting time to plate your sides. This makes dinner feel more organized and less rushed.
Sensory cues: You’ll know it’s done when the cheese is bubbly and slightly golden on top. The kitchen will smell like warm, savory cheese and mild spices. The chicken should feel firm but not hard to the touch.
Variations & Adaptations
This recipe is a canvas for your creativity. Here are some ways to adapt it to your taste.
- Spicy Kick: Swap Monterey Jack for Pepper Jack cheese. Add a diced jalapeño to the topping mixture. This is great if you like heat.
- Herb Garden: Add 1 teaspoon of dried oregano or cilantro to the cheese mixture. This adds a fresh, herbal note that complements the chiles beautifully.
- Avocado Topping: Instead of sour cream, mix mashed avocado with lime juice and cilantro. Spread this on the chicken before baking. It adds healthy fats and a creamy texture.
- Gluten-Free: This recipe is naturally gluten-free. Just ensure your cheese and chiles are certified gluten-free if you have celiac disease.
- Personal Favorite: I sometimes add a layer of black beans under the chicken. It adds fiber and makes the meal even more filling. Just rinse and drain a can of black beans and spread them in the dish before adding the chicken.
These variations allow you to keep the recipe interesting without changing the core technique. Try one new variation each time you make it to find your perfect blend.
Serving & Storage Suggestions
This chicken is best served warm. I like to garnish it with fresh cilantro or a squeeze of lime juice for brightness. It pairs wonderfully with zucchini noodle salad for a light, refreshing side. You can also serve it over cauliflower rice or with a side of roasted broccoli.
Storage: Store leftovers in an airtight container in the refrigerator for up to 3 days. The chicken stays moist for a few days because of the creamy topping.
Freezing: You can freeze baked Monterey Chicken. Let it cool completely, then wrap individual portions in plastic wrap and place them in a freezer bag. Freeze for up to 2 months. Thaw in the refrigerator overnight before reheating.
Reheating: Reheat in the microwave for 1-2 minutes, or in the oven at 350°F for 10-15 minutes. Cover with foil to prevent drying out. The cheese will soften and the flavors will meld together even more.
Flavors actually develop over time. The second day, the cheese and chiles have had more time to infuse into the chicken, making it even more flavorful.
Nutritional Information & Benefits
This dish is a nutritional powerhouse. Chicken breast is an excellent source of lean protein, which helps with muscle repair and keeps you feeling full longer. Monterey Jack cheese provides calcium and vitamin A, which are essential for bone health and immune function. Green chiles are rich in vitamin C and antioxidants.
Using Greek yogurt instead of sour cream boosts the protein content and adds probiotics, which are good for gut health. This recipe is naturally low-carb and gluten-free, making it suitable for various dietary preferences. One serving contains approximately 350 calories, 30g of protein, 15g of fat, and 3g of carbohydrates. It’s a balanced meal that supports steady energy levels without the crash. I love that I can feel nourished after eating this, not sluggish.
Conclusion
I hope you give this Juicy Baked Monterey Chicken a try. It’s simple, delicious, and incredibly satisfying. It proves that healthy eating doesn’t have to be boring or complicated. I love this recipe because it brings comfort to my table without compromising on nutrition. It’s a meal that cares for your body while delighting your taste buds.
Feel free to customize it with your favorite herbs or spices. Make it your own. And please, let me know how it turns out! Leave a comment below with your thoughts or share a photo of your creation. I’d love to see how you adapt this recipe for your family. Happy cooking, and remember, good food is good for the soul.
Frequently Asked Questions
Can I use chicken thighs instead of breasts?
Yes, you can use boneless, skinless chicken thighs. They have more fat, so they will be even juicier. The cooking time might be slightly longer, so check for doneness at 25 minutes.
What can I use if I’m allergic to dairy?
You can use dairy-free cheese alternatives and coconut yogurt or olive oil for the topping. The flavor will be different, but it will still be tasty and moist.
How do I know when the chicken is done?
The safest way is to use a meat thermometer. The internal temperature should reach 165°F (74°C). The juices should run clear, and the meat should be opaque.
Can I make this in an air fryer?
Yes, you can. Cook at 375°F for 12-15 minutes. Check the chicken halfway through to ensure the cheese doesn’t burn. Air fryers cook faster, so keep an eye on it.
Is this recipe kid-friendly?
Absolutely. The mild flavor of Monterey Jack and green chiles is usually a hit with kids. If your children are sensitive to spice, you can rinse the chiles well or use mild salsa instead.
Pin This Recipe!
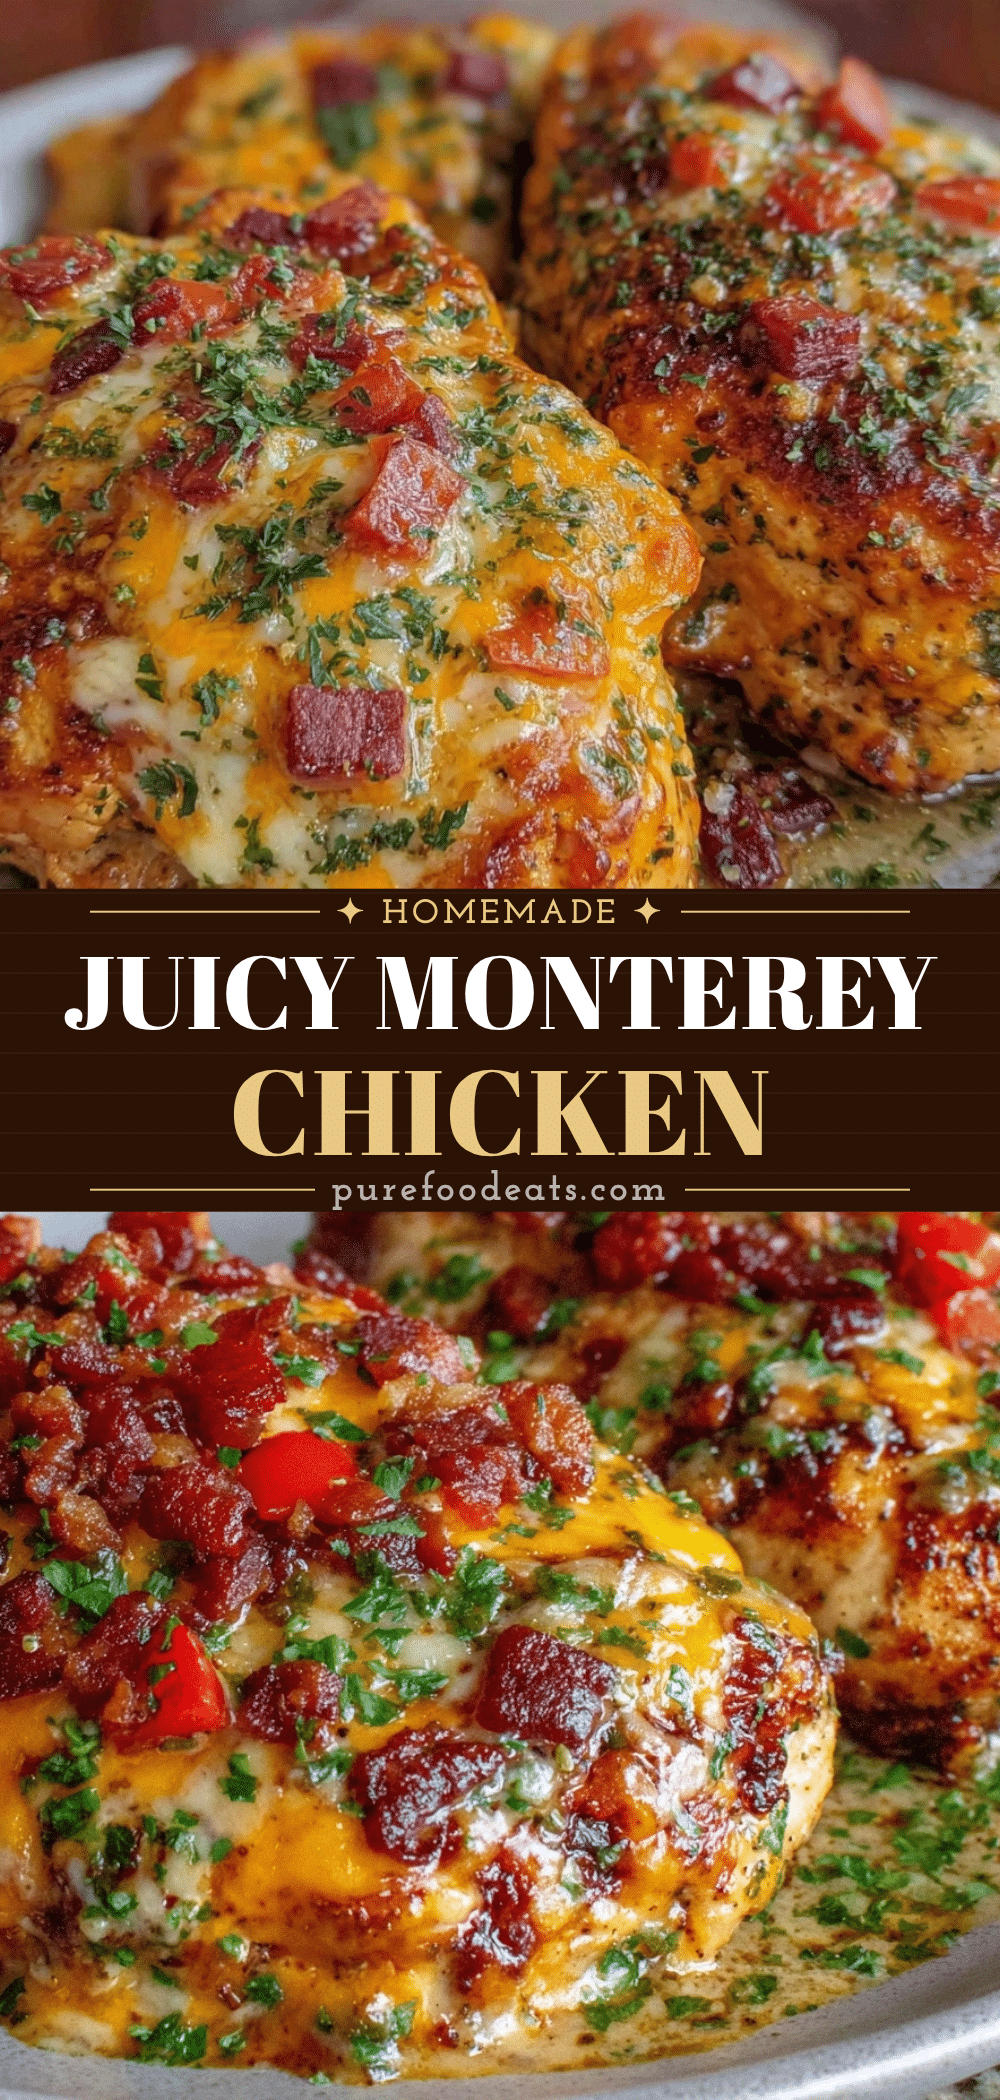

Juicy Baked Monterey Chicken
- Total Time: 40 minutes
- Yield: 4 servings 1x
Description
A healthy, high-protein, low-carb dinner made with just four main ingredients. This recipe features tender chicken breasts topped with a creamy mixture of Monterey Jack cheese, green chiles, and sour cream or Greek yogurt, baked to perfection for a moist and flavorful meal.
Ingredients
- 4 boneless, skinless chicken breasts
- 1 cup grated Monterey Jack cheese
- 4 oz diced green chiles, drained
- 1/2 cup sour cream or full-fat plain Greek yogurt
- 1 tsp garlic powder
- 1 tsp chili powder
- Sea salt and black pepper to taste
- Cooking spray or olive oil for greasing
Instructions
- Preheat oven to 375°F (190°C). Let chicken breasts sit at room temperature for 10 minutes.
- Place chicken breasts on a cutting board and pound to an even ½-inch thickness using a meat mallet or rolling pin.
- Season both sides of the chicken generously with salt, pepper, garlic powder, and chili powder.
- Lightly grease an 8×8 or 9×9 inch baking dish with cooking spray or olive oil.
- Arrange the seasoned chicken breasts in a single layer in the baking dish.
- In a small bowl, mix the grated Monterey Jack cheese, drained green chiles, and sour cream (or Greek yogurt) until a thick paste forms.
- Spoon the cheese mixture evenly over each chicken breast, spreading it to the edges to cover completely.
- Bake for 20-25 minutes, or until the internal temperature reaches 165°F (74°C). If the cheese browns too quickly, tent loosely with foil.
- Remove from oven and let rest for 5 minutes before serving to allow juices to redistribute.
Notes
For best results, grate your own cheese from a block rather than using pre-shredded cheese, which contains anti-caking agents that prevent smooth melting. Pounding the chicken to an even thickness ensures uniform cooking and prevents dry spots. This recipe is naturally gluten-free; ensure your cheese and chiles are certified gluten-free if necessary.
- Prep Time: 15 minutes
- Cook Time: 25 minutes
- Category: Main Course
- Cuisine: American
Nutrition
- Serving Size: 1 chicken breast wit
- Calories: 350
- Sugar: 1
- Sodium: 450
- Fat: 15
- Saturated Fat: 8
- Carbohydrates: 3
- Protein: 30
Keywords: monterey chicken, baked chicken, healthy dinner, low carb, high protein, easy weeknight dinner, gluten free, meal prep