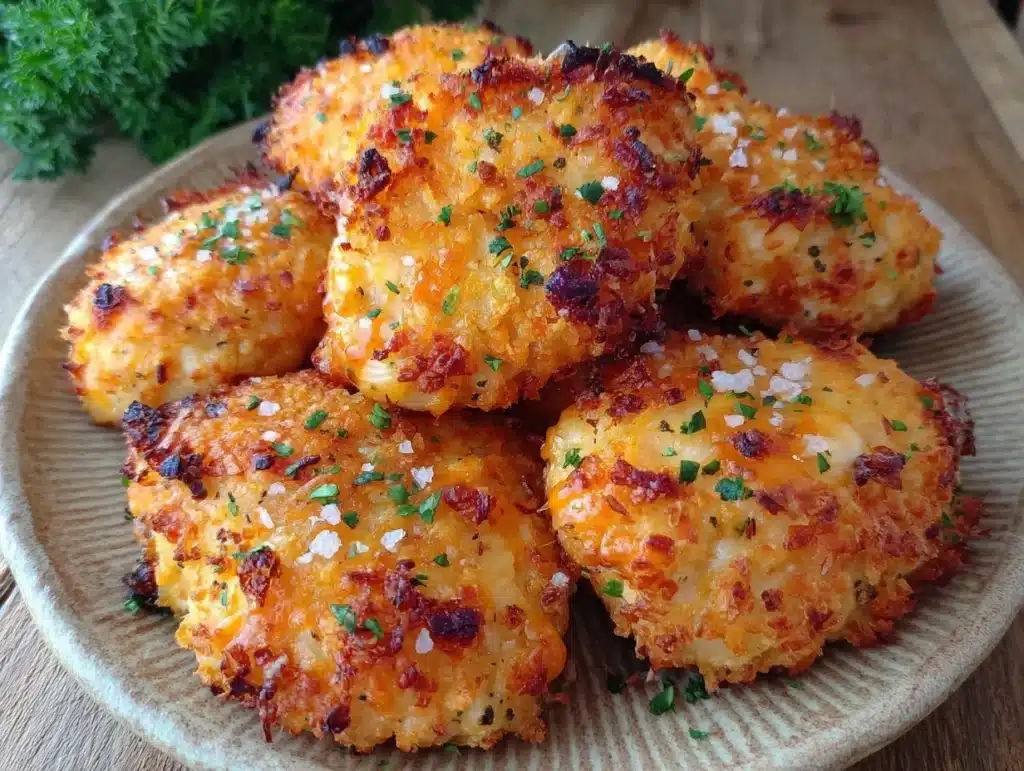
The smell of sizzling garlic and toasted breadcrumbs hits you before you even pull the pan off the heat. It’s that specific, mouth-watering aroma that makes your stomach growl loud enough to annoy your partner. I remember the exact moment I fell in love with this version of crispy panko chicken. It was a Tuesday, raining hard, and I was too tired to order takeout but too hungry to make anything complicated. I had a handful of dry chicken breasts and a stale box of panko breadcrumbs in the back of the pantry. Honestly, I thought it would be a disaster.
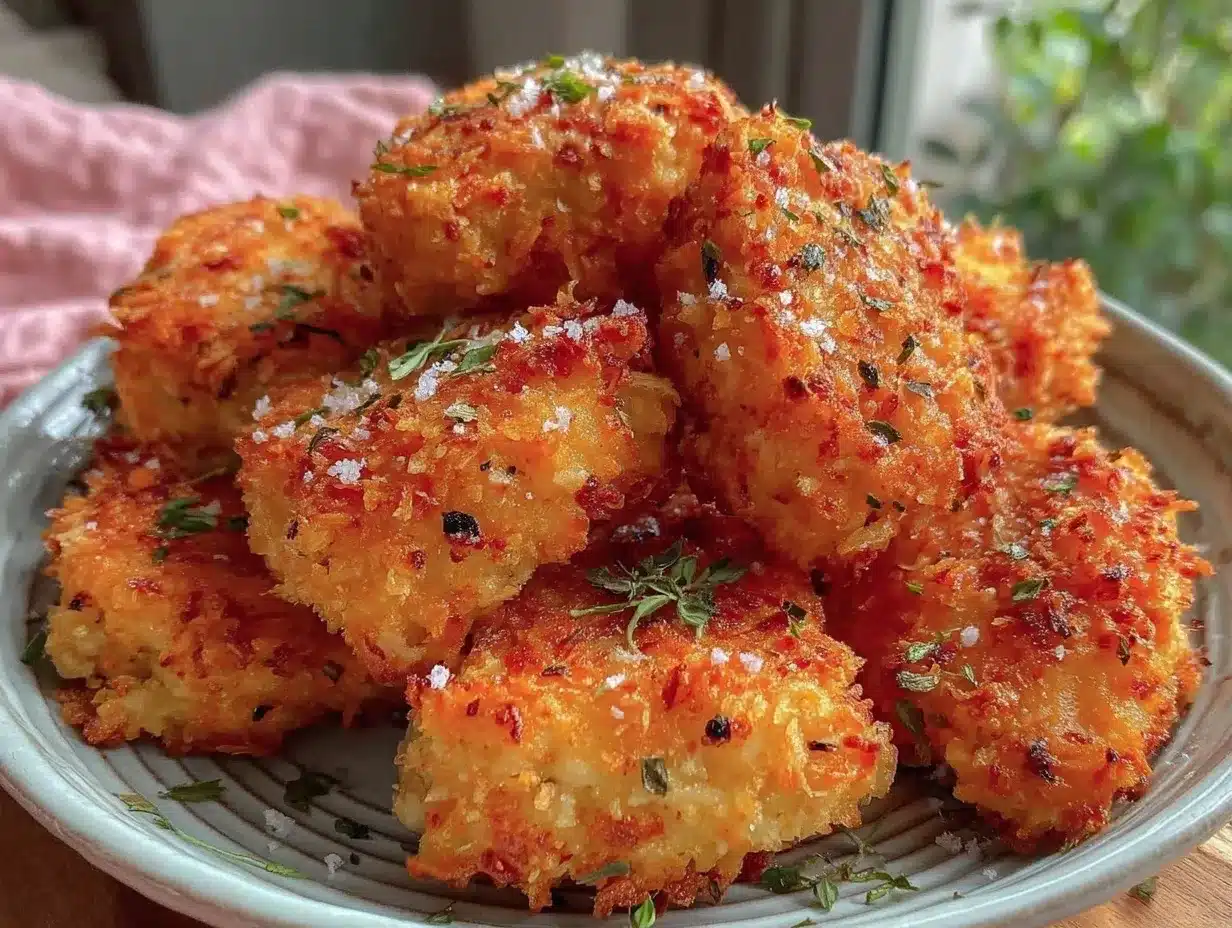
But then I added a secret ingredient that changed everything. It wasn’t a fancy spice blend or an expensive sauce. It was just a handful of finely grated parmesan mixed into the breadcrumbs. The result? A crust so shatteringly crisp it sounded like stepping on autumn leaves, while the meat inside stayed juicy and tender. That night, I ate three pieces and felt genuinely nourished. This isn’t just fried chicken. It’s a nutrient-dense dinner that feels like a cheat meal but keeps you feeling light and energized. If you’ve been looking for a way to get more protein into your week without sacrificing flavor, this is your new go-to.
Why You’ll Love This Recipe
Let’s be real, most chicken recipes end up either dry as cardboard or soggy in the middle. This crispy panko chicken perfection avoids both pitfalls. I’ve tested this method over a dozen times, adjusting the oil temperature and breading ratios until it was foolproof. The magic here lies in the structure of the panko itself. Those flat, airy flakes create more surface area for browning, which means you get maximum crunch with less oil than traditional breadcrumbs. It’s a small change that makes a huge difference in both texture and health.
Here is why this recipe has earned a permanent spot in my weekly rotation:
- Quick & Easy: From start to finish, this comes together in under 30 minutes. It is perfect for busy weeknights when you want something better than cereal but don’t have hours to cook.
- Simple Ingredients: You likely already have everything in your kitchen. Chicken, eggs, panko, and a few pantry staples. No fancy grocery trips needed.
- Perfect for Meal Prep: The breading holds up surprisingly well in the fridge. It stays crispy for days, making it a fantastic option for packed lunches or quick reheats.
- Crowd-Pleaser: Even the pickiest eaters at my table go back for seconds. The savory crunch appeals to kids and adults alike.
- Unbelievably Delicious: The texture is next-level comfort food. It’s crispy on the outside, tender on the inside, and packed with savory umami flavor.
- The Hidden Boost: By using panko mixed with a touch of parmesan and a light egg wash, you are adding extra protein and calcium without changing the taste profile. It’s the boost you won’t even taste, but your body will thank you.
What makes this different from other breaded chicken recipes is the double-dip technique I use. It ensures the coating sticks tightly so it doesn’t fall off in the pan. This isn’t just another version of breaded chicken. It is my tested, family-approved best version that delivers consistent results every single time.
What Ingredients You Will Need
This recipe relies on simple, wholesome ingredients to deliver bold flavor and satisfying texture without the fuss. The key is quality over quantity. Since the breading is the star, you want ingredients that toast beautifully. I prefer using large, boneless, skinless chicken breasts because they cook evenly and absorb the marinade well. For the breading, standard panko works best, but you can also use whole wheat panko if you want a nuttier flavor and extra fiber.
Here is what you will need to make this crispy panko chicken perfection:
- Chicken Breasts: 4 large pieces, pounded to an even ½-inch thickness. This ensures they cook at the same rate. (Look for organic or pasture-raised if possible for better flavor.)
- Panko Breadcrumbs: 1 cup. Japanese-style breadcrumbs are essential for that signature shatteringly crisp texture. Do not substitute with regular breadcrumbs if you want the right crunch.
- Grated Parmesan Cheese: ¼ cup. This adds a salty, umami kick and helps the breading brown faster. (I recommend using freshly grated parmesan from a block rather than the pre-shredded kind in a bag, which has anti-caking agents.)
- All-Purpose Flour: ½ cup. This creates the initial dry layer that helps the egg wash stick to the chicken.
- Eggs: 2 large eggs, beaten with 1 tablespoon of water. The water thins the egg slightly for a smoother coating.
- Garlic Powder: 1 teaspoon. Adds a subtle savory depth without adding moisture.
- Onion Powder: 1 teaspoon. Complements the garlic and adds sweetness.
- Dried Parsley: 1 teaspoon. Adds a pop of color and a mild herbal note.
- Salt and Black Pepper: To taste. Season the chicken generously before breading.
- Avocado Oil or Vegetable Oil: For frying. Avocado oil has a high smoke point, making it ideal for shallow frying without burning.
If you need to make this gluten-free, you can swap the all-purpose flour for a 1:1 gluten-free baking flour and use gluten-free panko breadcrumbs. For a dairy-free option, simply omit the parmesan and add an extra tablespoon of olive oil to the breadcrumb mixture. I personally love the texture of fresh panko, so I always keep a few boxes on hand.
Equipment Needed
You don’t need a fancy kitchen to make this, but having the right tools makes a huge difference in the final result. A heavy-bottomed skillet is crucial. I use a cast-iron skillet because it retains heat incredibly well. This steady heat is what allows the panko to brown evenly without burning. If you don’t have cast iron, a stainless steel or heavy non-stick pan works too. Just avoid thin aluminum pans, as they can create hot spots that burn the breadcrumbs.
You will also need three shallow bowls for the breading station. This setup allows you to move the chicken through the flour, egg, and panko smoothly. A wire cooling rack is essential for placing the cooked chicken on. It allows air to circulate around the bottom, keeping the crust crispy. If you place the chicken on a plate, the steam will make the bottom soggy quickly.
For measuring oil, a liquid measuring cup is handy. But the most important tool is a meat mallet or a heavy rolling pin. Pound the chicken to an even thickness. Uneven chicken leads to dry edges and raw centers. I also recommend using a kitchen thermometer to check the internal temperature of the chicken. It should reach 165°F (74°C). This ensures food safety without overcooking. Keep your oil temperature between 350°F and 375°F (175°C-190°C). If you don’t have a thermometer, drop a pinch of panko into the oil. If it sizzles and turns golden in 30 seconds, your oil is ready.
Preparation Method
Making this crispy panko chicken is straightforward if you follow the steps carefully. The key is to keep your hands clean between stations and work efficiently. Here is how to get it done right.
- Prepare the Chicken: Start by placing the chicken breasts between two sheets of plastic wrap or in a heavy-duty ziplock bag. Use a meat mallet to pound them to an even ½-inch thickness. This step is non-negotiable for even cooking. Season both sides generously with salt and pepper. (Time estimate: 5 minutes)
- Set Up the Breading Station: Take three shallow bowls. In the first bowl, place the all-purpose flour. In the second bowl, whisk the eggs with a tablespoon of water until smooth. In the third bowl, combine the panko breadcrumbs, grated parmesan, garlic powder, onion powder, and dried parsley. Mix these dry ingredients well with a fork. (Time estimate: 3 minutes)
- Dredge in Flour: Take a piece of chicken and dredge it in the flour. Shake off any excess. You want a thin, even coat. This layer acts as glue for the egg wash. (Time estimate: 1 minute per piece)
- Dip in Egg Wash: Place the floured chicken into the egg mixture. Turn it over to coat both sides completely. Let any excess egg drip off back into the bowl. Don’t let it pool on the chicken. (Time estimate: 1 minute per piece)
- Press into Panko: Place the egg-coated chicken into the panko mixture. Press the breadcrumbs firmly onto the chicken. Use your hands to pack the crumbs in. You want a thick, even coating. Flip and press the other side. (Time estimate: 2 minutes per piece)
- Heat the Oil: Pour about ¼ inch of avocado oil into a large skillet. Heat over medium-high heat. Test the oil with a pinch of panko. If it sizzles immediately, it’s ready. (Time estimate: 5-7 minutes)
- Fry the Chicken: Carefully place the chicken pieces into the hot oil. Do not overcrowd the pan. Fry for 4-5 minutes on the first side until golden brown and crispy. Flip and cook for another 4-5 minutes. The internal temperature should reach 165°F (74°C). (Time estimate: 10 minutes per batch)
- Drain and Rest: Transfer the cooked chicken to a wire cooling rack. Let it rest for 3-5 minutes before serving. This allows the juices to redistribute. (Time estimate: 5 minutes)
If the breadcrumbs are browning too fast but the chicken isn’t cooked through, lower the heat slightly. If the coating is sliding off, you didn’t press the panko firmly enough into the egg wash. Trust your eyes and touch. The crust should feel hard and crisp when you touch it.
Cooking Tips & Techniques
Getting the crunch right is all about temperature control. One common mistake is frying at too high a heat. The outside burns before the inside cooks. I always aim for a steady medium-high heat. Another tip is to let the breaded chicken sit for 5 minutes before frying. This helps the coating set and adhere better. It prevents the panko from falling off in the pan.
I once tried to rush this process and ended up with a pan full of loose breadcrumbs. Lesson learned: patience pays off. Also, make sure your chicken is cold when you start. If it sits out too long, it can start to warm up and affect the texture. Work in batches if you have more than four pieces. Overcrowding the pan lowers the oil temperature, leading to greasy, soggy chicken.
For extra crispiness, you can finish the chicken in the oven for 3-4 minutes after pan-frying. This ensures the center is cooked through without over-browning the crust. Use tongs to flip the chicken gently. Avoid using a fork, which can pierce the coating and let juices escape. Keep the cooked chicken warm in a low oven (200°F) while you finish the rest of the batch. This technique ensures every piece is served hot and crispy.
Variations & Adaptations
This recipe is very versatile. You can easily adapt it to suit different tastes or dietary needs. For a spicy kick, add a teaspoon of cayenne pepper or red pepper flakes to the panko mixture. It adds a nice heat that complements the savory flavor. If you want a healthier option, you can bake the chicken instead of frying. Spray the breaded chicken with cooking oil and bake at 400°F (200°C) for 20-25 minutes, flipping halfway. It won’t be as crispy as frying, but it’s a lighter alternative.
For a gluten-free version, use gluten-free panko and almond flour instead of regular flour. The texture will be slightly denser, but the flavor remains excellent. You can also swap the parmesan for nutritional yeast if you want a vegan-friendly boost, though the texture won’t be quite the same. I also love adding a little lemon zest to the panko for a bright, fresh flavor. It cuts through the richness of the oil beautifully. Experiment with different herbs like thyme or rosemary for an earthy twist.
Serving & Storage Suggestions
Serve this crispy panko chicken hot, straight from the rack. It pairs beautifully with a simple green salad, roasted asparagus, or mashed potatoes. A squeeze of fresh lemon juice adds a perfect finishing touch. For a more substantial meal, serve it with a side of garlic butter pasta or steamed broccoli.
To store leftovers, place the chicken in an airtight container in the refrigerator for up to 3 days. To reheat, use an air fryer at 350°F for 3-4 minutes. This restores the crispiness better than a microwave. If you must use a microwave, place a paper towel under the chicken to absorb excess moisture. The flavors actually meld nicely overnight, making it a great option for meal prep lunches.
Nutritional Information & Benefits
This recipe is a great source of lean protein, which is essential for muscle repair and satiety. The panko coating adds carbohydrates for energy, while the parmesan provides calcium and additional protein. Each serving contains approximately 350-400 calories, depending on the oil used. It is naturally low in sugar and can be made gluten-free or dairy-free. The use of panko allows for less oil absorption compared to traditional breadcrumbs, making it a slightly healthier option for fried foods. I love this recipe because it feels indulgent but supports my wellness goals. It’s a meal that makes you feel good from the inside out.
Conclusion
This crispy panko chicken perfection is more than just a meal. It’s a confidence booster in the kitchen. Once you master this technique, you’ll never go back to dry, boring chicken again. I encourage you to try it and see how the texture transforms your dinner routine. Feel free to adjust the spices to match your favorite flavors. This recipe is a blank canvas for your creativity.
I’d love to hear how it turns out for you. Leave a comment below with your favorite side dish or any variations you tried. Share this recipe with a friend who needs some dinner inspiration. Cooking should be fun, nourishing, and delicious. Enjoy every crispy bite!
Frequently Asked Questions
Can I use regular breadcrumbs instead of panko?
You can, but the texture will be different. Regular breadcrumbs are denser and will create a harder, cracker-like crust. Panko creates a light, airy crunch. For the best results, stick with panko.
How do I keep the chicken juicy?
Pounding the chicken to an even thickness is the most important step. It ensures the chicken cooks quickly and evenly. Do not overcook it. Remove it from the heat as soon as it reaches 165°F.
Can I freeze the breaded chicken before cooking?
Yes, you can. Place the breaded chicken on a baking sheet and freeze until solid. Then transfer to a freezer bag. Cook from frozen, adding a few extra minutes to the cooking time.
What oil is best for frying?
Avocado oil, vegetable oil, or canola oil are good choices because they have high smoke points. Avoid butter or olive oil, as they can burn at high temperatures.
Why did my breading fall off in the pan?
This usually happens if the chicken wasn’t dried before dredging, or if you didn’t press the panko firmly enough. Make sure to pat the chicken dry and pack the crumbs tightly.
Pin This Recipe!
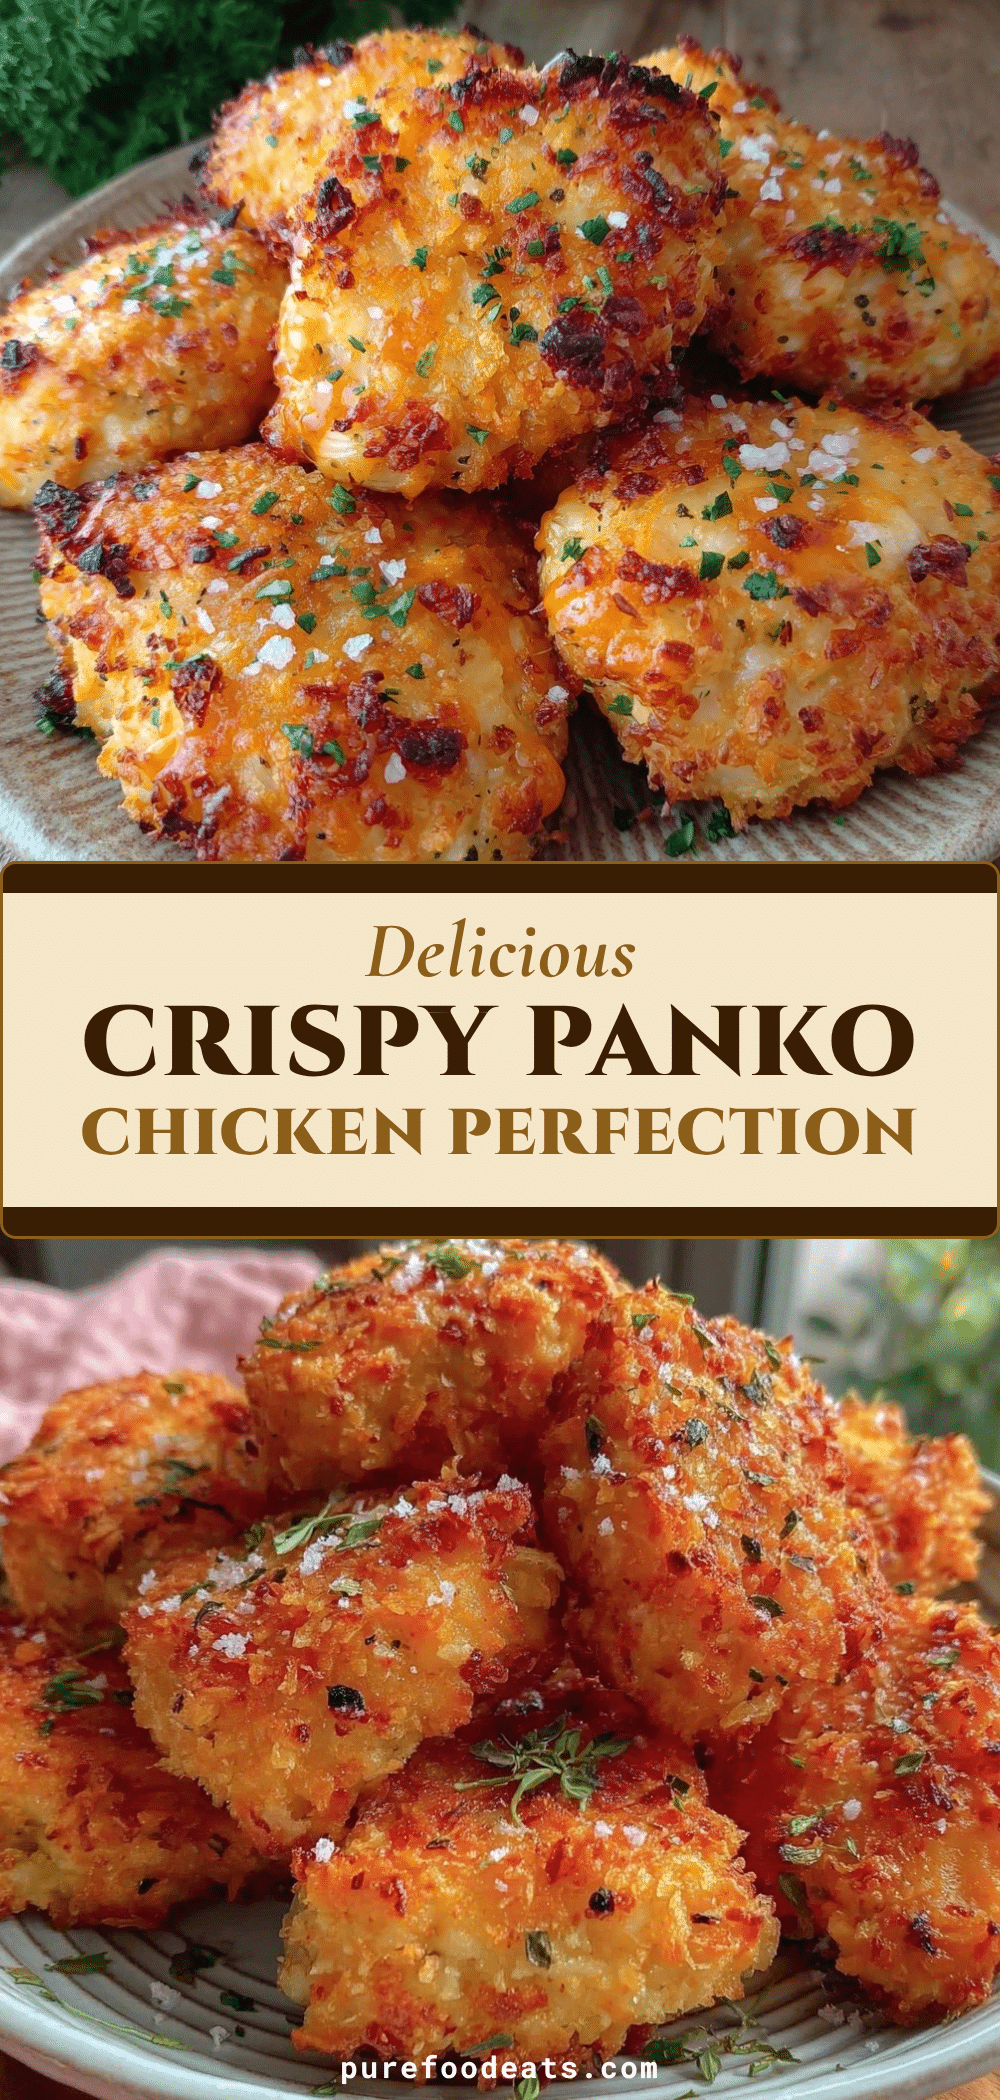

Crispy Panko Chicken: The Boost You Wont Even Taste
- Total Time: 30 minutes
- Yield: 4 servings 1x
Description
A foolproof recipe for shatteringly crisp panko chicken that stays juicy inside. This nutrient-dense dinner uses a double-dip breading technique with parmesan for extra flavor and protein, ready in under 30 minutes.
Ingredients
- 4 large boneless, skinless chicken breasts, pounded to ½-inch thickness
- 1 cup panko breadcrumbs
- ¼ cup freshly grated parmesan cheese
- ½ cup all-purpose flour
- 2 large eggs, beaten with 1 tablespoon water
- 1 teaspoon garlic powder
- 1 teaspoon onion powder
- 1 teaspoon dried parsley
- Salt and black pepper, to taste
- Avocado oil or vegetable oil, for frying
Instructions
- Place chicken breasts between plastic wrap and pound to an even ½-inch thickness. Season both sides generously with salt and pepper.
- Set up three shallow bowls: one with flour, one with beaten eggs and water, and one with panko, parmesan, garlic powder, onion powder, and parsley mixed together.
- Dredge each chicken piece in flour, shaking off excess.
- Dip the floured chicken into the egg wash, ensuring full coverage and letting excess drip off.
- Press the chicken firmly into the panko mixture, coating both sides thickly and evenly.
- Heat about ¼ inch of oil in a heavy-bottomed skillet (like cast iron) over medium-high heat until it reaches 350°F-375°F.
- Fry chicken in batches for 4-5 minutes per side until golden brown and crispy. Internal temperature should reach 165°F.
- Transfer cooked chicken to a wire cooling rack and let rest for 3-5 minutes before serving.
Notes
For extra crispiness, finish in the oven at 400°F for 3-4 minutes. To keep chicken warm while cooking batches, place on a rack in a 200°F oven. For baking, spray with oil and bake at 400°F for 20-25 minutes. Let breaded chicken sit for 5 minutes before frying to help coating adhere.
- Prep Time: 15 minutes
- Cook Time: 15 minutes
- Category: Main Course
- Cuisine: American
Nutrition
- Serving Size: 1 chicken breast
- Calories: 375
- Sugar: 1
- Sodium: 400
- Fat: 15
- Saturated Fat: 4
- Carbohydrates: 25
- Fiber: 1
- Protein: 30
Keywords: crispy panko chicken, easy chicken recipe, weeknight dinner, high protein meal, gluten-free option, dairy-free option, meal prep chicken