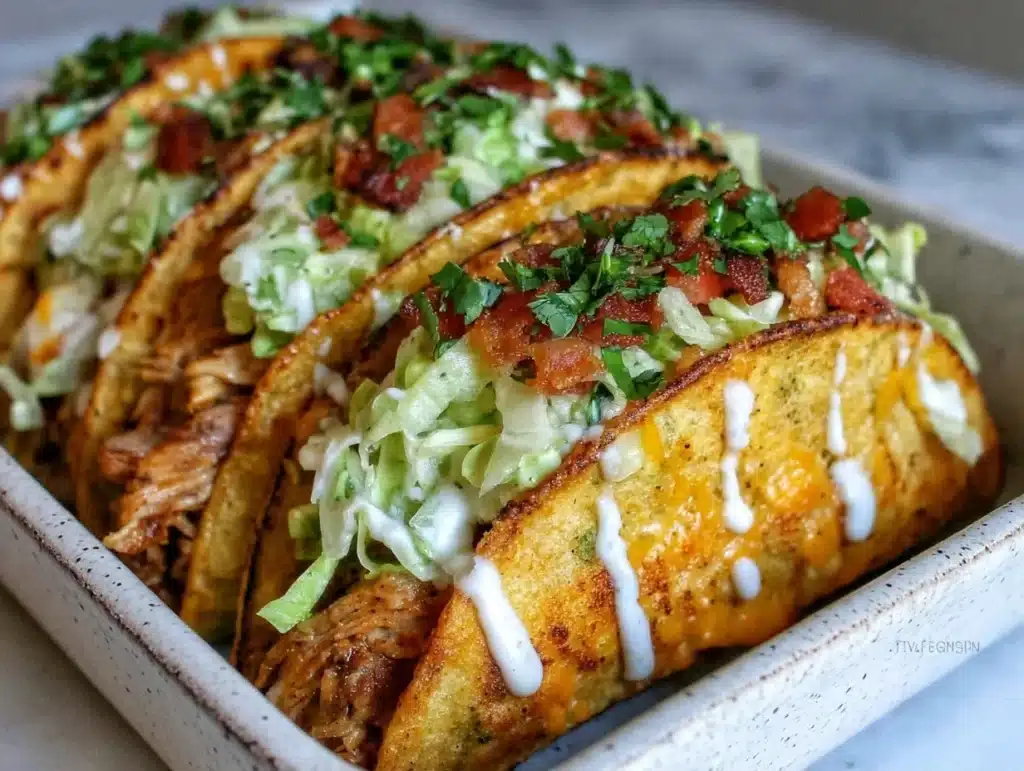
The crunch of that chicken skin hitting your teeth is the first thing you notice. Then comes the salty, smoky hit of the bacon. Honestly, it’s a flavor explosion that feels like a cheat meal, but it’s actually pretty clever. I first made these crispy chicken bacon ranch tacos during a chaotic Tuesday when I had leftover rotisserie chicken and a craving for something bold. I didn’t want to just throw cold meat in a tortilla. I wanted texture. I wanted joy.
Let’s face it, we all have those nights where “healthy” feels like a dirty word. You want comfort. You want crunch. You want the nostalgic taste of ranch without the heavy guilt trip. That’s exactly why I developed this recipe. It’s designed to be the ultimate lighter swap that doesn’t sacrifice an ounce of flavor. You’d never guess it’s packed with protein and fiber compared to traditional heavy tacos. It’s nourishing, but it tastes like a treat.
As someone who spends way too much time testing recipes in my kitchen, I know that balance is key. You need enough fat to carry the flavor, but not so much that you feel sluggish afterward. These tacos hit that sweet spot perfectly. They are great for busy families who need dinner on the table in 30 minutes. They are also perfect for anyone looking to add more variety to their meal prep routine. The combination of crispy chicken, crisp lettuce, and cool ranch creates a sensory experience that keeps you coming back for seconds. It’s not just dinner; it’s a mood booster.
Why You’ll Love This Recipe
After making this recipe over a dozen times to get the chicken coating just right, I can confidently say this is my go-to weeknight winner. There is a specific kind of magic that happens when you combine the crunch of fried chicken with the coolness of ranch dressing. It’s a texture contrast that food scientists love, but home cooks just enjoy. This isn’t just another taco recipe; it’s a carefully balanced dish that respects your time and your taste buds. I’ve tested different breading methods to find the one that stays crispy even after you add the wet ingredients. This version wins every time.
- Quick & Easy: The whole process comes together in under 30 minutes. You can have these on the table faster than you can order delivery, which is a huge win for busy weeknights or sudden cravings.
- Simple Ingredients: You likely already have most of these items in your kitchen. Chicken, bacon, tortillas, and ranch ingredients are pantry staples. No fancy grocery trips needed here.
- Perfect for Meal Prep: The chicken can be prepped ahead and stored. Reheat gently, and the texture holds up surprisingly well. It’s great for lunch boxes or quick dinners later in the week.
- Crowd-Pleaser: Kids love the familiar flavors of chicken and ranch. Adults appreciate the smarter nutritional profile. It’s a dish that satisfies everyone at the table without compromise.
- Unbelievably Delicious: The texture and flavor combo is next-level comfort food. The crunch of the chicken paired with the savory bacon creates a depth of flavor that feels indulgent but is actually quite smart.
What makes this recipe different from the rest is the method. Most people just toss chicken in flour. I use a double-dip method with a light breadcrumb coating to ensure maximum crunch. It’s a small tweak that makes a massive difference. This isn’t just about eating less; it’s about eating better without feeling deprived. You close your eyes after the first bite and realize that “lighter” doesn’t mean “boring.” It’s comfort food reimagined for the modern home cook.
What Ingredients You Will Need
This recipe uses simple, wholesome ingredients to deliver bold flavor and satisfying texture without the fuss. The beauty of this dish lies in how accessible everything is. You don’t need specialty stores or hard-to-find items. Everything comes together to create that signature savory, crunchy experience. Here is what you’ll need to gather before you start cooking.
- Chicken Breasts: Boneless, skinless chicken breasts, cut into bite-sized strips. I recommend using organic chicken if possible for better flavor and texture. (Adds lean protein base)
- All-Purpose Flour: For the initial dredge. It helps the egg wash stick. Use regular white flour for the best crispiness. (Creates the binding layer)
- Eggs: Large eggs, beaten. They act as the glue for the breading. Room temperature eggs work best. (Binds the coating)
- Panko Breadcrumbs: These are crucial for that extra crunch. Japanese-style breadcrumbs are lighter and crispier than regular ones. I prefer Kikkoman brand for consistency. (Provides the crunch)
- Smoked Bacon: Thick-cut bacon, cooked until crispy and crumbled. The smokiness is essential. Look for nitrate-free options if you prefer. (Adds smoky saltiness)
- Ranch Dressing: Use a light or Greek yogurt-based ranch to keep it healthier. Hidden Valley or Kraft work well, but check the sugar content. (Provides the creamy tang)
- Shredded Lettuce: Iceberg or romaine lettuce, shredded. Iceberg adds the best crunch. Fresh is always better than pre-shredded bags. (Adds freshness and crunch)
- Shredded Cheddar Cheese: Sharp cheddar adds a nice bite. Use a block and shred it yourself for better melting. (Adds richness and flavor)
- Tortillas: Flour or corn tortillas, warmed. Flour is softer and holds up better to wet toppings. (Holds everything together)
- Avocado or Guacamole: Sliced or mashed. Adds healthy fats and creaminess. (Adds healthy fats)
- Tomatoes: Diced Roma tomatoes. They add a fresh, acidic contrast to the rich flavors. (Adds brightness)
- Green Onions: Sliced thinly. They add a mild onion flavor and a pop of color. (Adds garnish and flavor)
- Cumin: A pinch of ground cumin in the flour dredge. It adds a subtle warmth that complements the ranch. (Adds depth)
- Garlic Powder: Mixed into the breading for an extra layer of savory flavor. (Adds aroma and taste)
- Oil for Frying: Vegetable or canola oil. You need enough to shallow fry the chicken strips. (For cooking)
For the best results, I always suggest looking for firm, fresh chicken breasts. If they are too thin, they will dry out quickly. Also, make sure your bacon is cooked until it is very crispy. You want it to hold its texture against the soft chicken. Substitution is easy here too. You can use almond flour for a gluten-free option if needed. Swap dairy ranch with a vegan version if you prefer plant-based options.
Equipment Needed
You don’t need a fancy kitchen to make these tacos. Standard tools will get the job done beautifully. I use a large skillet for frying the chicken. Cast iron is my go-to because it holds heat well and gives an even crust. If you don’t have cast iron, a heavy-bottomed stainless steel pan works too. Avoid non-stick if you can, as it doesn’t get hot enough for true crispiness.
A wire cooling rack is essential. Place your fried chicken on it instead of paper towels. This prevents the bottom from getting soggy from steam. It’s a small detail that makes a big difference in texture. I’ve ruined batches by letting them sit on towels before, and the crunch was lost. Trust me on this one.
You’ll also need a few shallow bowls for the dredging station. One for flour, one for eggs, and one for breadcrumbs. Tongs are helpful for turning the chicken strips gently. A sharp knife is needed for cutting the chicken and chopping veggies. Budget-friendly options include a standard skillet and basic bowls. You likely already own everything you need.
Preparation Method
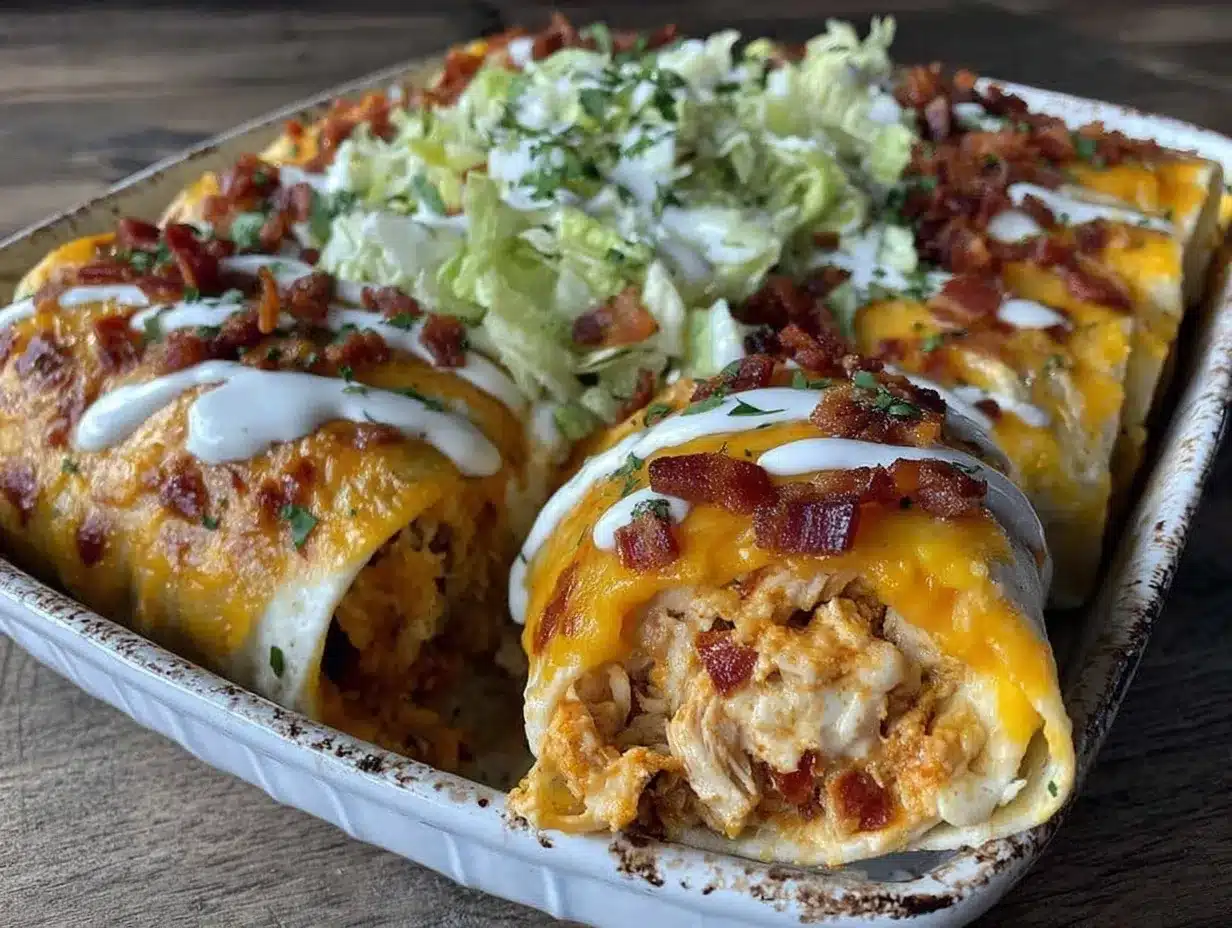
Start by prepping your chicken. Cut the breasts into uniform strips, about one inch thick. This ensures they cook evenly. Season the strips lightly with salt and pepper. Then, set up your dredging station. In the first bowl, mix the flour with cumin and garlic powder. This seasoning base is important for the overall flavor profile.
In the second bowl, beat the eggs with a tablespoon of water. This helps thin the egg wash so it coats evenly. In the third bowl, pour the panko breadcrumbs. You can mix in a little extra salt here if you like. Now, take a chicken strip and dredge it in the flour mixture. Shake off the excess. Dip it into the egg wash, letting any extra drip off. Finally, press it firmly into the panko breadcrumbs. Make sure it is fully coated. Repeat with all strips.
Heat about half an inch of oil in your skillet over medium-high heat. You want the oil to be around 350°F (175°C). If you don’t have a thermometer, test it by dropping a breadcrumb in. If it sizzles immediately, you’re good. Carefully place the chicken strips in the oil. Do not overcrowd the pan. Fry for about 3-4 minutes per side until golden brown and cooked through. The internal temperature should reach 165°F (74°C). Remove and place on the wire rack.
While the chicken cooks, chop your bacon. Cook it in a separate pan until crispy. Drain on paper towels. Once the chicken is done, keep it warm in a low oven. Prepare your toppings. Shred the lettuce, dice the tomatoes, and slice the green onions. Warm your tortillas in a dry skillet or microwave. Assemble the tacos by layering lettuce, chicken, bacon, cheese, tomatoes, and a drizzle of ranch. Top with avocado and enjoy immediately.
Cooking Tips & Techniques
One common mistake is frying the chicken at too high a heat. If the oil is too hot, the outside burns before the inside cooks. Keep the heat at medium-high. Another tip is to let the chicken rest after frying. This allows the juices to redistribute. If you cut into it immediately, you lose moisture. Also, keep your panko dry. If it gets wet from handling, it won’t stick well. Work quickly but gently.
I once tried using regular breadcrumbs, and the result was dense and heavy. Panko is lighter and airier. It creates that signature shatteringly crisp texture. If you don’t have panko, you can pulse regular breadcrumbs in a food processor to break them up. But panko is worth the trip to the store. Another technique is to double-coat the chicken for extra crunch. Dip in flour, egg, panko, then egg again, and panko again. It takes more time but is worth it for special occasions.
Multitasking is key here. Start the bacon early since it takes longer to crisp up. While the bacon is in the oven, prep the chicken. This keeps your cooking time efficient. Also, taste your ranch dressing before adding it. Some brands are very salty. Adjust accordingly. If the ranch is too thick, thin it with a little milk or buttermilk. It should be drizzle-able, not gloopy.
Variations & Adaptations
There are many ways to adapt this recipe to suit your needs. For a lighter version, bake the chicken instead of frying. Toss the breaded strips in a little oil and bake at 400°F (200°C) for 15-20 minutes, flipping halfway. It won’t be as crunchy, but it’s healthier. You can also use turkey cutlets for a leaner protein option.
For a spicy kick, add cayenne pepper to the flour mixture or use a spicy ranch dressing. If you’re avoiding dairy, use a vegan ranch and cheese alternative. The flavors still work well together. For a gluten-free option, use almond flour and gluten-free panko. The texture might be slightly different, but it’s still delicious.
I also like to add a squeeze of lime juice over the top before serving. It cuts through the richness of the ranch and bacon. It adds a fresh, bright note that balances the meal. You can also swap the cheddar for pepper jack for extra heat. Or use blue cheese dressing for a tangier profile. The base recipe is very flexible. Experiment to find your favorite combination.
Serving & Storage Suggestions
Serve these tacos immediately while the chicken is still warm and crispy. Warm tortillas are essential for a good taco experience. If they are cold, they tear easily. You can serve them on a platter with extra toppings on the side. This allows everyone to customize their own taco. Pair them with a side of black bean salad or a simple green salad. A cold beer or iced tea works well as a beverage.
For storage, keep the chicken and toppings separate. Store the chicken in an airtight container in the fridge for up to 3 days. Reheat in an air fryer or toaster oven to restore crunch. Microwave heating will make it soggy. The bacon can be stored separately and reheated quickly. The ranch dressing should be kept in a jar in the fridge.
Flavors develop over time. The lettuce may wilt if left too long, so assemble just before eating. You can meal prep the chicken and bacon for the week. Just reheat and assemble fresh tortillas and veggies each day. This saves time during busy weekdays. The key is to keep the components separate until the last moment.
Nutritional Information & Benefits
These tacos offer a balanced meal with protein, healthy fats, and carbohydrates. The chicken provides lean protein, which helps with muscle repair and satiety. The bacon adds flavor and some fat, but in moderation, it fits into a balanced diet. The avocado offers heart-healthy monounsaturated fats. The lettuce and tomatoes add fiber and vitamins. Using light ranch reduces the calorie count significantly.
Per serving, you can expect around 400-500 calories, depending on the amount of oil and cheese used. This is a reasonable amount for a main meal. It’s higher in protein than a typical fast-food taco. The fiber from the veggies aids digestion. For those watching sodium, use low-sodium bacon and rinse the lettuce. This recipe is naturally gluten-free if you use corn tortillas and gluten-free breading. It’s a great option for those looking to enjoy comfort food without the heavy aftermath.
Conclusion
These crispy chicken bacon ranch tacos are a weeknight game-changer. They combine familiar flavors with a smarter preparation method. You get the crunch and creaminess you crave, but with better ingredients and balance. I hope you try this recipe and find it as enjoyable as I do. It’s a dish that brings joy to the table and satisfies even the pickiest eaters. Feel free to adjust the spices or toppings to match your preferences. Cooking should be fun and flexible.
Don’t forget to share your creations with me. I love seeing how you adapt recipes. Leave a comment below with your favorite variation. Did you add extra spice? Did you bake it instead? I want to hear about it. If you make this, tag me on social media. Your support means the world to me. Happy cooking, and enjoy every crunchy bite!
Frequently Asked Questions
Can I use rotisserie chicken for this recipe?
Yes, you can use rotisserie chicken. Shred it and toss it in the flour and egg mixture before adding panko. Fry it quickly just to crisp up the coating. It saves time and still tastes great.
What is the best type of lettuce for tacos?
Iceberg lettuce is the best choice because it stays crunchy and doesn’t wilt quickly. Romaine is also a good option if you prefer a slightly stronger flavor. Avoid soft lettuces like spinach for this recipe.
How do I keep the chicken crispy after adding toppings?
Assemble the tacos just before eating. Place the chicken on the tortilla, then add the wet toppings like ranch and tomatoes last. This minimizes the time the chicken spends in moisture.
Can I make this recipe gluten-free?
Absolutely. Use corn tortillas instead of flour. Substitute the all-purpose flour with almond flour or a gluten-free flour blend. Use gluten-free panko breadcrumbs. The flavor remains the same.
What can I use instead of ranch dressing?
You can use a creamy cilantro lime dressing, blue cheese dressing, or a simple sour cream and garlic mix. Each offers a different flavor profile that works well with chicken and bacon.
Pin This Recipe!
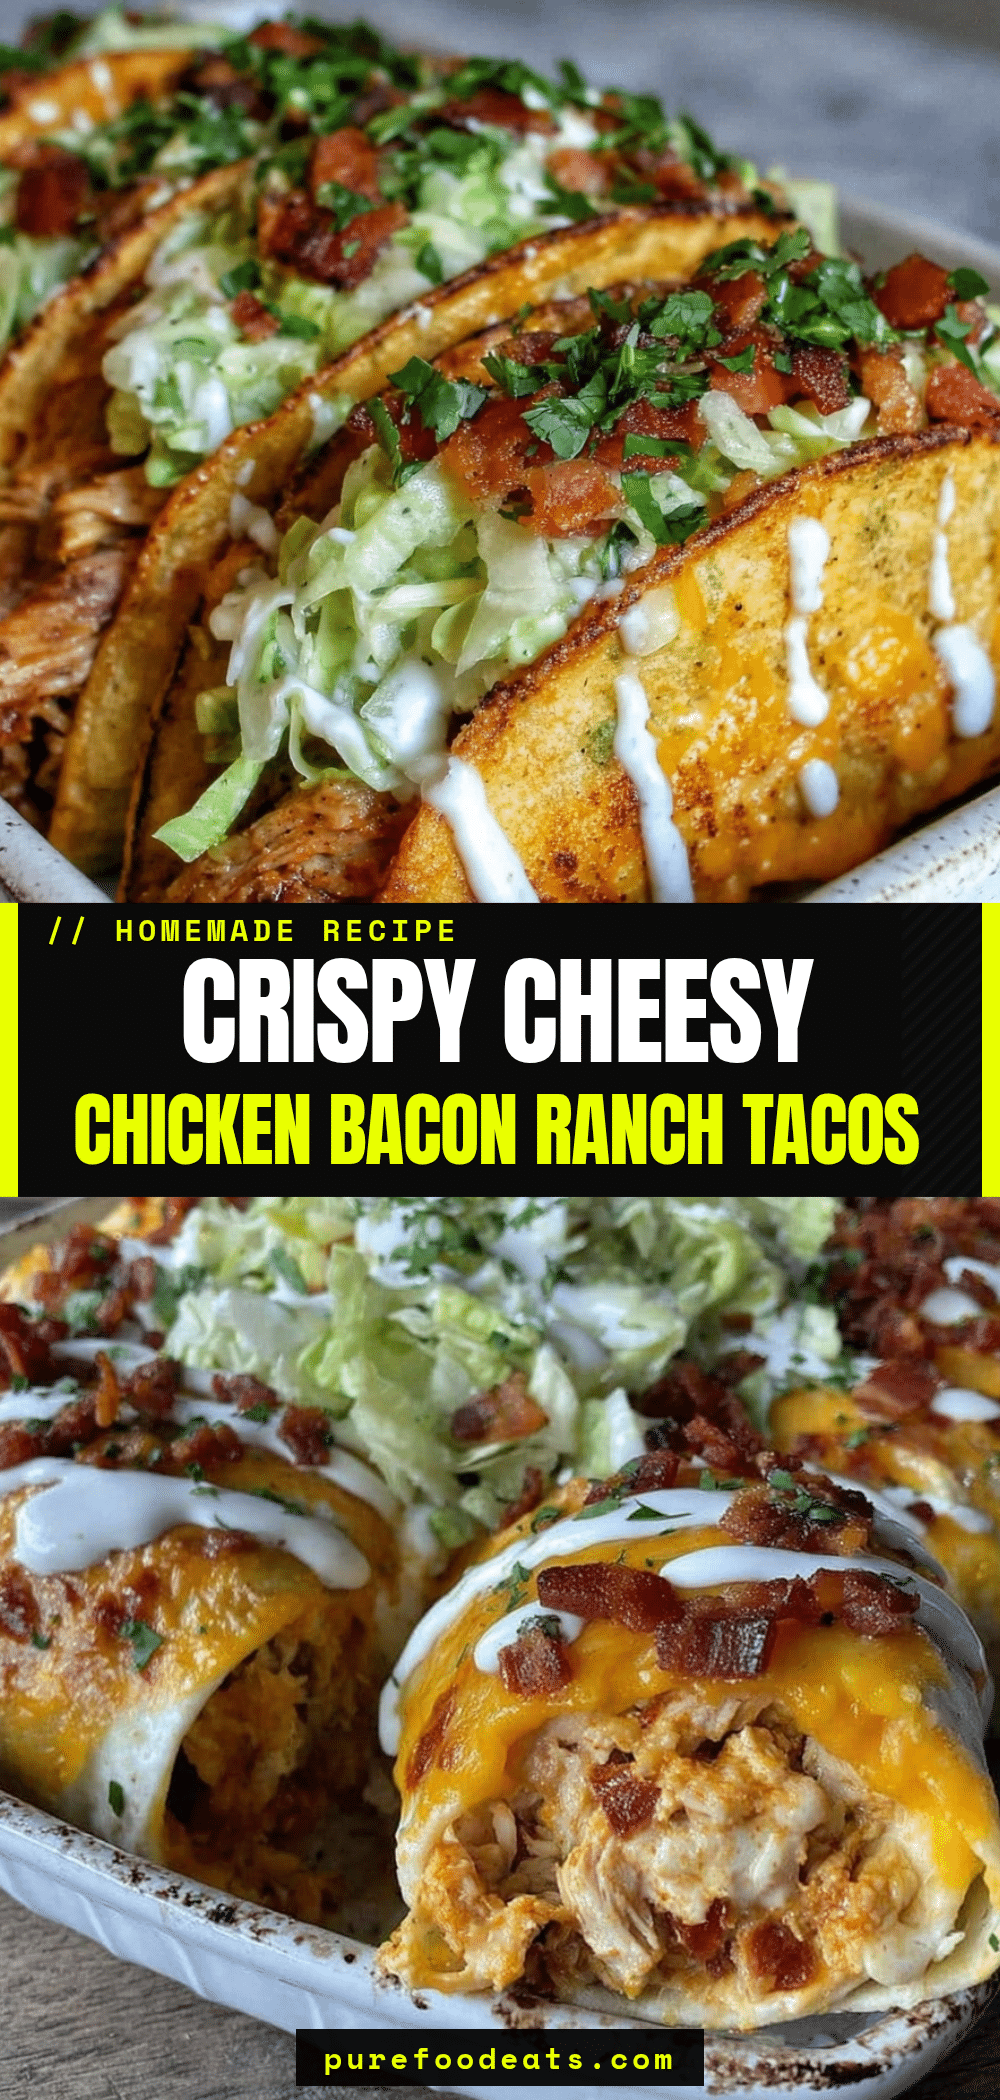

Crispy Chicken Bacon Ranch Tacos: 10 Lighter Swaps
- Total Time: 30 minutes
- Yield: 4 servings
Description
A lighter, weeknight-friendly taco recipe featuring double-dipped, crispy chicken strips, smoky bacon, and cool ranch dressing on warm tortillas, designed to deliver maximum crunch and flavor with balanced nutrition.
Ingredients
- Boneless, skinless chicken breasts, cut into bite-sized strips
- All-purpose flour
- Large eggs, beaten
- Panko breadcrumbs
- Smoked bacon, cooked until crispy and crumbled
- Light or Greek yogurt-based ranch dressing
- Shredded lettuce (Iceberg or romaine)
- Shredded sharp cheddar cheese
- Flour or corn tortillas, warmed
- Avocado or guacamole, sliced or mashed
- Roma tomatoes, diced
- Green onions, sliced thinly
- Ground cumin
- Garlic powder
- Vegetable or canola oil for frying
- Salt and pepper
Instructions
- Cut chicken breasts into uniform strips about one inch thick and season lightly with salt and pepper.
- Set up a dredging station with three shallow bowls: one with flour mixed with cumin and garlic powder, one with beaten eggs thinned with a tablespoon of water, and one with panko breadcrumbs.
- Dredge each chicken strip in the flour mixture, shaking off excess, then dip into the egg wash, and finally press firmly into the panko breadcrumbs to coat completely.
- Heat about half an inch of oil in a large skillet (preferably cast iron) over medium-high heat until it reaches 350°F (175°C).
- Fry chicken strips in batches to avoid overcrowding for 3-4 minutes per side until golden brown and cooked through (internal temperature 165°F/74°C).
- Remove chicken and place on a wire cooling rack to keep crispy; keep warm in a low oven.
- Cook bacon in a separate pan until crispy, then drain on paper towels.
- Prepare toppings by shredding lettuce, dicing tomatoes, and slicing green onions.
- Warm tortillas in a dry skillet or microwave.
- Assemble tacos by layering lettuce, chicken, bacon, cheese, tomatoes, and a drizzle of ranch. Top with avocado and serve immediately.
Notes
For extra crunch, double-coat the chicken by dipping in flour, egg, panko, then egg again, and panko again. To keep chicken crispy, assemble tacos just before eating and add wet toppings last. For a lighter version, bake breaded chicken at 400°F (200°C) for 15-20 minutes instead of frying. Store components separately to maintain texture.
- Prep Time: 15 minutes
- Cook Time: 15 minutes
- Category: Main Course
- Cuisine: Mexican
Nutrition
- Serving Size: 1 taco per serving
- Calories: 450
- Sugar: 2
- Sodium: 600
- Fat: 25
- Saturated Fat: 8
- Carbohydrates: 30
- Fiber: 3
- Protein: 28
Keywords: crispy chicken tacos, bacon ranch tacos, lighter taco recipe, weeknight dinner, meal prep, gluten-free option, healthy comfort food