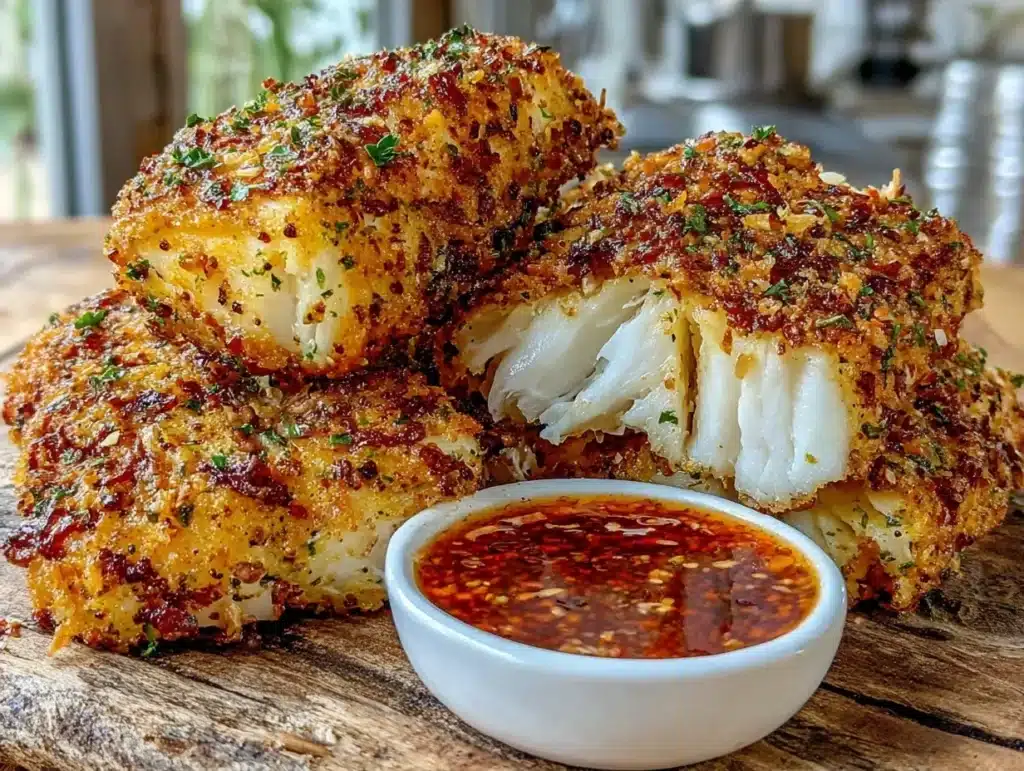
Let’s be honest for a second. You just got home from work, your feet hurt, and the last thing you want to do is stand over a hot stove. You know that feeling, right? I remember coming home from a particularly brutal week of back-to-back meetings, staring into the fridge with zero motivation. The idea of chopping vegetables or cleaning a greasy pan felt impossible. That is exactly when I stumbled upon this air fryer tilapia recipe. It wasn’t just a quick fix; it was a lifesaver.
I had a package of tilapia fillets that had been sitting in the freezer for what felt like forever. I didn’t have time to thaw them properly, let alone cook them in a way that wouldn’t leave my kitchen smelling like fishy disaster. So, I threw them in the air fryer with some simple seasonings and a little lemon. The result? Crispy on the outside, flaky on the inside, and ready in under ten minutes. Honestly, it felt like magic. No splatter, no smell lingering in the house, and zero stress.
This isn’t just about speed, though. It’s about making healthy eating actually accessible for busy people. We all know tilapia is a lean protein, but let’s face it, plain steamed fish is boring. This method transforms it into something that actually tastes like a restaurant meal. You get that satisfying crunch without the deep-fryer guilt. It’s perfect for weeknights when you need dinner on the table fast, but you still want to eat something that nourishes your body. I’ve made this over a dozen times, and it never fails to impress my family. Even my picky eater son asks for seconds, which is a miracle in our house.
As someone who has spent years testing recipes for real life, not just Instagram photos, I can tell you this is the real deal. It’s simple, it’s reliable, and it works every single time. Whether you are cooking for one or feeding a hungry crew, this air fryer tilapia is your new best friend. It’s the kind of meal that takes the pressure off your evening and puts the focus back on enjoying your food. Let’s get into how you can make it happen.
Why You’ll Love This Recipe
There are a few reasons why this simple tilapia dish has become a staple in my weekly rotation. First off, the texture is unmatched. When you cook fish in an air fryer, the hot air circulates rapidly around the food. This creates a crisp exterior that stays crunchy while the inside remains moist and tender. It’s a game-changer compared to baking, which often leaves fish soggy, or pan-frying, which requires constant watching and flipping. I’ve tested this method against traditional baking and shallow frying, and the air fryer wins hands down for consistency and ease.
- Quick & Easy: From preheating to plating, this meal takes less than 15 minutes. It’s perfect for those chaotic weeknights when you’re running on fumes.
- Simple Ingredients: You don’t need a fancy grocery run. Most of these items are pantry staples. You likely already have panko breadcrumbs, lemon, and spices in your kitchen.
- Healthy & Light: Tilapia is naturally low in fat and high in protein. By air frying instead of deep frying, you cut down on unnecessary calories and oil without sacrificing flavor.
- Crowd-Pleaser: Kids love the crispy texture, and adults appreciate the clean taste. It’s versatile enough to serve with a salad, roasted veggies, or even just a squeeze of lemon.
- Minimal Cleanup: Line your air fryer basket with parchment paper or foil, and you’re done. No scrubbing stuck-on fish bits from a pan later.
What really sets this apart is the flavor profile. It’s not just plain fish. The combination of garlic powder, paprika, and a touch of cayenne adds depth without overpowering the delicate taste of the tilapia. I remember the first time I made this, I was skeptical that such simple ingredients could taste so good. But after that first bite, I was hooked. It’s comfort food that doesn’t weigh you down. It’s the kind of meal that makes you feel good about what you’re eating. Plus, it’s incredibly forgiving. If you over-season slightly, it still tastes great. If you undercook it by a minute, it’s still edible. It’s a recipe that builds your confidence in the kitchen.
Another big reason to love this is the versatility. You can switch up the spices based on what you have. Want it spicy? Add more cayenne. Want it herby? Throw in some dried parsley or thyme. It adapts to your mood and your pantry. This flexibility is key for anyone who wants to cook healthy meals without feeling restricted. It’s not a rigid set of rules; it’s a guideline that lets you be creative. And let’s be real, creativity in the kitchen makes cooking more fun. This recipe brings that fun back into your weeknight routine.
What Ingredients You Will Need
This recipe relies on wholesome, accessible ingredients to deliver bold flavor and satisfying texture without the fuss. You don’t need anything exotic or hard to find. The beauty of this dish lies in its simplicity. Most of these items are likely already in your kitchen, which means no extra trips to the store. I’ve tried different brands and types of breadcrumbs, and I’ve found that a mix of panko and regular breadcrumbs gives the best crunch. Here is what you need to gather before you start.
For the Fish
- Tilapia Fillets: You will need about 1 to 1.5 pounds of tilapia. Look for fresh or frozen fillets that are about 6 ounces each. If using frozen, make sure to pat them very dry. I prefer fresh when available, but frozen works fine if thawed properly. The key is to remove as much moisture as possible.
- Egg: One large egg acts as the binder. It helps the coating stick to the fish. You can whisk it in a shallow bowl. Some people use milk, but egg gives a slightly firmer crust.
- Milk or Buttermilk: A tablespoon of milk or buttermilk in the egg mixture helps tenderize the fish slightly. It’s an optional step, but it adds a nice touch of richness.
For the Coating
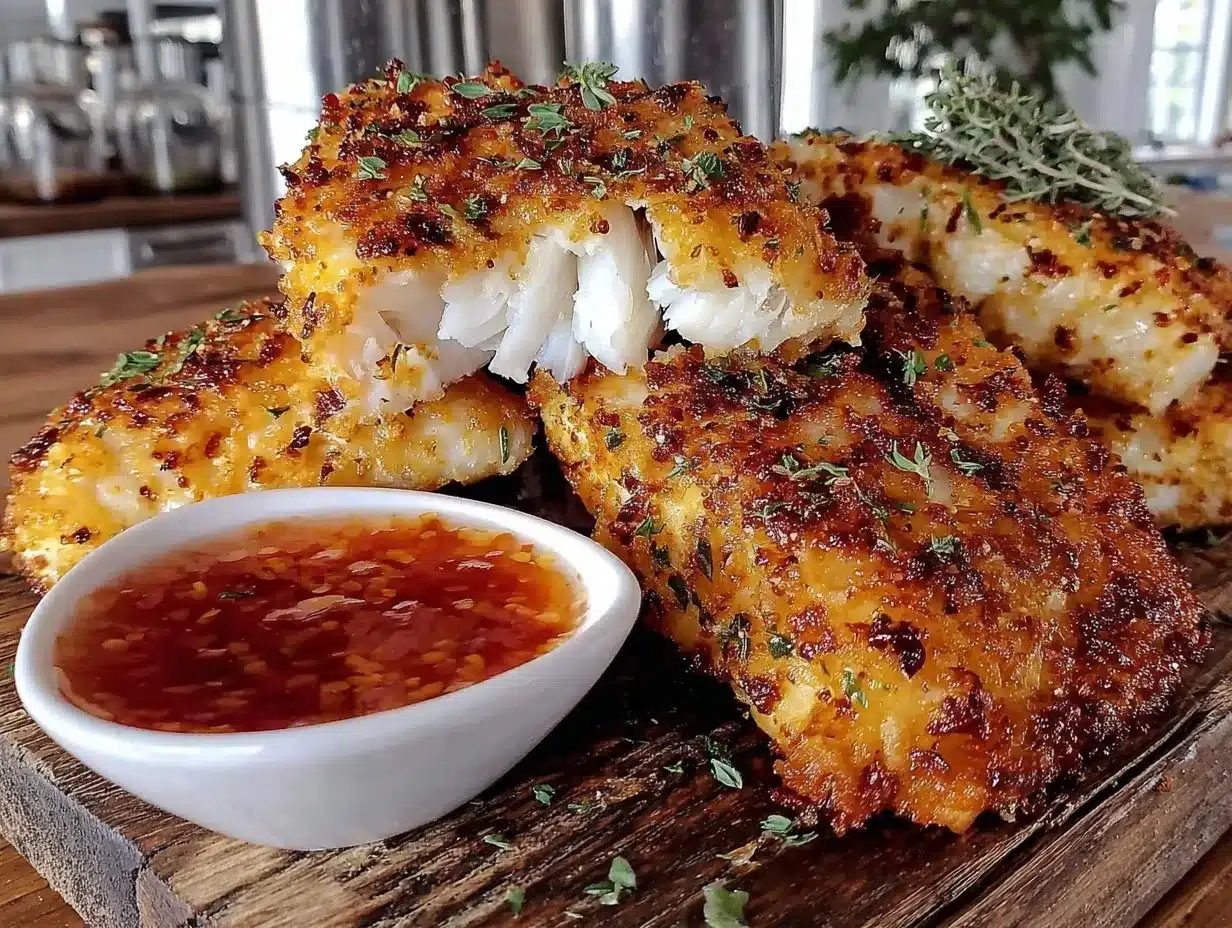
- Panko Breadcrumbs: Half a cup of panko breadcrumbs is essential for that signature crunch. Panko is lighter and crispier than regular breadcrumbs. I recommend brands like Progresso or Kikkoman for consistent quality.
- All-Purpose Flour: Two tablespoons of flour help the panko adhere better. It creates a base layer that keeps the crumbs from falling off during cooking.
- Garlic Powder: One teaspoon of garlic powder adds a savory depth. Don’t skip this; it’s the backbone of the flavor.
- Smoked Paprika: One teaspoon of smoked paprika gives a subtle smokiness. It mimics the flavor of grilled fish. If you don’t have smoked paprika, regular paprika works, but smoked is better.
- Dried Parsley: One tablespoon of dried parsley adds color and a fresh herbal note. It balances the richness of the coating.
- Cayenne Pepper: A quarter teaspoon of cayenne pepper adds a gentle heat. Adjust this based on your spice tolerance. For kids, you can omit this entirely.
- Salt and Black Pepper: Half a teaspoon of salt and a quarter teaspoon of black pepper to taste. Seasoning is key to making the fish taste good, not just bland.
For Cooking
- Avocado Oil or Olive Oil Spray: You need a light coating of oil to help the breadcrumbs brown. Avocado oil has a high smoke point, making it ideal. Olive oil spray works too, but be careful not to use too much. You just want a light mist.
Substitutions are easy here. If you need a gluten-free option, swap the flour and panko for gluten-free breadcrumbs or crushed cornflakes. For a dairy-free version, just ensure your milk alternative is unsweetened. The core flavors remain the same, but the texture might vary slightly. I’ve also used almond flour in the past, which adds a nutty flavor, but it doesn’t get as crispy. Stick to panko for the best results. Always buy fresh tilapia if you can, as older fish can have a stronger odor. Look for fillets that are translucent and smell clean, not fishy.
Equipment Needed
You don’t need a fancy kitchen to make this recipe. The star of the show is, obviously, your air fryer. I use a 4-quart air fryer, which is a standard size for most households. If you have a larger family, you might need a 5.8-quart model to fit all the fillets in a single layer. It’s crucial to cook them in a single layer. If you stack them, they will steam instead of crisp up. I’ve made that mistake before, and the result was soggy fish. So, check your basket size.
You will also need a few shallow bowls for the dredging process. Two bowls work best: one for the egg wash and one for the breadcrumb mixture. A fork or whisk is helpful for beating the egg. I prefer a fork because it’s easier to clean. For the coating, a large plate or shallow dish works well. You want enough space to roll the fish in the crumbs without making a mess.
Another essential tool is a pair of kitchen tongs. They make it much easier to flip the fish without breaking the delicate fillets. Using a fork can tear the fish, so tongs are your friend here. I also recommend using parchment paper liners or aluminum foil. This makes cleanup a breeze. Just toss the liner in the trash after you’re done. No scrubbing required. It’s a small detail that saves so much time.
If you don’t have an air fryer, you can use an oven. Preheat to 400°F (200°C) and bake for 10-12 minutes. However, the air fryer is faster and uses less energy. I’ve tried both, and the air fryer wins for convenience. For budget-friendly options, you can find basic air fryers for under $50. You don’t need the most expensive model with all the bells and whistles. A simple one with a timer and temperature control works perfectly. Just make sure it’s clean before you start. Residual odors from previous cooks can affect the taste of your fish.
Preparation Method
Getting started is the easiest part. First, preheat your air fryer to 400°F (200°C). This takes about 3-5 minutes. While it’s heating up, you can prepare the fish. If your tilapia fillets are frozen, make sure they are completely thawed and patted dry. Moisture is the enemy of crispiness. Use paper towels to soak up any excess water. This step is non-negotiable if you want that perfect crunch.
- Prepare the Breadcrumb Mixture: In a shallow bowl, combine the panko breadcrumbs, flour, garlic powder, smoked paprika, dried parsley, cayenne pepper, salt, and black pepper. Mix these ingredients thoroughly with a fork. You want the spices to be evenly distributed. If you clump the spices, you’ll get uneven flavor. Taste the mixture with your finger (it’s raw, so it’s safe) to check the seasoning. Adjust if needed.
- Prepare the Egg Wash: In another shallow bowl, whisk the egg and milk together until well combined. The mixture should be smooth and uniform. No big chunks of egg white. This ensures an even coating on the fish.
- Dredge the Fish: Take a tilapia fillet and dip it into the egg wash. Let any excess drip off. Then, place it into the breadcrumb mixture. Press the crumbs onto the fish gently but firmly. Make sure all sides are covered. Flip the fish and coat the other side. Repeat with the remaining fillets. I usually do this in batches to keep the crumbs from getting soggy. Keep the coated fish on a plate or wire rack.
- Oil the Fish: Lightly spray the coated fillets with avocado oil or olive oil spray. This helps the breadcrumbs turn golden brown. Don’t skip this step. Without oil, the crumbs will stay pale and dry. A light mist is all you need. Too much oil will make them greasy.
- Arrange in the Air Fryer: Place the fillets in the air fryer basket. Make sure they are in a single layer with some space between them. Air needs to circulate. If you overcrowd the basket, the fish won’t cook evenly. You may need to cook in two batches. This is better than sacrificing quality for speed.
- Cook the Fish: Cook at 400°F (200°C) for 8-10 minutes. Flip the fish halfway through the cooking time, around the 4-5 minute mark. Use tongs to flip them carefully. The fish is done when it is opaque and flakes easily with a fork. The internal temperature should reach 145°F (63°C). If your fillets are thinner, they might take only 6-7 minutes. If they are thicker, they might take 11-12 minutes. Check early to avoid overcooking.
- Rest and Serve: Remove the fish from the air fryer and let it rest for 2 minutes. This allows the juices to redistribute. Serve immediately with lemon wedges. The crust will stay crispy for a few minutes. Enjoy your healthy, delicious meal.
Common issues include soggy coating or dry fish. To avoid soggy coating, ensure the fish is dry before dredging. To avoid dry fish, do not overcook it. Tilapia cooks quickly. It’s better to undercook slightly than to overcook. The residual heat will finish the cooking process. Also, make sure your air fryer is preheated. Starting with a cold basket can lead to uneven cooking.
Cooking Tips & Techniques
Let’s talk about some pro tips that will take this recipe from good to great. First, the dryness of the fish is critical. I learned this the hard way when I rushed the process. I didn’t pat the fish dry enough, and the breadcrumbs slid right off. So, take your time with the paper towels. If the fillets are very watery, let them sit on a rack for a few minutes before cooking. This extra step makes a huge difference.
Another tip is to press the crumbs firmly. Don’t just dust the fish with crumbs. Press them in. This ensures the coating sticks during cooking. I use my fingers to press the crumbs onto the edges of the fillet. This prevents the coating from falling off when you flip the fish. It’s a small detail, but it matters. Also, don’t shake the basket too much. Gentle flips are better than aggressive shaking.
Timing is everything. Every air fryer is slightly different. Mine takes 8 minutes, but my friend’s takes 10. Start checking your fish at 6 minutes. Look for golden brown color and flakiness. If it’s not done, add another minute. It’s better to check frequently than to ruin the meal. Also, consider the thickness of your fillets. Thin fillets cook faster. Thick fillets need more time. Adjust accordingly.
For multitasking, you can prepare the coating while the air fryer preheats. This saves time. Have everything ready before you start dredging. This keeps the process smooth and organized. I also like to add a squeeze of lemon juice to the egg wash. It adds a subtle tang that pairs well with the fish. It’s a nice variation that I often use.
Avoid the mistake of using too much oil. You don’t need to deep fry. A light spray is enough. Too much oil will make the fish greasy and heavy. Also, don’t overcrowd the basket. Cook in batches if necessary. This ensures even air circulation. Finally, serve the fish immediately. It loses its crispiness if it sits too long. Pair it with a fresh salad or steamed veggies for a complete meal.
Variations & Adaptations
One of the best things about this recipe is how easy it is to customize. You can change the flavor profile to suit your preferences. Here are a few variations I love.
Spicy Cajun Style: Swap the smoked paprika and garlic powder for Cajun seasoning. Add a little extra cayenne for heat. This gives the fish a bold, southern flavor. It pairs well with remoulade sauce.
Herb Crusted: Increase the dried parsley and add some dried thyme and rosemary. This gives a more European flavor. It’s great for a lighter, more herbal taste. Skip the cayenne for this version.
Asian-Inspired: Use panko mixed with sesame seeds and a little soy powder. Serve with a soy-ginger dipping sauce. This is a fun twist that breaks up the monotony of traditional seasonings.
For dietary adaptations, you can use gluten-free breadcrumbs for a gluten-free option. If you are dairy-free, the recipe is already safe since it doesn’t contain dairy. For a low-carb version, skip the breadcrumbs and use crushed pork rinds or almond flour. It won’t be as crispy, but it’s still delicious.
I also like to add a bit of parmesan cheese to the breadcrumb mixture. It adds a salty, nutty flavor. Just make sure to reduce the salt in the seasoning. This is a rich variation that feels indulgent. You can also add zest from a lemon or lime to the crumbs for extra brightness. It’s a simple change that elevates the flavor significantly.
Serving & Storage Suggestions
Serving this air fryer tilapia is easy and fun. I like to serve it warm with lemon wedges on the side. The lemon adds a fresh contrast to the crispy fish. It also helps cut through the richness. Pair it with a simple green salad with vinaigrette. Or, serve it with roasted asparagus or broccoli. These sides complement the fish perfectly. For a heartier meal, add some quinoa or brown rice.
If you have leftovers, store them in an airtight container in the refrigerator. They will last for up to 2 days. Reheat them in the air fryer at 350°F (175°C) for 3-4 minutes. This restores the crispiness. Avoid using the microwave, as it will make the fish soggy. The air fryer is the best way to reheat fried foods.
You can also freeze the coated, uncooked fillets. Place them on a baking sheet and freeze until solid. Then transfer to a freezer bag. They will last for up to 3 months. Cook them directly from frozen, adding 2-3 minutes to the cooking time. This is a great meal prep option. It saves time on busy weeknights.
The flavors develop well over time, but the texture is best when fresh. Try to eat the fish the same day you cook it. If you must store it, keep it in the fridge and reheat properly. Don’t leave it at room temperature for too long. Fish is perishable, so handle it with care. Always check for freshness before eating leftovers.
Nutritional Information & Benefits
Tilapia is a fantastic choice for a healthy diet. It is low in calories and high in protein. A 3-ounce serving of cooked tilapia has about 96 calories and 20 grams of protein. It’s also a good source of selenium and phosphorus. These nutrients support bone health and metabolism. The air frying method adds minimal fat, keeping the calorie count low. This makes it ideal for weight management.
The breadcrumb coating adds some carbohydrates and fiber. Using whole wheat breadcrumbs can increase the fiber content. The spices add antioxidants without adding calories. Garlic powder has anti-inflammatory properties. Paprika is rich in vitamin A. These small additions boost the nutritional value of the meal. It’s a balanced dish that satisfies without overloading.
For those watching their sodium, be mindful of the salt in the coating. You can reduce the salt or use a low-sodium version. The natural flavors of the fish and spices are enough to make it tasty. This recipe is naturally gluten-free if you use gluten-free breadcrumbs. It’s also dairy-free and nut-free. It’s a safe option for many dietary restrictions. I appreciate that it allows me to eat healthy without feeling deprived.
Protein is essential for muscle repair and satiety. Tilapia provides a lean source of protein that keeps you full. The healthy fats from the oil spray are minimal. This makes it a light yet satisfying meal. It’s great for post-workout recovery or a quick lunch. I often include this in my weekly meal plan for its nutritional benefits. It’s a simple way to boost your protein intake.
Conclusion
This air fryer tilapia recipe is a game-changer for busy weeknights. It’s quick, healthy, and delicious. You get that satisfying crunch without the guilt. I hope you try it and see how easy it is to make restaurant-quality fish at home. Don’t be afraid to experiment with the seasonings. Make it your own. I’d love to hear how you customize it. Share your variations in the comments below. Your ideas might inspire others.
Remember, cooking should be enjoyable, not stressful. This recipe takes the pressure off. It’s reliable and forgiving. You can make it even on your worst days. I hope it becomes a staple in your kitchen. Try it this week and see the difference. Your taste buds will thank you. And your schedule will too.
If you love this recipe, check out my crispy garlic chicken for another quick protein option. Or, try air fryer salmon for a similar cooking method with a different fish. Both are great additions to your weekly menu. Happy cooking!
FAQs
How do I know when the tilapia is done?
The fish is done when it is opaque and flakes easily with a fork. The internal temperature should reach 145°F (63°C). It should not be translucent or raw in the center.
Can I cook frozen tilapia in the air fryer?
Yes, but you should thaw it first for best results. If cooking from frozen, add 2-3 minutes to the cooking time. Make sure to pat it dry to remove excess moisture.
What can I serve with air fryer tilapia?
It pairs well with roasted vegetables, a green salad, quinoa, or rice. Lemon wedges are a must for added freshness. Garlic butter sauce is also a great topping.
How do I keep the coating crispy?
Pat the fish dry before coating. Press the crumbs firmly. Spray lightly with oil. Cook in a single layer. Reheat in the air fryer, not the microwave.
Can I use other types of fish?
Yes, you can use cod, haddock, or catfish. Adjust the cooking time based on the thickness of the fillets. Tilapia is just a convenient, mild option.
Pin This Recipe!
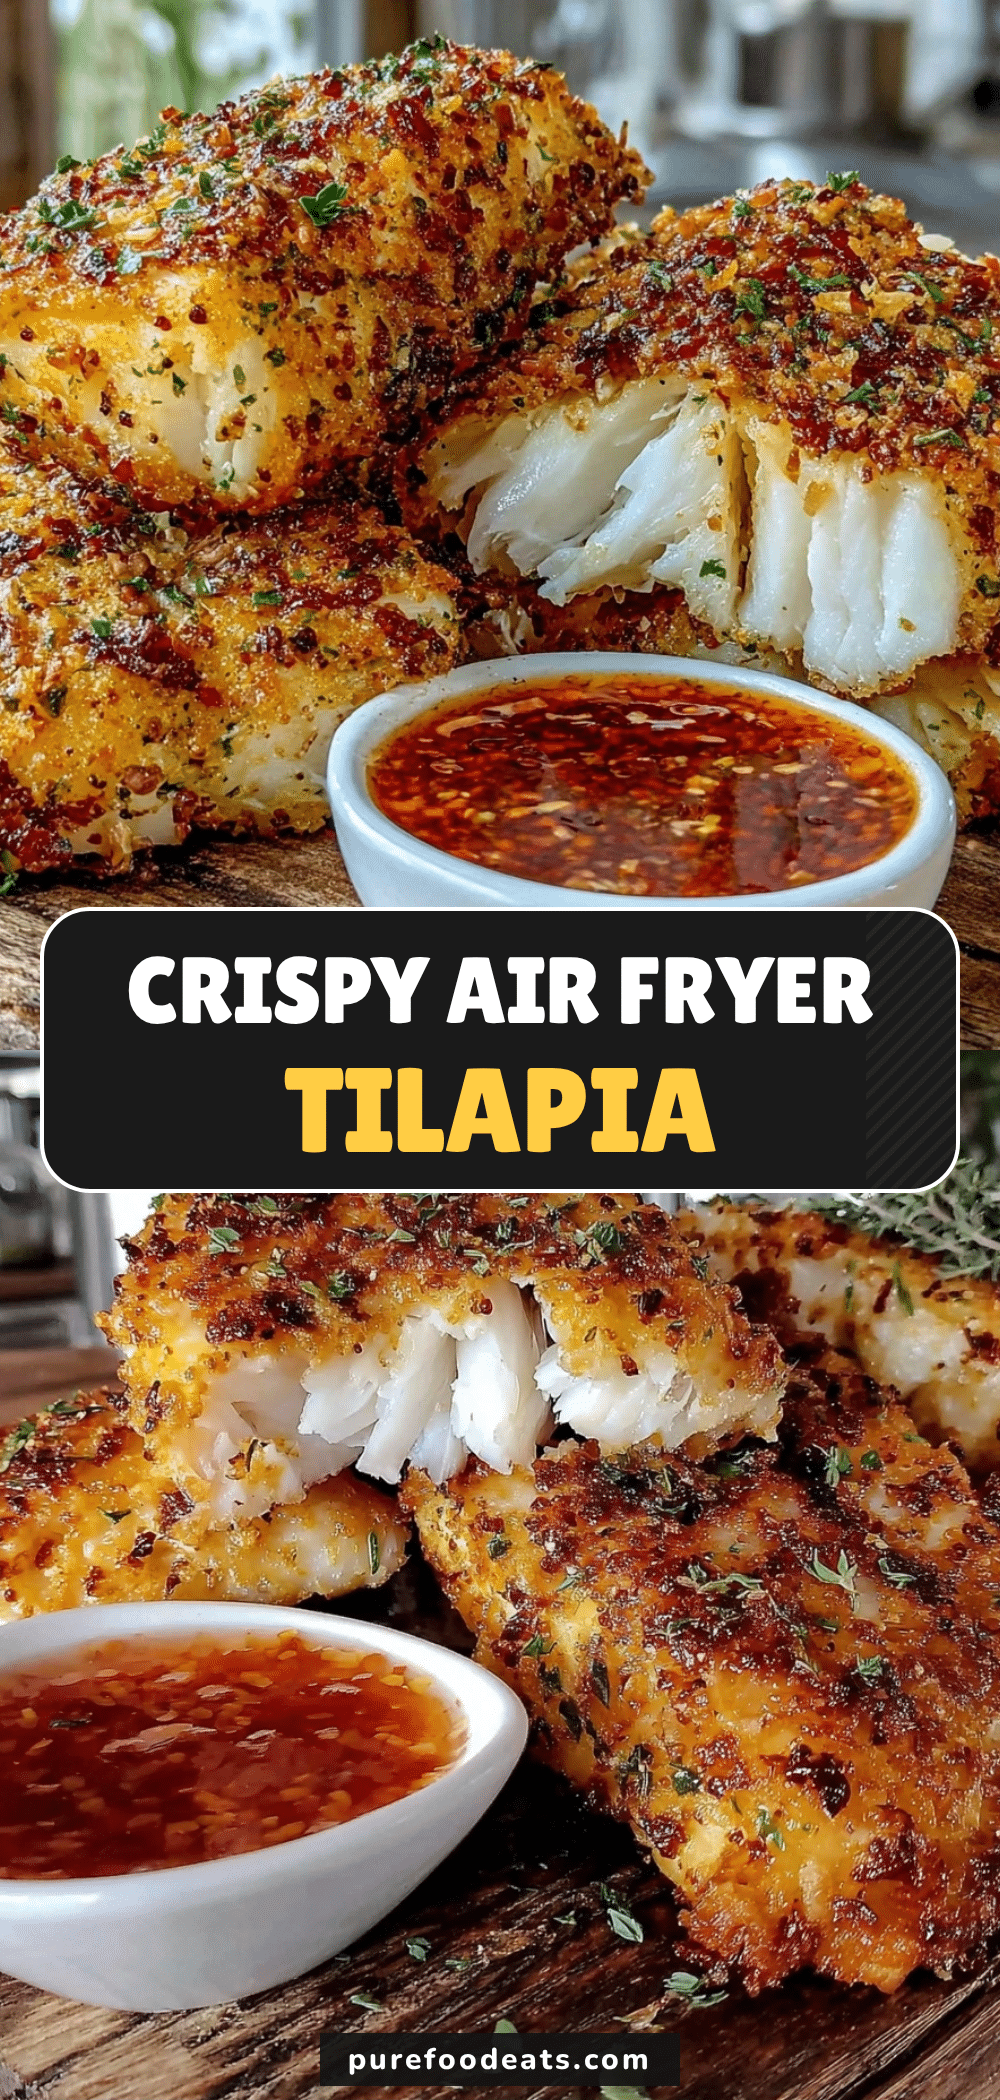
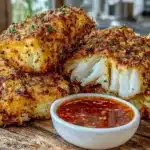
Air Fryer Tilapia: 5-Min Easy Healthy Dinner
- Total Time: 15 minutes
- Yield: 4 servings 1x
Description
A quick and healthy air fryer tilapia recipe that delivers crispy, flaky fish in under 15 minutes using simple pantry staples. Perfect for busy weeknights.
Ingredients
- 1 to 1.5 pounds tilapia fillets
- 1 large egg
- 1 tablespoon milk or buttermilk
- 1/2 cup panko breadcrumbs
- 2 tablespoons all-purpose flour
- 1 teaspoon garlic powder
- 1 teaspoon smoked paprika
- 1 tablespoon dried parsley
- 1/4 teaspoon cayenne pepper
- 1/2 teaspoon salt
- 1/4 teaspoon black pepper
- Avocado oil or olive oil spray
Instructions
- Preheat air fryer to 400°F (200°C).
- Pat tilapia fillets completely dry with paper towels.
- In a shallow bowl, combine panko breadcrumbs, flour, garlic powder, smoked paprika, dried parsley, cayenne pepper, salt, and black pepper; mix well.
- In another shallow bowl, whisk the egg and milk together until smooth.
- Dip each fillet into the egg wash, letting excess drip off, then press firmly into the breadcrumb mixture to coat all sides.
- Place coated fillets on a plate or wire rack.
- Lightly spray the coated fillets with avocado oil or olive oil spray.
- Arrange fillets in the air fryer basket in a single layer with space between them.
- Cook at 400°F (200°C) for 8-10 minutes, flipping halfway through.
- Fish is done when opaque, flakes easily with a fork, and reaches an internal temperature of 145°F (63°C).
- Let rest for 2 minutes before serving with lemon wedges.
Notes
Ensure fish is completely dry before coating to prevent soggy breadcrumbs. Do not overcrowd the air fryer basket; cook in batches if necessary. If using frozen fillets, thaw and pat dry thoroughly, or add 2-3 minutes to cooking time if cooking from frozen. Internal temperature should reach 145°F.
- Prep Time: 5 minutes
- Cook Time: 10 minutes
- Category: Main Course
- Cuisine: American
Nutrition
- Serving Size: 1 fillet
- Calories: 250
- Sugar: 1
- Sodium: 400
- Fat: 8
- Saturated Fat: 1.5
- Carbohydrates: 15
- Fiber: 1
- Protein: 25
Keywords: air fryer tilapia, healthy dinner, quick fish recipe, crispy tilapia, air fryer fish, weeknight dinner, gluten-free option