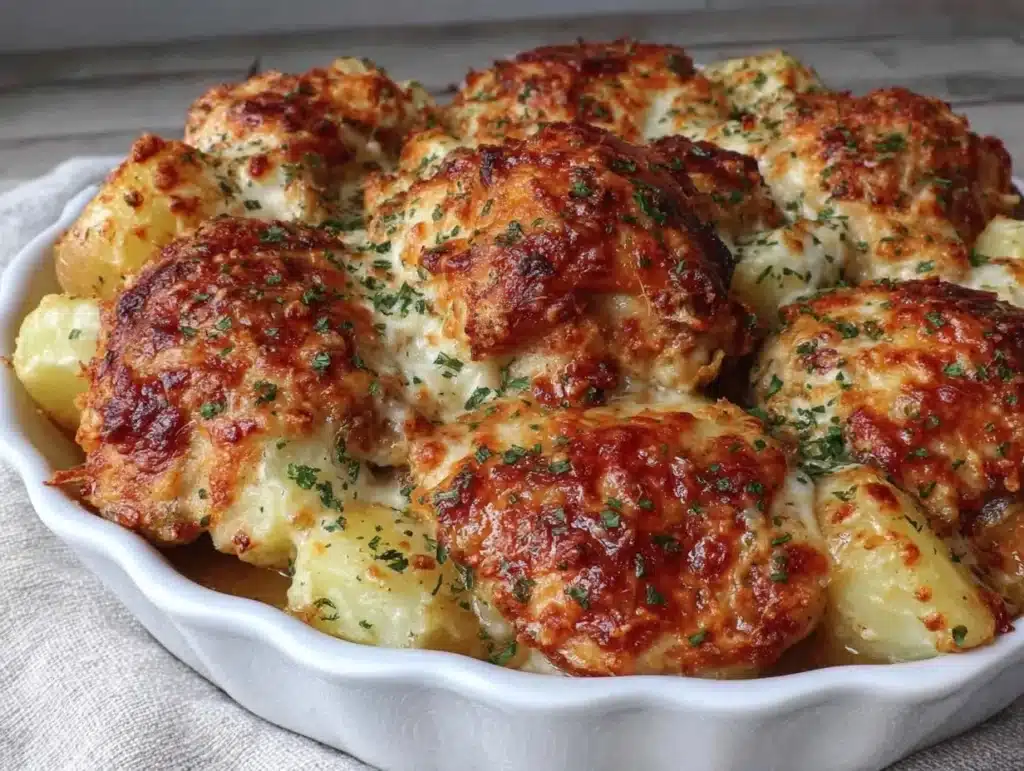
The smell of warm garlic hitting hot butter is the kind of sensory trigger that makes my stomach growl before I’ve even turned on the stove. I first made crispy garlic parmesan chicken during a particularly chaotic Tuesday in November when the kids were cranky, the dog was sick, and I had exactly fifteen minutes to figure out dinner. You know those nights where the fridge is half-empty and your energy is at zero? That was the origin story for this recipe. I didn’t have time for complex marinades or a three-hour roast.
I grabbed some chicken breasts, a handful of parmesan, and some panko breadcrumbs. Honestly, it was supposed to be a quick fix, but the first bite changed everything. The crunch was insane, and the garlic flavor was bold without being overwhelming. It wasn’t just “good for a weeknight”—it was actually something my picky eater asked for seconds of. Since then, I’ve made this dish over a dozen times, tweaking the spice levels and testing different breading methods to get that perfect golden crust every single time.
This crispy garlic parmesan chicken recipe is worth making because it delivers restaurant-quality flavor in a fraction of the time. It’s perfect for busy families who need something fast but satisfying, or for anyone who wants a high-protein meal that doesn’t taste like cardboard. After testing this recipe with different cuts of chicken and various breadcrumb blends, I’m confident this is the best version. It’s reliable, delicious, and incredibly easy to scale up for a crowd or keep simple for one.
Why You’ll Love This Recipe
After years of cooking and hundreds of dinner trials, I can tell you that this crispy garlic parmesan chicken stands out for a few specific reasons. It’s not just another breaded chicken recipe; it’s a carefully balanced combination of texture and flavor that works every time. I’ve tested this with boneless, skinless breasts and thighs, and while thighs are juicier, the breasts get the crispiest crust if you follow the drying step. Here is why this recipe deserves a permanent spot in your weekly rotation:
- Quick & Easy: This comes together in under 20 minutes from start to finish. It’s perfect for those busy weeknights when you’re hungry but don’t have hours to spend in the kitchen.
- Simple Ingredients: You likely already have everything you need in your pantry and fridge. No fancy grocery trips or hard-to-find specialty items required.
- Perfect for Meal Prep: This chicken holds up well in the fridge and reheats beautifully in the oven, making it a great option for lunchboxes or busy workdays.
- Crowd-Pleaser: Whether it’s a picky toddler or a grown adult, everyone loves the combo of crunchy breading and savory garlic butter. It always gets rave reviews.
- Unbelievably Delicious: The texture and flavor combo is next-level comfort food. The garlic butter sauce adds a richness that dry breading just can’t achieve on its own.
What makes this recipe different from the rest is the technique used to create the crust. Most recipes just use flour or plain breadcrumbs, but using panko mixed with parmesan cheese creates a shatteringly crisp exterior that stays crunchy even when coated in sauce. It’s a small tweak that makes a huge difference. This isn’t just another version—it’s my best version because it balances ease with serious flavor impact. It’s the kind of meal that makes you close your eyes after the first bite, realizing you don’t need a fancy restaurant to feel satisfied.
What Ingredients You Will Need
This recipe uses simple, wholesome ingredients to deliver bold flavor and satisfying texture without the fuss. The magic here lies in the quality of the breadcrumbs and the freshness of the garlic. I recommend using freshly grated parmesan rather than the pre-shredded kind in the green can, as the pre-shredded ones contain anti-caking agents that can prevent proper melting and browning. Here is what you need to get started:
- Chicken Breasts: Boneless, skinless chicken breasts, pounded to an even thickness. This ensures they cook quickly and evenly. If you prefer juicier meat, chicken thighs work great too.
- Panko Breadcrumbs: Japanese-style breadcrumbs are key for that extra crunch. They absorb less oil and stay crispier than standard breadcrumbs.
- Parmesan Cheese: Freshly grated parmesan adds a salty, umami-rich depth to the crust. It melts slightly during cooking to help bind the crumbs.
- All-Purpose Flour: A light dusting of flour helps the egg wash stick to the chicken, creating a solid base for the breadcrumb coating.
- Eggs: Large eggs, beaten with a pinch of salt and pepper. This acts as the glue for your breading station.
- Garlic: Fresh garlic cloves, minced finely. Powdered garlic can be used in a pinch, but fresh garlic provides a sharper, more aromatic flavor for the butter sauce.
- Unsalted Butter: High-quality butter is essential for the sauce. It adds richness and helps carry the garlic flavor.
- Olive Oil: A neutral oil with a high smoke point, like olive oil or avocado oil, prevents the butter from burning while you sear the chicken.
- Red Pepper Flakes: Optional, but recommended. A pinch adds a subtle heat that cuts through the richness of the cheese and butter.
- Fresh Parsley: Chopped for garnish. It adds a pop of color and a fresh, herbaceous note to balance the heavy flavors.
If you need to substitute, you can use almond flour for a gluten-free option, though the texture will be slightly denser. For a dairy-free version, swap the parmesan for nutritional yeast and use olive oil instead of butter for the sauce. I personally love using Kirkland Signature panko because it’s consistently large and crunchy. Look for firm, fresh chicken breasts to ensure the best texture.
Equipment Needed
You don’t need a lot of fancy tools to make this crispy garlic parmesan chicken, but having the right equipment makes a big difference in the final result. A large, heavy-bottomed skillet is essential. I recommend a cast-iron skillet because it retains heat incredibly well, which helps maintain a consistent sear on the chicken. If you don’t have cast iron, a stainless steel skillet works fine, just be sure to let it preheat properly.
You’ll also need a shallow dish or plate for your breading station. I like using three separate bowls for a more organized workflow: one for flour, one for eggs, and one for the panko-parmesan mix. This keeps everything tidy and prevents clumping. A meat mallet or rolling pin is useful for pounding the chicken breasts to an even thickness. This step is crucial for even cooking; uneven chicken leads to dry edges and raw centers.
Tongs are much safer and easier to use than a fork for flipping the chicken. A fork can pierce the meat, causing juices to escape, while tongs allow you to handle the chicken gently without breaking the breading. Finally, a instant-read thermometer is a game-changer. It takes the guesswork out of doneness, ensuring your chicken is safe to eat but not overcooked. For budget-friendly options, any non-stick skillet will work, but you may need to use a bit more oil to prevent sticking.
Preparation Method
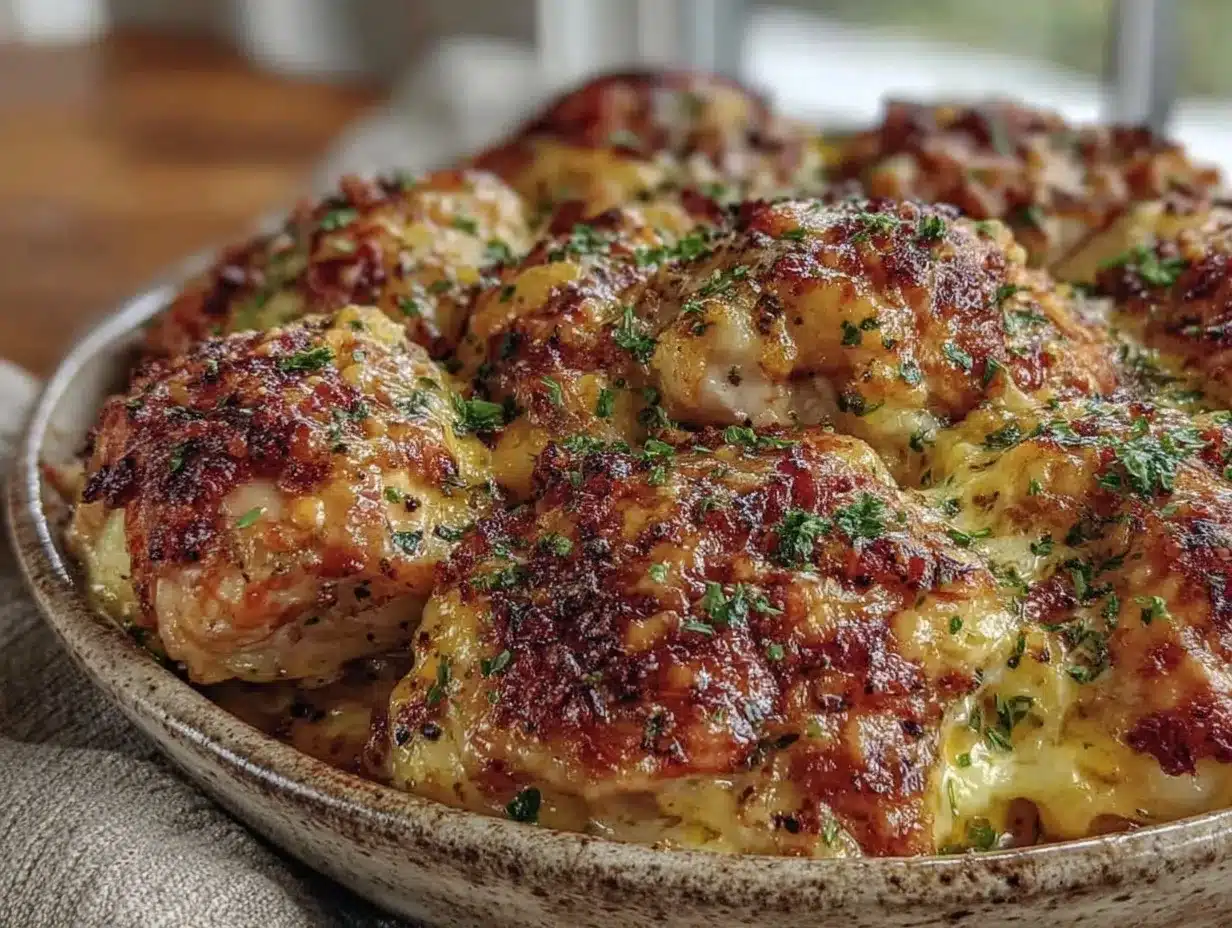
Getting this crispy garlic parmesan chicken right is all about preparation and timing. Follow these steps carefully to achieve that perfect crunch. First, preheat your oven to 400°F (200°C). This allows the chicken to finish cooking gently without drying out the outside.
Step 1: Prep the Chicken (5 minutes)
Take your chicken breasts and place them between two sheets of plastic wrap or in a large zip-top bag. Use a meat mallet to pound them to an even thickness, about ½-inch thick. This is non-negotiable for even cooking. Pat the chicken completely dry with paper towels. Moisture is the enemy of crispiness, so the drier the surface, the better the crust will adhere. Season both sides lightly with salt and pepper.
Step 2: Set Up the Breading Station (5 minutes)
Prepare three shallow dishes. In the first, place ½ cup of all-purpose flour. In the second, beat two large eggs with a tablespoon of water and a pinch of salt. In the third, mix 1 cup of panko breadcrumbs with ½ cup of freshly grated parmesan cheese. For extra flavor, you can add a teaspoon of garlic powder to the panko mix here, but fresh garlic will go in the sauce.
Step 3: Bread the Chicken (5 minutes)
Dredge each chicken breast in the flour, shaking off any excess. Dip it into the egg mixture, ensuring it’s fully coated. Finally, press it firmly into the panko-parmesan mixture, making sure the crumbs stick well to all sides. Place the breaded chicken on a wire rack or a plate. Repeat with the remaining chicken.
Step 4: Sear the Chicken (10 minutes)
Heat 2 tablespoons of olive oil and 1 tablespoon of butter in a large skillet over medium-high heat. Once the butter foams, add the chicken breasts. Do not overcrowd the pan; cook in batches if necessary. Sear for 3-4 minutes on the first side until golden brown. Flip and cook for another 3-4 minutes. The crust should be crispy and golden.
Step 5: Finish in the Oven (5-7 minutes)
Transfer the skillet directly to the preheated oven (if using oven-safe skillet) or move the chicken to a baking sheet. Bake for 5-7 minutes, or until the internal temperature reaches 165°F (74°C). This ensures the inside is cooked through without burning the outside.
Step 6: Make the Garlic Butter Sauce (2 minutes)
While the chicken bakes, reduce the heat to low. In a small saucepan or the same skillet (remove chicken first), melt 2 tablespoons of butter. Add 4 cloves of minced garlic and a pinch of red pepper flakes. Cook for 1-2 minutes until fragrant, being careful not to burn the garlic. Pour this sauce over the cooked chicken immediately before serving.
Cooking Tips & Techniques
There are a few tricks I’ve learned over the years to ensure this crispy garlic parmesan chicken comes out perfectly every time. The most common mistake people make is skipping the drying step. If your chicken is wet, the breading will slide off in the pan. Always pat it dry with paper towels until it feels tacky, not slick.
Another key technique is pressing the crumbs firmly onto the chicken. When you coat the chicken in the panko mixture, use your hand to press down gently but firmly. This ensures the crumbs stick and don’t fall off during cooking. Also, don’t skip the sear. You want that initial high-heat contact to create a crust before finishing in the oven. If you just bake it, you’ll get a soft, soggy coating.
I once burned a whole batch of garlic because I didn’t watch the pan closely. Garlic burns quickly and turns bitter. Always cook the garlic on low heat and stir constantly. If it starts to darken too much, take it off the heat immediately. For consistency, use a meat thermometer. Visual cues can be misleading, especially with breaded chicken. An internal temperature of 165°F is the safe zone.
Multitasking is your friend here. While the chicken is searing, get your sauce ingredients ready. While it’s in the oven, chop your parsley. This keeps the process smooth and stress-free. Finally, let the chicken rest for a few minutes after cooking. This allows the juices to redistribute, keeping the meat moist and tender.
Variations & Adaptations
This recipe is incredibly versatile, allowing you to tweak it based on your dietary needs or flavor preferences. Here are a few variations I’ve tried that work wonderfully:
- Gluten-Free Option: Swap the all-purpose flour and panko breadcrumbs for a gluten-free panko blend or crushed gluten-free crackers. The texture might be slightly different, but it still tastes great.
- Dairy-Free Version: Omit the parmesan from the breading and use nutritional yeast for a cheesy flavor. For the sauce, use olive oil or a dairy-free butter substitute instead of regular butter.
- Spicy Kick: Add more red pepper flakes to the panko mix and the garlic butter sauce. You can also add a dash of cayenne pepper to the flour for an extra heat boost.
- Herb-Infused Crust: Mix dried oregano, basil, and thyme into the panko-parmesan blend for an Italian-inspired twist. This pairs beautifully with marinara sauce if you want to serve it that way.
I personally love adding a teaspoon of lemon zest to the panko mix. It adds a bright, citrusy note that cuts through the richness of the butter and cheese. It’s a simple change that makes the dish feel lighter and more sophisticated. For a low-carb option, you can use crushed pork rinds instead of panko, which creates a very crunchy, keto-friendly crust.
Serving & Storage Suggestions
This crispy garlic parmesan chicken is best served immediately while the crust is still crunchy. I like to plate it with a generous drizzle of the garlic butter sauce and a sprinkle of fresh parsley for color. It pairs wonderfully with a simple green salad, roasted asparagus, or garlic mashed potatoes. For a complete meal, serve it with crusty bread to soak up the extra sauce.
Leftovers can be stored in an airtight container in the refrigerator for up to 3 days. To reheat, avoid the microwave, as it will make the breading soggy. Instead, reheat in the oven at 350°F (175°C) for 10-15 minutes, or in an air fryer for 5 minutes. This helps restore the crispiness. You can also freeze the breaded, uncooked chicken for up to 3 months. Just thaw in the fridge overnight and cook as directed.
The flavors actually develop nicely over time, especially if you let the chicken sit in the sauce for a bit before reheating. However, the texture will always be best fresh out of the pan. If you’re meal prepping, store the sauce separately and add it just before serving to maintain the crunch.
Nutritional Information & Benefits
This crispy garlic parmesan chicken is a great source of lean protein, making it a solid choice for muscle recovery and satiety. Each serving contains approximately 350-400 calories, depending on the size of the chicken breast and the amount of butter used. The parmesan adds calcium and phosphorus, which are essential for bone health. Garlic is known for its potential immune-boosting properties and anti-inflammatory benefits.
While this dish is indulgent, it’s not overly heavy. The use of panko breadcrumbs means it absorbs less oil than traditional fried chicken, making it a slightly lighter option. For those watching their sodium intake, you can reduce the amount of parmesan or use a low-sodium version. It’s naturally low in carbs if you use the almond flour or pork rind variations. Personally, I find this recipe fits well into a balanced diet because it’s satisfying and keeps me full for hours.
Conclusion
This crispy garlic parmesan chicken is more than just a quick dinner; it’s a reliable, delicious meal that brings comfort to any table. I’ve made it countless times, and it never fails to impress. Whether you’re cooking for a family or just yourself, this recipe delivers on flavor, texture, and ease. I encourage you to try it and see how it becomes a staple in your kitchen.
Feel free to experiment with the variations, adding your favorite herbs or spices to make it your own. The beauty of this recipe is its simplicity and adaptability. If you make this, I’d love to hear how it turned out. Leave a comment below with your thoughts or share your own twists on the recipe. Happy cooking, and enjoy every bite!
FAQs
Can I use chicken thighs instead of breasts?
Yes, boneless, skinless chicken thighs work beautifully in this recipe. They are naturally juicier and have a richer flavor. Just adjust the cooking time slightly, as thighs may take a minute or two longer to cook through.
How do I keep the breading from falling off?
The key is to pat the chicken dry before breading and to press the crumbs firmly onto the meat. Also, ensure your oil is hot enough before adding the chicken. If the oil is too cool, the breading will slide off.
Can I make this in an air fryer?
Absolutely. Air fry at 400°F (200°C) for 10-12 minutes, flipping halfway through. You may need to spray the chicken with a little oil to help the breadcrumbs brown evenly. The result is just as crispy with less oil.
What can I serve with this chicken?
This chicken pairs well with a variety of sides. Try it with roasted vegetables, a crisp green salad, garlic mashed potatoes, or steamed broccoli. It also goes great with pasta if you want a heartier meal.
Is fresh garlic better than garlic powder?
For the sauce, fresh garlic is definitely better as it provides a sharper, more aromatic flavor. However, you can add a teaspoon of garlic powder to the panko breading for an extra layer of garlic flavor throughout the crust.
Pin This Recipe!
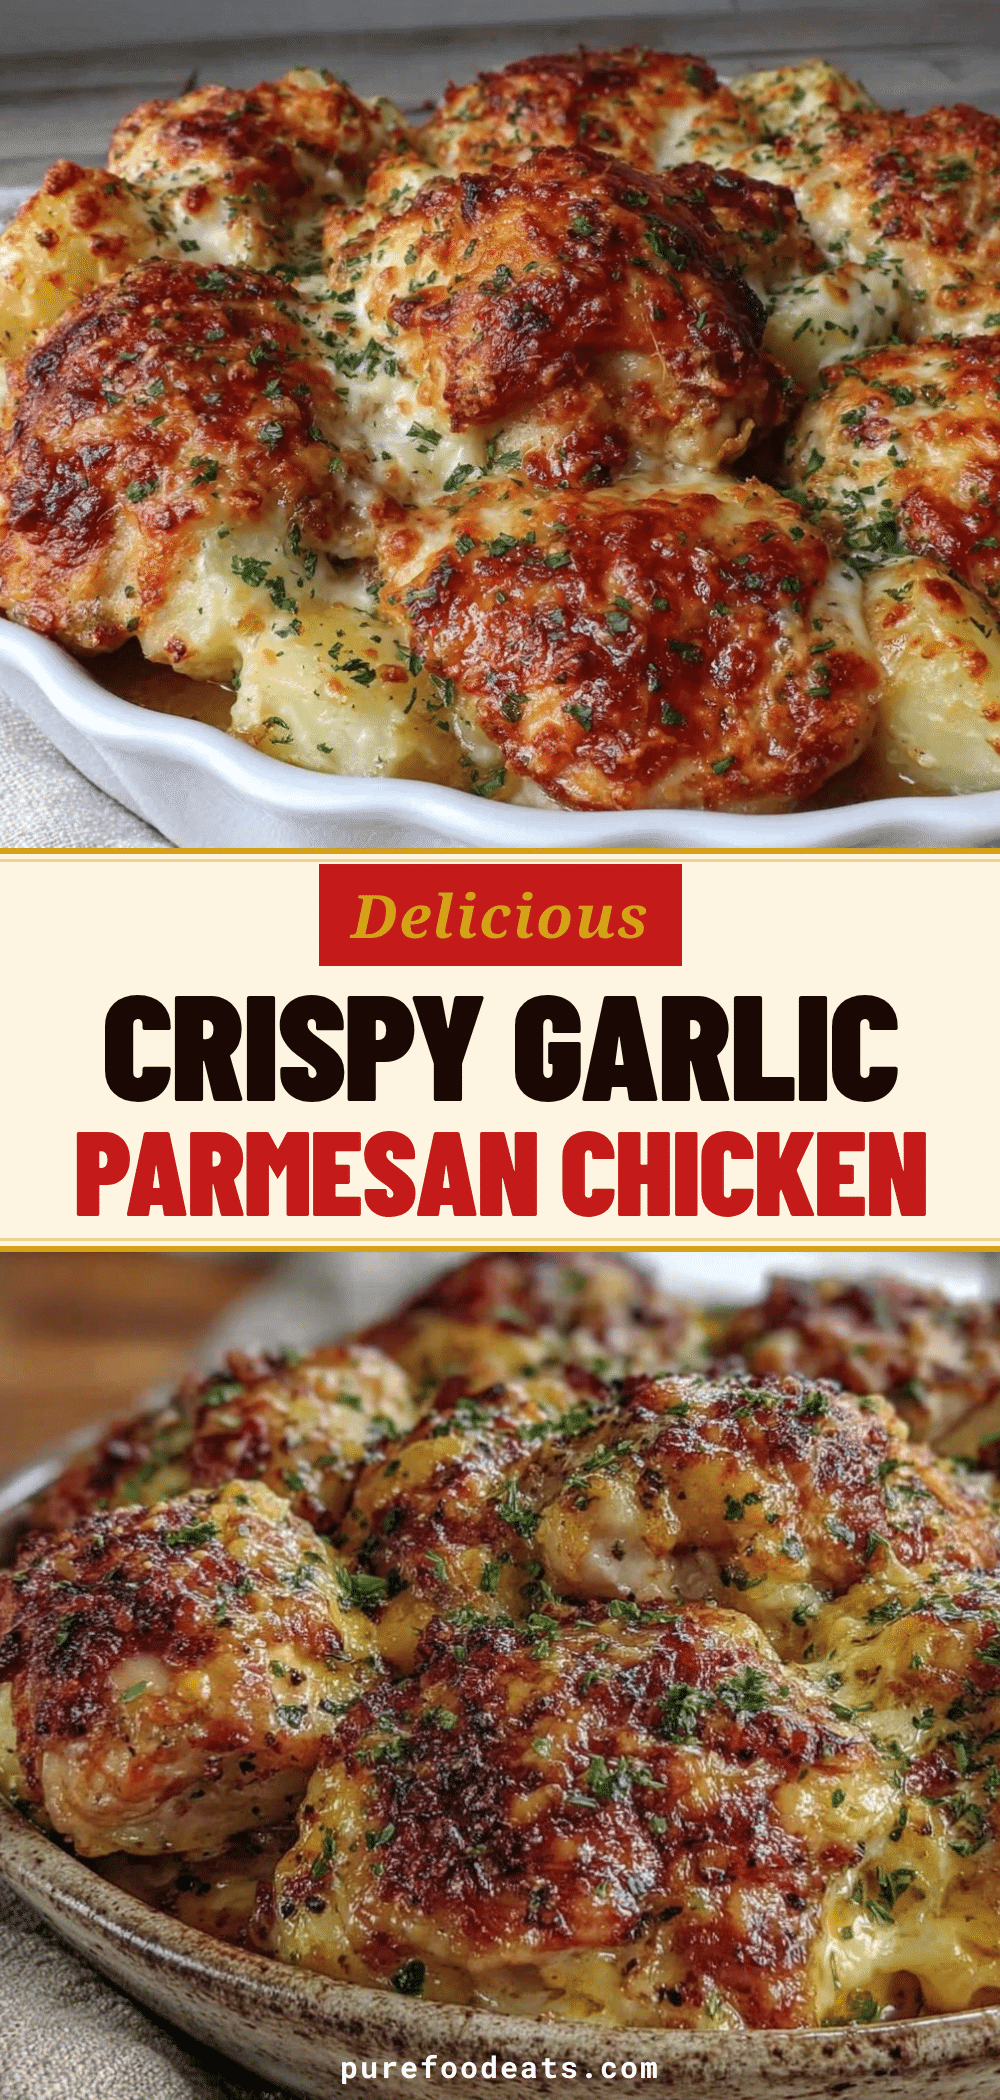

Crispy Garlic Parmesan Chicken: 15-Min Easy Recipe
- Total Time: 30 minutes
- Yield: 4 servings 1x
Description
A quick and easy weeknight dinner featuring boneless chicken breasts coated in a crunchy panko-parmesan crust, seared and finished in the oven, then topped with a rich garlic butter sauce.
Ingredients
- 4 boneless, skinless chicken breasts
- 1/2 cup all-purpose flour (or gluten-free alternative)
- 2 large eggs, beaten with 1 tablespoon water and pinch of salt
- 1 cup panko breadcrumbs
- 1/2 cup freshly grated parmesan cheese
- 2 tablespoons olive oil
- 3 tablespoons unsalted butter, divided
- 4 cloves garlic, minced
- Pinch of red pepper flakes
- Salt and black pepper to taste
- Fresh parsley, chopped for garnish
Instructions
- Preheat oven to 400°F (200°C).
- Place chicken breasts between plastic wrap or in a zip-top bag and pound to an even 1/2-inch thickness. Pat completely dry with paper towels and season with salt and pepper.
- Set up a breading station with three shallow dishes: one with flour, one with beaten eggs, and one with a mixture of panko breadcrumbs and parmesan cheese.
- Dredge each chicken breast in flour, shaking off excess. Dip into the egg mixture, then press firmly into the panko-parmesan mixture to coat evenly.
- Heat olive oil and 1 tablespoon of butter in a large skillet (preferably cast-iron) over medium-high heat.
- Sear the chicken for 3-4 minutes per side until golden brown and crispy. Do not overcrowd the pan.
- Transfer the skillet to the preheated oven (or move chicken to a baking sheet) and bake for 5-7 minutes until internal temperature reaches 165°F (74°C).
- While chicken bakes, melt remaining 2 tablespoons of butter in a small saucepan over low heat. Add minced garlic and red pepper flakes, cooking for 1-2 minutes until fragrant.
- Remove chicken from oven and let rest for a few minutes. Pour the garlic butter sauce over the chicken and garnish with fresh parsley before serving.
Notes
Patting the chicken dry is crucial for crispiness. Press the crumbs firmly onto the chicken to prevent them from falling off. Garlic burns easily, so cook it on low heat. For a gluten-free version, use almond flour and gluten-free panko. For dairy-free, use nutritional yeast and olive oil.
- Prep Time: 15 minutes
- Cook Time: 15 minutes
- Category: Main Course
- Cuisine: American
Nutrition
- Serving Size: 1 chicken breast wit
- Calories: 375
- Sugar: 1
- Sodium: 450
- Fat: 22
- Saturated Fat: 9
- Carbohydrates: 18
- Fiber: 1
- Protein: 28
Keywords: crispy garlic parmesan chicken, easy weeknight dinner, quick chicken recipe, panko chicken, garlic butter sauce, high protein meal