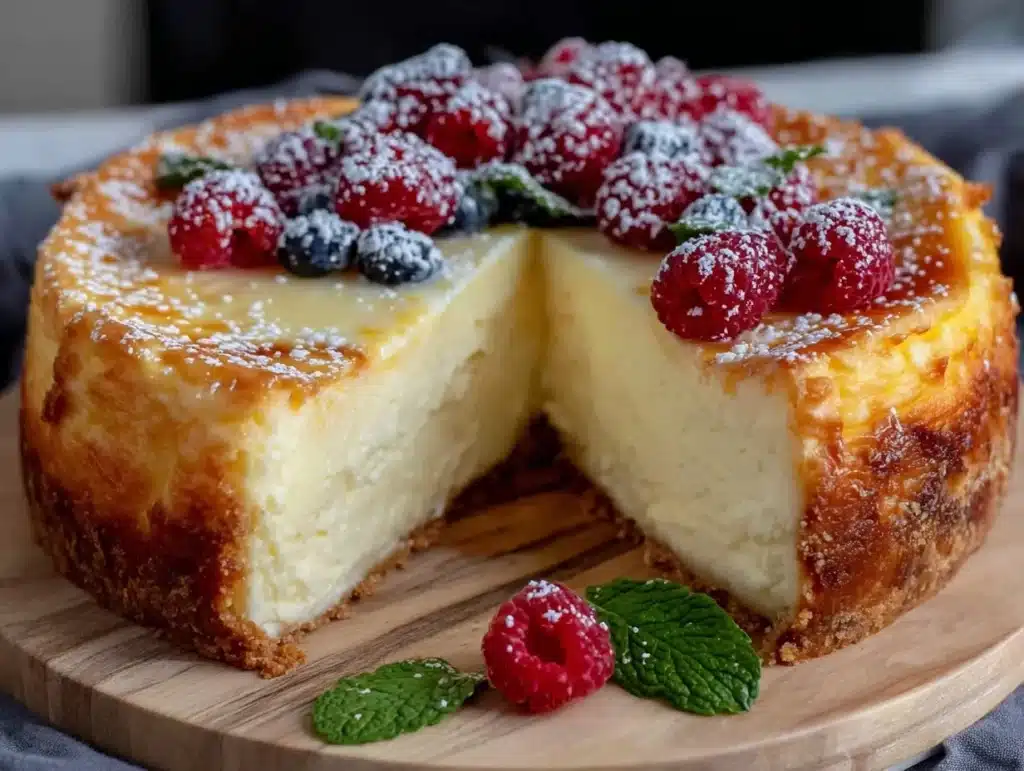
There was a rainy Tuesday in November when I decided to stop buying store-bought cheesecake and finally make the real deal. I remember standing in my tiny apartment kitchen, staring at a lopsided, cracked mess that looked more like a dense brick than a dessert. It was dry. It was grainy. And honestly? It tasted like regret. That failure haunted me for years, but it also sparked a challenge I couldn’t ignore. I wanted to recreate that iconic, dense, yet impossibly creamy texture you get at those legendary delis in New York City. I wasn’t looking for light and fluffy. I wanted the heavy, luxurious mouthfeel that makes you close your eyes and sigh after just one bite.
Over the next two years, I tested this New York cheesecake recipe at least fifteen times. I tried different baking methods, swapped out sugars, and even argued with my oven about its temperature accuracy. The breakthrough came when I realized the secret wasn’t just in the ingredients, but in the patience. It’s about low and slow baking, proper cooling, and respecting the chemistry of cream cheese. This isn’t just another dessert blog post. This is the culmination of every mistake, every burnt edge, and every perfect slice. It’s the Best New York Cheesecake Ever, and it’s easier to make than you think if you follow these steps exactly.
You know that feeling when you take the first bite and it just melts on your tongue? That’s what we’re aiming for here. This recipe is rich, tangy, and deeply satisfying. It’s perfect for holiday gatherings, Sunday brunches, or when you just need to treat yourself after a long week. I’ve included tips that I’ve learned through trial and error, so you don’t have to make the same mistakes I did. Let’s face it, cheesecake can be intimidating, but once you master this method, you’ll never go back to the boxed stuff again. The smell of vanilla and baked cream cheese filling your kitchen is worth every minute of prep time.
Why You’ll Love This Recipe
Let’s be honest for a second. Making cheesecake from scratch feels like a big commitment. But this New York cheesecake recipe is designed to be forgiving, even if you’re not a professional baker. I’ve refined this method to ensure success every single time, and the results speak for themselves. The texture is what sets this apart from other recipes you might try. It’s not airy like a mousse, nor is it dense like a fudge cake. It’s that perfect middle ground—creamy, smooth, and substantial enough to feel like a real indulgence.
- Unbeatable Creaminess: The secret lies in the ratio of ingredients and the gentle baking process. You’ll get that signature New York-style density that holds its shape but melts in your mouth.
- Simple, Pantry-Friendly Ingredients: You don’t need exotic items or a trip to a specialty store. Just cream cheese, sugar, eggs, vanilla, and a bit of sour cream. You probably have most of this in your fridge right now.
- Make-Ahead Friendly: This is actually better the next day. In fact, it’s best on the third day. The flavors meld together overnight, creating a deeper, more complex taste profile that’s hard to resist.
- Crowd-Pleasing Flavor: Whether you serve it plain with a berry compote or topped with fresh strawberries, this base recipe is a universal hit. Kids love the sweetness, and adults appreciate the subtle tang.
- Impressive Presentation: A smooth, crack-free top makes for a stunning centerpiece. With a few simple tips, you can achieve that professional bakery look without any special tools or skills.
What makes this recipe different is the emphasis on temperature control and cooling. Most people rush the cooling process, which leads to cracks. I’ve built in buffers and specific cooling instructions that prevent this common issue. It’s not just about mixing ingredients; it’s about understanding how heat affects dairy. This approach ensures consistency, so you can bake it with confidence. It’s comfort food reimagined for the home baker—richer, smoother, and infinitely more rewarding to make.
What Ingredients You Will Need
This recipe relies on high-quality, simple ingredients to deliver that authentic New York flavor. The beauty of a classic cheesecake is that there are no hidden tricks or complex spices. The quality of your cream cheese, in particular, will define the final taste. I recommend using full-fat, brick-style cream cheese rather than the spreadable kind in tubs, as the latter has a higher water content and can make your cheesecake runny.
- Full-Fat Cream Cheese: You’ll need 32 ounces (about 900 grams). Make sure it’s softened to room temperature. This is crucial for a smooth batter without lumps. I prefer brands like Philadelphia for their consistent texture and tang.
- Granulated Sugar: One and a half cups (300 grams). This provides sweetness and helps with the structure. Don’t reduce the sugar too much, as it also affects the texture.
- Sour Cream: One cup (240 grams). This adds richness and a slight tang that balances the sweetness. It also helps keep the cheesecake moist. Use full-fat sour cream for the best results.
- Eggs: Four large eggs, at room temperature. Room temperature eggs emulsify better into the batter, preventing separation. This is a non-negotiable step for a creamy texture.
- Vanilla Extract: Two teaspoons. Use pure vanilla extract, not imitation. The flavor of vanilla is prominent in cheesecake, so quality matters.
- Vanilla Wafers: Two cups of crumbs for the crust. You can crush them yourself or buy pre-made crumbs. They provide a buttery, sweet base that complements the tangy filling perfectly.
- Unsalted Butter: Half a cup (113 grams), melted. This binds the crust together and adds a rich flavor profile.
- Salt: Half a teaspoon. A pinch of salt enhances the sweetness and brings out the vanilla notes.
If you want to swap out ingredients, you can use graham cracker crumbs instead of vanilla wafers for a slightly more traditional taste. For a gluten-free option, use gluten-free vanilla wafers or almond flour for the crust. Just keep in mind that the texture might vary slightly. I’ve also found that adding a tablespoon of all-purpose flour can help stabilize the batter, but it’s optional. Stick to these core ingredients for the most authentic result.
Equipment Needed
You don’t need a fancy kitchen to make this cheesecake, but having the right tools makes a huge difference. The most important piece of equipment is a 9-inch springform pan. This type of pan has a removable side, which allows you to release the cake without flipping it over. Look for a heavy-duty pan with a tight seal to prevent water from leaking in during the bath. I recommend greasing the outside of the pan with butter and wrapping the bottom in two layers of heavy-duty aluminum foil. This is a small step that prevents a watery disaster.
A stand mixer or a hand mixer is essential for beating the cream cheese smoothly. Doing this by hand is possible but exhausting and likely to leave lumps. You’ll also need a large roasting pan for the water bath. If you don’t have one, a deep baking dish works too. The water bath creates steam, which helps the cheesecake bake gently and evenly, preventing cracks. If you don’t want to use a water bath, you can bake it at a lower temperature for a longer time, but the water bath is the gold standard for New York style.
Other essentials include a rubber spatula for scraping down the bowl, a fine-mesh sieve (optional but recommended for an ultra-smooth texture), and a wire cooling rack. Don’t forget a long knife for slicing. Run it under hot water and wipe it dry between each cut for clean slices. These tools are likely already in your kitchen, so no need to buy anything special. Just ensure your springform pan is in good condition to avoid leaks.
How Do I Get a Crack-Free Cheesecake?
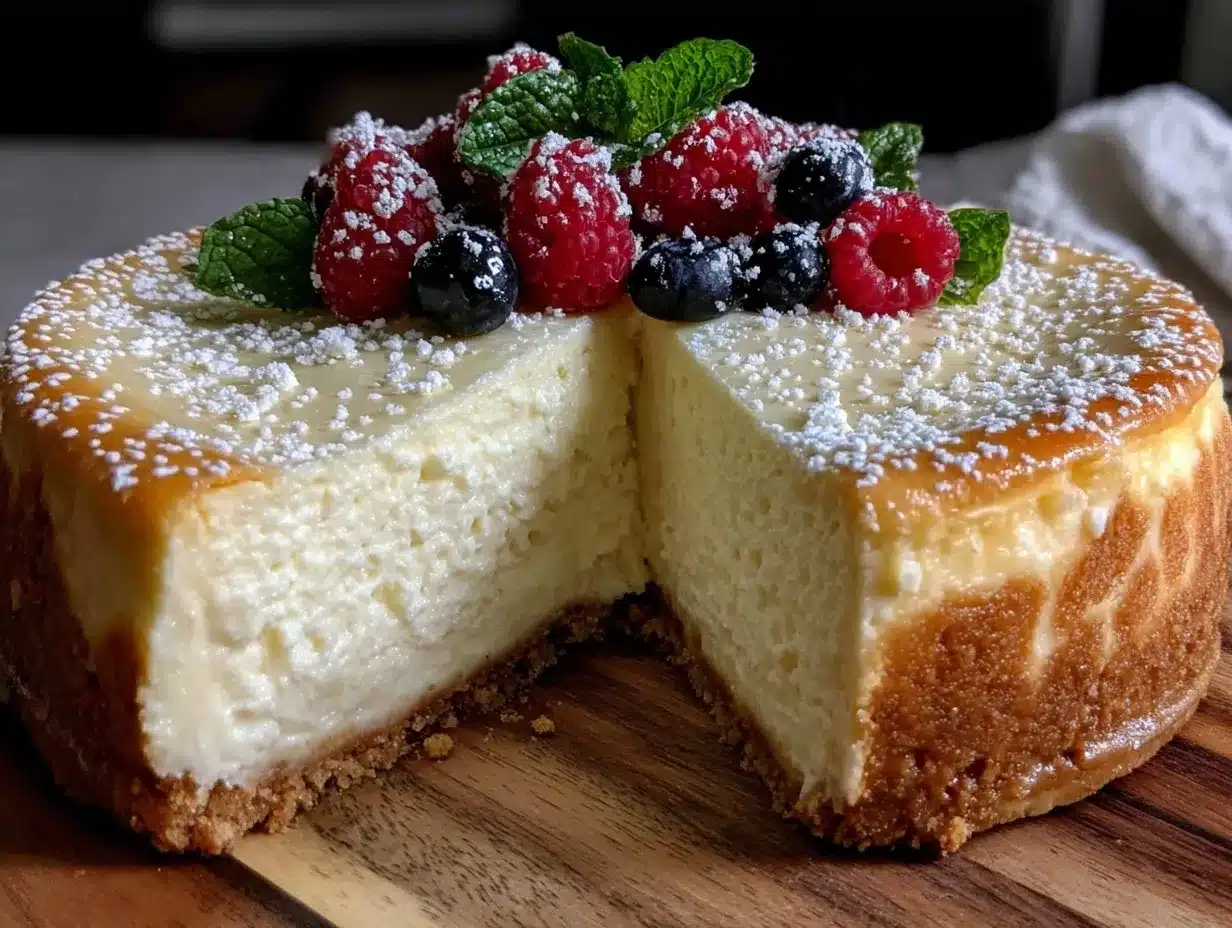
Cracks are usually caused by overmixing or rapid temperature changes. To avoid this, mix the batter on low speed once the eggs are added. Overbeating incorporates too much air, which expands and then collapses in the oven. Also, never open the oven door while the cheesecake is baking. The sudden drop in temperature can cause the surface to crack. Let it cool gradually in the turned-off oven with the door slightly ajar.
Preparation Method
- Prepare the Crust (10 minutes): Preheat your oven to 325°F (165°C). Combine the vanilla wafer crumbs, melted butter, and a pinch of salt in a bowl. Mix until it resembles wet sand. Press this mixture firmly into the bottom of a 9-inch springform pan. Use the bottom of a glass to pack it down evenly. Place the pan in the refrigerator while you make the filling. This helps the crust set.
- Beat the Cream Cheese (5 minutes): In a large mixing bowl, beat the softened cream cheese on medium-low speed until it is completely smooth and creamy. Scrape down the sides and bottom of the bowl with a rubber spatula. This step is critical. Any lumps will remain in the final product. If you’re in a hurry, you can microwave the cream cheese in 10-second bursts, but be careful not to melt it.
- Add Sugar and Sour Cream (3 minutes): Add the granulated sugar and sour cream to the beaten cream cheese. Mix on low speed until just combined. Do not overmix at this stage. The mixture should be thick and smooth. Scrape the bowl again to ensure everything is incorporated.
- Incorporate Eggs and Vanilla (3 minutes): Add the eggs one at a time, mixing on low speed after each addition. Add the vanilla extract and salt. Mix until just blended. Stop mixing as soon as the eggs are incorporated. Overmixing at this stage adds air, which leads to cracks. The batter should be thick and glossy.
- Strain the Batter (Optional but Recommended): For the silkiest texture, pour the batter through a fine-mesh sieve into a large measuring cup or bowl. This catches any tiny lumps of cream cheese or bits of egg white. It takes a minute, but the result is worth it.
- Pour and Prepare Water Bath: Pour the batter over the chilled crust. Smooth the top with a spatula. Wrap the bottom of the springform pan tightly with two layers of heavy-duty aluminum foil to prevent water leakage. Place the pan inside a large roasting pan. Pour hot water into the roasting pan until it reaches about one inch up the side of the springform pan. Be careful not to splash water into the cheesecake.
- Bake (1 hour 15 minutes): Place the roasting pan in the oven. Bake at 325°F (165°C) for 1 hour and 15 minutes. The edges should be set, but the center should still jiggle slightly like Jell-O when you gently shake the pan. It will continue to cook as it cools.
- Cool Gradually (2 hours): Turn off the oven and crack the door open slightly. Let the cheesecake cool in the oven for one hour. This gradual cooling prevents cracking. After an hour, remove it from the water bath and let it cool completely on a wire rack at room temperature.
- Chill Overnight (8+ hours): Once cooled, cover the pan loosely with plastic wrap and refrigerate for at least 8 hours, preferably overnight. This step is non-negotiable. The cheesecake needs time to set and develop its full flavor.
What If My Batter Is Too Thick?
If the batter feels too thick to pour, it might be because the cream cheese wasn’t soft enough. You can add a tablespoon of milk or heavy cream to thin it out slightly, but be careful not to make it runny. The batter should be thick but pourable. If it’s still too stiff, you can gently warm the bowl over a bowl of hot water for a few seconds while stirring.
Cooking Tips & Techniques
I’ve learned a lot of hard lessons while perfecting this recipe, and I want to save you some of that trouble. The most common mistake is using cold ingredients. Cream cheese, eggs, and sour cream should all be at room temperature. Cold ingredients don’t mix well, leading to a lumpy batter that’s hard to fix. Plan ahead and take your ingredients out of the fridge at least two hours before you start baking.
Another key technique is the water bath. Even if you’re worried about leaks, the steam from the water bath is crucial for preventing cracks. The humidity keeps the surface of the cheesecake moist, allowing it to expand evenly. If you’re still nervous about leaks, you can place a sheet of parchment paper under the foil-wrapped pan. It adds an extra layer of protection. Also, never open the oven door during the first hour of baking. The temperature fluctuation can cause the center to collapse.
When checking for doneness, rely on the jiggle test. The edges should be firm, but the center two inches should wobble slightly. If it looks set all the way to the center, it’s likely overbaked. Remember, the cheesecake will firm up as it cools. Overbaking leads to a dry, dense texture, which is the opposite of what we want. Trust the process and let the residual heat do the work.
Can I Use a Different Pan Size?
You can use a 10-inch pan, but the cheesecake will be thinner and bake faster. Reduce the baking time by about 15-20 minutes and check for doneness earlier. If you use a 9-inch tube pan, the baking time will be similar, but the center will cook faster. Adjust your oven rack position to ensure even heating. Always keep an eye on it to prevent overbaking.
Variations & Adaptations
While the classic New York cheesecake is timeless, there are many ways to customize it to suit your taste. One of my favorite variations is adding a swirl of raspberry jam. After pouring the batter, drop spoonfuls of warmed raspberry jam on top and use a knife to swirl it in. It adds a beautiful marbled effect and a burst of tartness that cuts through the richness.
For a chocolate lover, you can add 1/2 cup of cocoa powder to the dry ingredients, but you’ll need to increase the sugar slightly to balance the bitterness. Alternatively, mix in 1 cup of chocolate chips at the end of mixing for a chunky texture. If you’re looking for a lighter option, you can substitute half of the cream cheese with mascarpone cheese. It adds a luxurious creaminess and a slightly milder flavor.
You can also change the crust entirely. Try using crushed graham crackers for a more traditional taste, or use crushed shortbread cookies for a buttery, tender base. For a gluten-free version, use almond flour or gluten-free graham crackers. Just ensure the binding agent (butter) is sufficient to hold the crust together. These variations allow you to keep the recipe fresh and exciting without compromising the core technique.
How Do I Make It Less Sweet?
If you find the original recipe too sweet, you can reduce the sugar by 1/4 cup. However, keep in mind that sugar also affects texture, so the cheesecake might be slightly less firm. You can also add a tablespoon of lemon juice to brighten the flavor and balance the sweetness without reducing the sugar amount. This is a subtle tweak that works well with the natural tang of the cream cheese.
Serving & Storage Suggestions
This cheesecake is best served chilled. I recommend slicing it with a hot, dry knife for clean cuts. Dip the knife in hot water and wipe it dry before each slice. This prevents the cheesecake from sticking and tearing. Serve it with fresh berries, a drizzle of caramel sauce, or a dollop of whipped cream. The contrast of temperatures and textures adds another layer of enjoyment.
For storage, keep the cheesecake in the refrigerator, covered with plastic wrap or in an airtight container. It will stay fresh for up to 5 days. If you want to freeze it, wrap the entire springform pan tightly in plastic wrap and then in aluminum foil. It can be frozen for up to 2 months. Thaw it in the refrigerator overnight before serving. Freezing is a great way to have dessert ready for unexpected guests.
Don’t skip the chilling time. The flavors meld and deepen over the first 24 hours. If you cut into it too soon, it might not set properly, and the taste won’t be as developed. Patience is key here. The wait is worth it. The texture becomes smoother, and the tang becomes more pronounced, creating a more complex and satisfying dessert.
Can I Freeze the Whole Cheesecake?
Yes, you can freeze the whole cheesecake. Make sure it’s completely cooled before wrapping. Double-wrap it in plastic and foil to prevent freezer burn. Thaw it slowly in the refrigerator for 24 hours. Do not thaw at room temperature, as this can cause condensation and make the crust soggy. Frozen cheesecake tastes almost as good as fresh, making it a great option for meal prep.
Nutritional Information & Benefits
This New York cheesecake is a rich dessert, so it’s best enjoyed in moderation. Each slice contains approximately 450 calories, with a significant amount of fat and sugar. However, it’s also a good source of protein and calcium from the cream cheese and eggs. If you’re looking for a lighter option, you can reduce the sugar and use low-fat cream cheese, though the texture will be different.
For those with dietary restrictions, this recipe can be adapted. Use gluten-free crumbs for the crust and ensure all ingredients are certified gluten-free. For a dairy-free version, use plant-based cream cheese and coconut cream, but be aware that the texture will be denser and less creamy. It’s important to listen to your body and enjoy treats in balance. This recipe is a special occasion dessert, perfect for celebrating or indulging on a weekend.
While it’s not a health food, the high protein content can help keep you satisfied longer than other sweets. The fat from the cream cheese provides a sense of fullness, which can prevent overeating. Just be mindful of portion sizes. A small slice is often enough to satisfy your craving without overdoing it.
Is This Recipe Gluten-Free?
The original recipe contains gluten from the vanilla wafers. To make it gluten-free, simply substitute the vanilla wafers with gluten-free vanilla wafers or almond flour. Ensure that your cream cheese and other ingredients are certified gluten-free, as some brands may contain traces of gluten. The rest of the recipe remains the same.
Conclusion
Making the Best New York Cheesecake Ever is a journey of patience and precision, but the result is absolutely worth it. This recipe has been tested and refined to ensure success, giving you a dessert that’s creamy, tangy, and deeply satisfying. I hope you enjoy making it as much as I enjoyed perfecting it. Don’t be afraid to experiment with variations, but stick to the core techniques for the best results.
I’d love to hear how your cheesecake turns out. Share your photos and stories in the comments below. Did you add a swirl of jam? Did you use a different crust? I’m always curious to see how you adapt this recipe. If you try it, please leave a rating and let me know what you think. Your feedback helps me create more content like this.
Thank you for joining me in the kitchen. Baking is a labor of love, and I’m so glad you’re here to share in that experience. Happy baking, and enjoy every creamy bite!
Frequently Asked Questions
Why is my cheesecake cracked?
Cracks are usually caused by overmixing, overbaking, or rapid temperature changes. To prevent this, mix the batter gently, especially after adding eggs. Bake until the center still jiggles slightly, and cool the cheesecake gradually in the turned-off oven.
Can I make this cheesecake ahead of time?
Yes, this cheesecake is actually better the next day. You can make it up to 3 days in advance. Store it in the refrigerator, covered tightly. It can also be frozen for up to 2 months for longer storage.
Do I need a water bath?
While not strictly mandatory, a water bath is highly recommended for a New York-style cheesecake. It provides steam, which helps the cheesecake bake evenly and prevents cracks. If you skip it, bake at a lower temperature for a longer time to achieve a similar effect.
How do I store leftover cheesecake?
Store leftover cheesecake in an airtight container or tightly wrapped in plastic wrap in the refrigerator. It will stay fresh for up to 5 days. For longer storage, freeze it wrapped in plastic and foil.
Can I use light cream cheese?
It’s not recommended. Light cream cheese has a higher water content and less fat, which can result in a runny or less creamy cheesecake. For the best texture and flavor, always use full-fat, brick-style cream cheese.
Pin This Recipe!
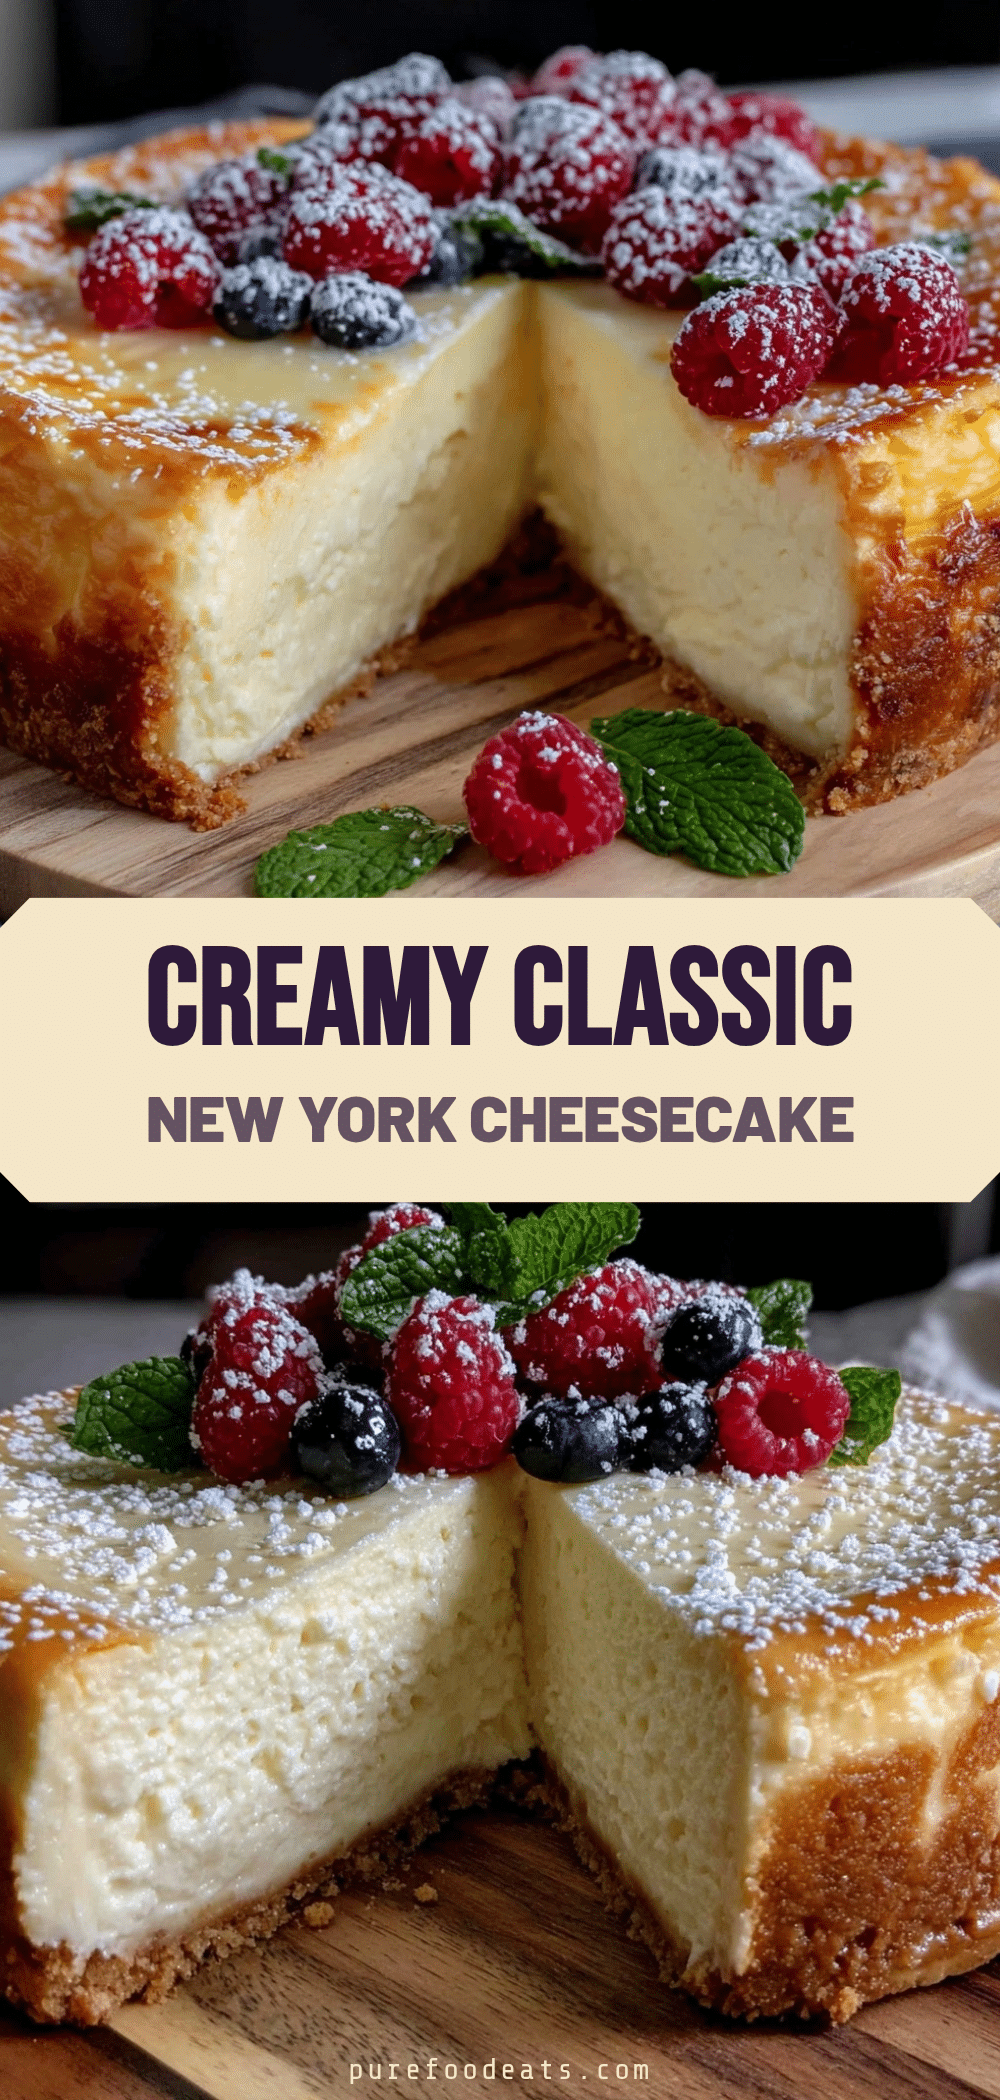
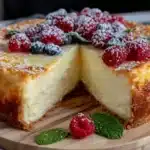
New York Cheesecake: Best Easy Creamy Recipe
- Total Time: 9 hours 40 minutes
- Yield: 12 servings 1x
Description
A rich, tangy, and impossibly creamy New York-style cheesecake with a dense, luxurious texture. This recipe uses a water bath and gradual cooling to ensure a crack-free, professional-quality dessert.
Ingredients
- 32 ounces (about 900 grams) full-fat brick-style cream cheese, softened to room temperature
- 1 and a half cups (300 grams) granulated sugar
- 1 cup (240 grams) full-fat sour cream, room temperature
- 4 large eggs, room temperature
- 2 teaspoons pure vanilla extract
- 2 cups vanilla wafer crumbs (or graham cracker crumbs)
- 1/2 cup (113 grams) unsalted butter, melted
- 1/2 teaspoon salt
Instructions
- Preheat oven to 325°F (165°C).
- Combine vanilla wafer crumbs, melted butter, and a pinch of salt in a bowl. Mix until it resembles wet sand.
- Press the crust mixture firmly into the bottom of a 9-inch springform pan. Refrigerate while making the filling.
- In a large mixing bowl, beat the softened cream cheese on medium-low speed until completely smooth. Scrape down the sides and bottom.
- Add granulated sugar and sour cream. Mix on low speed until just combined. Scrape the bowl again.
- Add eggs one at a time, mixing on low speed after each addition. Add vanilla extract and salt. Mix until just blended; do not overmix.
- Optional: Pour batter through a fine-mesh sieve to remove lumps.
- Pour batter over the chilled crust and smooth the top.
- Wrap the bottom of the springform pan tightly with two layers of heavy-duty aluminum foil.
- Place the springform pan inside a large roasting pan. Pour hot water into the roasting pan until it reaches about one inch up the side of the springform pan.
- Bake at 325°F (165°C) for 1 hour and 15 minutes. The edges should be set, but the center should jiggle slightly like Jell-O.
- Turn off the oven and crack the door open slightly. Let the cheesecake cool in the oven for one hour.
- Remove from the water bath and let cool completely on a wire rack at room temperature.
- Cover loosely with plastic wrap and refrigerate for at least 8 hours, preferably overnight, before serving.
Notes
Ensure all dairy ingredients (cream cheese, sour cream, eggs) are at room temperature to prevent lumps. Do not overmix the batter after adding eggs to avoid incorporating air, which causes cracks. A water bath is recommended to create steam and ensure even baking. The cheesecake improves in flavor after sitting in the refrigerator for 24-48 hours.
- Prep Time: 25 minutes
- Cook Time: 1 hour 15 minutes
- Category: Dessert
- Cuisine: American
Nutrition
- Serving Size: 1 slice
- Calories: 450
- Sugar: 25
- Sodium: 250
- Fat: 35
- Saturated Fat: 20
- Carbohydrates: 30
- Protein: 7
Keywords: New York Cheesecake, creamy cheesecake, crack-free cheesecake, easy cheesecake recipe, homemade dessert, springform pan recipe