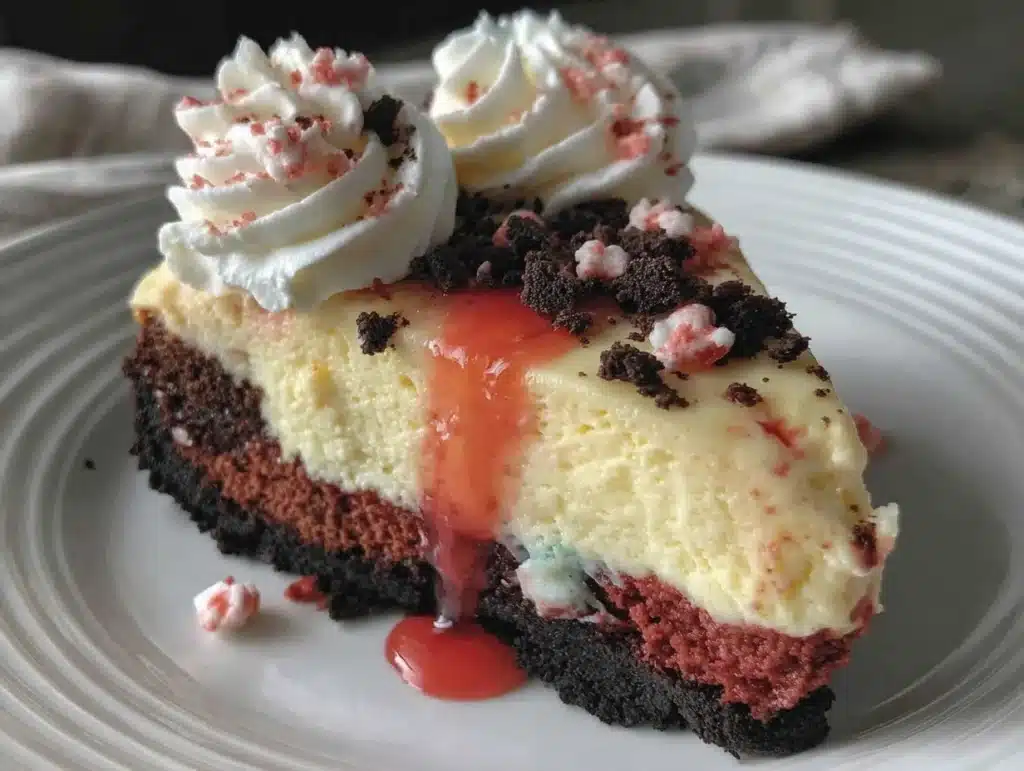
The smell of baking cream cheese and cocoa fills the house, but honestly, the real magic happens hours later, in the quiet of the refrigerator. I still remember the first time I attempted a red velvet cheesecake for a holiday party. I was twenty-four, overly ambitious, and completely unprepared for the logistics of feeding thirty people. I made the cake the morning of the event, rushed it into the oven, and pulled it out looking perfect but tasting… rushed. It was dense, slightly grainy, and lacked that signature tang that makes red velvet so irresistible. My guests were polite, but I could tell they were missing something.
That failure taught me a valuable lesson about patience and planning. I realized that cheesecake isn’t just a dessert; it’s a test of timing. You can’t rush the setting process, and you definitely can’t rush the flavor development. That’s why I switched to making this Classic Red Velvet Cheesecake as a make-ahead dessert. By preparing it a day or two in advance, the flavors meld together, the texture becomes impossibly smooth, and you eliminate the stress of last-minute baking.
This recipe has become my go-to for everything from casual weeknight treats to impressing in-laws. The vibrant red color paired with the rich, creamy cheesecake layer creates a visual and flavor experience that feels luxurious yet approachable. It’s the kind of dessert that people ask for the recipe for months after eating it. If you’ve ever struggled with cracking cheesecakes or bland flavor profiles, this method is your solution. Let’s face it, nobody wants a dry, cracked dessert on their plate. We want that silky, melt-in-your-mouth experience that says, “I put thought into this.”
After testing this recipe over a dozen times, tweaking the cream cheese ratios and finding the perfect balance of cocoa and vanilla, I’ve landed on a version that is foolproof. Whether you are a seasoned baker or just starting out, this classic red velvet cheesecake will become a staple in your rotation. It’s reliable, it’s delicious, and best of all, it saves you time when you need it most.
Why You’ll Love This Recipe
There are hundreds of cheesecake recipes out there, but this one stands out for a few specific reasons that come from trial, error, and a lot of tasting. First, the make-ahead aspect is a game-changer for anyone who values their sanity. Baking on the day of an event is stressful. By making this classic red velvet cheesecake in advance, you transform dessert preparation from a chore into a breeze. You can bake it on Tuesday and serve it on Saturday, allowing the flavors to mature and deepen in the fridge.
Here is what makes this recipe truly special:
- Effortless Make-Ahead Friendly: This recipe is designed to be prepared ahead of time. The flavors actually improve after resting for 24 to 48 hours in the refrigerator. This means less stress on the day you serve it.
- Perfect Texture Every Time: Using a water bath and precise temperature control prevents the dreaded cracks. The result is a dense yet creamy interior that holds its shape beautifully when sliced.
- Balanced Flavor Profile: Many red velvet recipes are too sweet or lack the characteristic tang. This version balances the sweetness of the cream cheese with a subtle hint of vinegar and cocoa, creating a sophisticated taste that isn’t cloying.
- Impressive Visuals: The deep red hue of the cake layer contrasts stunningly with the pale cream cheese filling. It looks like it came from a high-end bakery, but you made it in your own kitchen.
- Family Favorite: Kids love the color, and adults appreciate the nuanced flavor. It’s a crowd-pleaser that works for birthdays, holidays, or just because.
What sets this apart from other versions is the attention to detail in the crust and the filling ratio. I’ve found that using a graham cracker crust with a touch of brown sugar adds a caramel note that complements the red velvet perfectly. Plus, the make-ahead nature means you can focus on other parts of your meal without worrying about a dessert that needs immediate attention. It’s comfort food reimagined for the modern, busy baker.
What Ingredients You Will Need
To create a classic red velvet cheesecake that rivals professional bakeries, you need quality ingredients. The beauty of this recipe lies in its simplicity, but the quality of each component matters. You don’t need exotic spices or hard-to-find items, just the basics done right. The red velvet flavor comes from a combination of cocoa powder, vanilla, and a touch of vinegar, which reacts with the baking soda to create that tender crumb.
Here is what you will need to gather:
- Graham Crackers: About 1 ½ cups of finely crushed graham crackers form the base. I prefer using whole grain graham crackers for a slightly nuttier flavor, but standard ones work fine too.
- Unsalted Butter: You’ll need about ½ cup of melted unsalted butter for the crust. Using unsalted allows you to control the salt content in the final dessert.
- Brown Sugar: Add 2 tablespoons of packed brown sugar to the crust. This adds moisture and a hint of molasses that pairs well with the cocoa.
- Cream Cheese: This is the star. You will need 32 ounces (about 900g) of full-fat cream cheese. It is crucial to use block cream cheese, not the spreadable kind in a tub. Brands like Philadelphia are reliable for their consistent texture.
- Granulated Sugar: 1 ½ cups of white granulated sugar provides the sweetness. Do not reduce this significantly, as sugar also helps with texture.
- Sour Cream: 1 cup of full-fat sour cream adds tang and richness. This is key for that classic cheesecake flavor.
- Eggs: 4 large eggs at room temperature. Room temperature eggs emulsify better, preventing a grainy texture.
- Vanilla Extract: 1 tablespoon of pure vanilla extract. Avoid imitation vanilla if you want the best flavor.
- All-Purpose Flour: 2 tablespoons of flour helps stabilize the cheesecake, preventing cracks.
- Cocoa Powder: 2 tablespoons of unsweetened cocoa powder for the red velvet base layer.
- Red Food Coloring: Gel food coloring is best for a vibrant red without adding extra liquid. About 1-2 teaspoons should suffice.
- White Vinegar: ½ teaspoon of white vinegar reacts with the baking soda to enhance the red color and tenderize the cake.
- Baking Soda: ¼ teaspoon of baking soda for the red velvet layer.
Having all these ingredients ready before you start mixing will save you from panic. If you can’t find gel food coloring, liquid coloring works but may require more quantity, which can affect the batter consistency.
Equipment Needed
You don’t need a fancy kitchen to make this dessert, but having the right tools makes a huge difference. The most important piece of equipment is a 9-inch springform pan. This type of pan has a removable side, which is essential for getting the cheesecake out intact without breaking it. Look for a heavy-duty springform pan with a tight seal to prevent water from leaking into the pan during the water bath.
You will also need a large roasting pan or baking dish for the water bath. This creates a humid environment in the oven, which helps the cheesecake bake evenly and prevents cracking. A stand mixer or a powerful hand mixer is highly recommended. Mixing by hand is possible but tiring, and overmixing by hand can incorporate too much air, leading to cracks.
Additionally, have a fine-mesh sieve or food processor ready for crushing the graham crackers. A food processor gives the most uniform crumbs, which results in a smoother crust. You’ll also need a rubber spatula to scrape down the sides of the bowl, ensuring all ingredients are fully incorporated. Finally, a kitchen scale is helpful for precision, especially with the cream cheese and sugar, though measuring cups work if you are careful.
Preparation Method
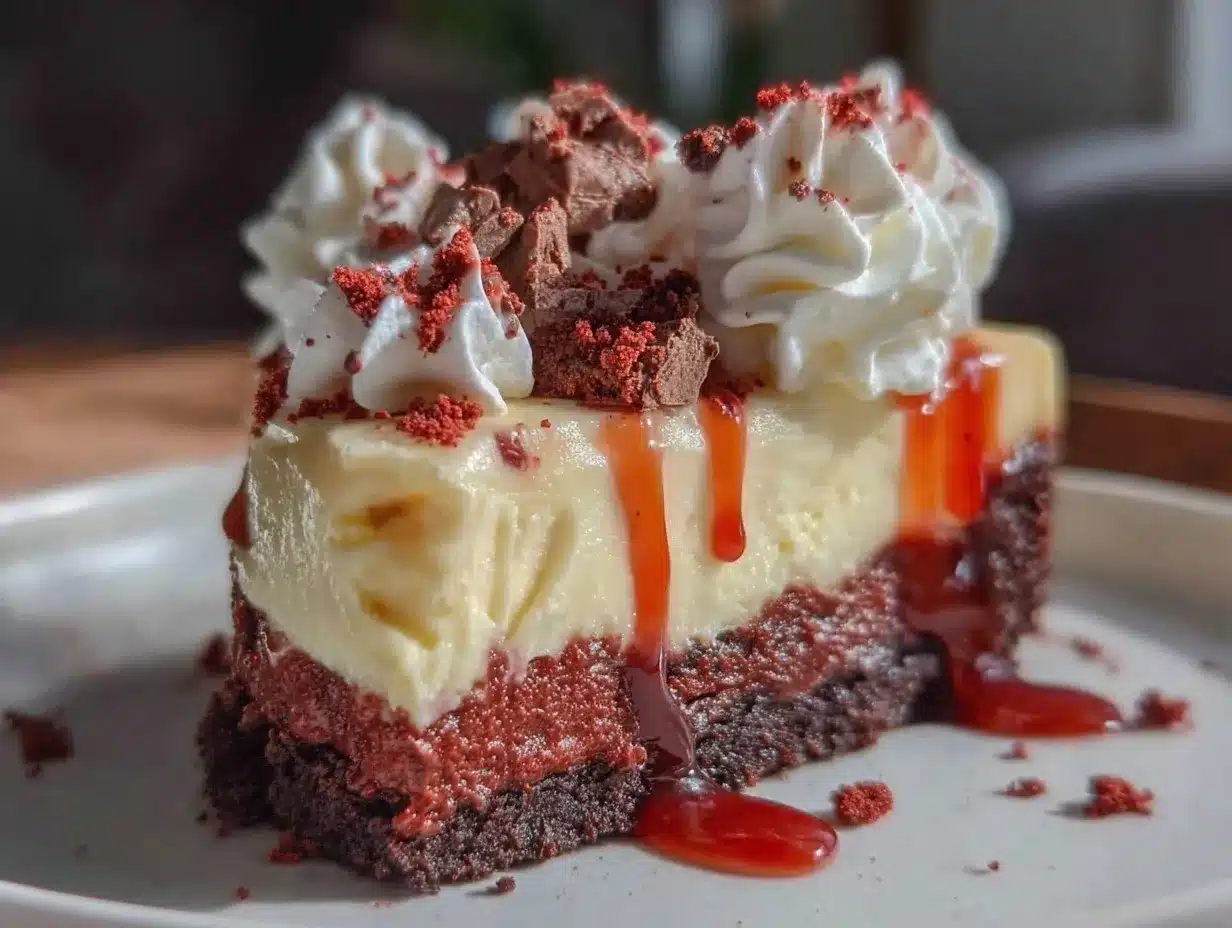
Making this classic red velvet cheesecake is a process, but each step is straightforward. The key is patience and proper temperature management. Start by preheating your oven to 325°F (165°C). This lower temperature ensures gentle, even cooking.
Step 1: Prepare the Crust
Take about 1 ½ cups of graham cracker crumbs and mix them with 2 tablespoons of brown sugar and ½ cup of melted unsalted butter. Press this mixture firmly into the bottom of your 9-inch springform pan. Use the bottom of a measuring cup to pack it down evenly. This step takes about 5 minutes. Chill the crust in the refrigerator while you prepare the filling.
Step 2: Make the Red Velvet Layer
In a small bowl, whisk together 2 tablespoons of all-purpose flour, 2 tablespoons of cocoa powder, ¼ teaspoon of baking soda, and ½ teaspoon of white vinegar. In a separate bowl, mix a small portion of the cream cheese filling batter (reserve some for later) with the red food coloring and this cocoa mixture. Spread this thin red layer over the chilled crust. This creates the signature red velvet base. Bake this layer for just 10 minutes, then remove from the oven and set aside. This step takes about 15 minutes total including prep.
Step 3: Prepare the Cheesecake Filling
Using a stand mixer fitted with the paddle attachment, beat the 32 ounces of softened cream cheese on medium-low speed until completely smooth. This takes about 3-4 minutes. Scrape down the sides of the bowl. Add the 1 ½ cups of granulated sugar and beat until combined. Add the 1 cup of sour cream and 1 tablespoon of vanilla extract. Mix until smooth. Add the 4 large eggs one at a time, mixing on low speed just until incorporated. Overmixing at this stage adds air, which causes cracks. Fold in the remaining 2 tablespoons of flour. This process should take about 10 minutes.
Step 4: Assemble and Bake
Pour the cheesecake batter over the partially baked red velvet layer. Smooth the top with a spatula. Wrap the bottom of the springform pan tightly with heavy-duty aluminum foil to prevent water leakage. Place the springform pan into the large roasting pan. Pour hot water into the roasting pan until it reaches halfway up the sides of the springform pan. This is your water bath.
Place the roasting pan in the oven and bake at 325°F (165°C) for 60-70 minutes. The cheesecake is done when the edges are set but the center still jiggles slightly like Jell-O. This is crucial; it will continue to cook as it cools. This baking phase takes about 1 hour and 15 minutes.
Step 5: Cool and Chill
Turn off the oven and crack the door open slightly. Let the cheesecake cool in the oven for 1 hour. This gradual cooling prevents cracking. Remove from the oven and run a knife around the edge to loosen it. Let it cool completely on a wire rack, then refrigerate for at least 8 hours, preferably 24 hours. This chilling time is non-negotiable for the best texture.
Cooking Tips & Techniques
The difference between a good cheesecake and a great one often comes down to technique. One of the most common mistakes is using cold ingredients. Ensure your cream cheese and eggs are at room temperature before you start. Cold ingredients don’t mix well, leading to lumps in your batter. If you forget to take them out, you can soften the cream cheese by microwaving it in short bursts or letting the eggs sit in warm water for 10 minutes.
Another critical tip is the water bath. It sounds intimidating, but it’s the secret to a crack-free top. The steam from the water bath creates a gentle cooking environment. Make sure your springform pan is well-sealed with foil. If you are worried about leaks, you can place the springform pan on a sheet of foil and wrap the entire bottom and sides.
When mixing the batter, avoid overmixing once you add the eggs. High-speed mixing incorporates air bubbles. As the cheesecake bakes, these air bubbles expand and then collapse as the cake cools, causing cracks. Mix on low speed and stop as soon as the ingredients are combined.
Also, don’t open the oven door while the cheesecake is baking. Sudden temperature changes can cause the surface to crack. Trust the process. If you see the top looking too dark, you can tent it loosely with foil after the first 30 minutes.
Variations & Adaptations
While the classic red velvet cheesecake is delicious on its own, there are many ways to adapt it to suit your tastes or dietary needs. For a gluten-free version, simply swap the graham crackers for a gluten-free graham cracker crust or use almond flour. The texture will be slightly different but still delightful.
If you want to reduce the sugar, you can cut the granulated sugar by up to ¼ cup without significantly affecting the texture. However, going lower may impact the setting ability of the cheesecake. For a richer chocolate flavor, you can add ½ cup of semi-sweet chocolate chips to the batter before baking.
You can also experiment with the topping. Instead of a plain top, add a layer of strawberry glaze or a dollop of whipped cream infused with vanilla. For a festive twist, sprinkle crushed red velvet cake crumbs or white chocolate shavings on top before serving. These variations allow you to keep the recipe fresh and exciting for different occasions.
Serving & Storage Suggestions
This classic red velvet cheesecake is best served chilled. It holds its shape beautifully when sliced, making it perfect for parties. Use a sharp knife dipped in hot water for clean slices. Wipe the knife clean between cuts to keep the layers distinct.
For storage, keep the cheesecake in the springform pan, covered tightly with plastic wrap or aluminum foil, in the refrigerator. It will stay fresh for up to 5 days. If you need to freeze it, wrap the entire pan (or individual slices) tightly in plastic wrap and then in foil. It can be frozen for up to 2 months. Thaw it in the refrigerator overnight before serving.
The flavors of the red velvet and cream cheese continue to meld in the fridge, so it often tastes better on the second or third day. This makes it an ideal make-ahead dessert for busy schedules.
Nutritional Information & Benefits
This cheesecake is a rich indulgence, so it’s best enjoyed in moderation. Each slice contains approximately 450 calories, with significant amounts of fat and carbohydrates from the cream cheese, sugar, and crust. It is not a low-carb or keto-friendly dessert in its standard form. However, it does provide calcium from the dairy products.
For those with dietary restrictions, this recipe can be adapted. Using gluten-free crust ingredients makes it safe for those with gluten intolerance. For dairy-free needs, you can use vegan cream cheese alternatives, though the texture may vary. Always check ingredient labels for allergens.
From a wellness perspective, this dessert is more about enjoyment and celebration than nutrition. It’s a treat to share with loved ones, creating memories around the table. Balance is key, and this classic red velvet cheesecake fits perfectly into a balanced lifestyle as an occasional special treat.
Conclusion
Making this classic red velvet cheesecake is a rewarding experience that pays off in every bite. The make-ahead aspect reduces stress, while the rich, tangy flavor satisfies any sweet tooth. I love this recipe because it combines nostalgia with modern convenience. It’s a dessert that feels special but is actually quite manageable to make.
I encourage you to try this recipe and make it your own. Experiment with different toppings or crust flavors. Share your creations with friends and family, and don’t be afraid to ask questions if you’re unsure about any step. Baking is a journey, and every attempt teaches you something new.
If you make this classic red velvet cheesecake, I’d love to hear how it turned out. Leave a comment below with your thoughts or share photos of your creation. Happy baking!
Frequently Asked Questions
Can I use liquid food coloring instead of gel?
Yes, you can use liquid food coloring, but you may need to use more to achieve the same vibrant red color. Keep in mind that adding too much liquid can affect the batter consistency, so use it sparingly.
Why did my cheesecake crack?
Cracking is usually caused by overmixing, baking at too high a temperature, or sudden temperature changes. Ensure you mix on low speed, use a water bath, and cool the cheesecake gradually in the turned-off oven.
Can I freeze this cheesecake?
Absolutely. This cheesecake freezes well for up to 2 months. Wrap it tightly in plastic wrap and foil. Thaw it in the refrigerator overnight before serving.
Do I have to use a springform pan?
While you can make this in a regular cake pan, a springform pan is recommended for easy removal. If using a regular pan, line it with parchment paper and leave overhangs to lift the cheesecake out.
How long does it take to set in the fridge?
The cheesecake needs at least 8 hours to set properly, but 24 hours is ideal for the best texture and flavor. Patience is key for this classic recipe.
Pin This Recipe!
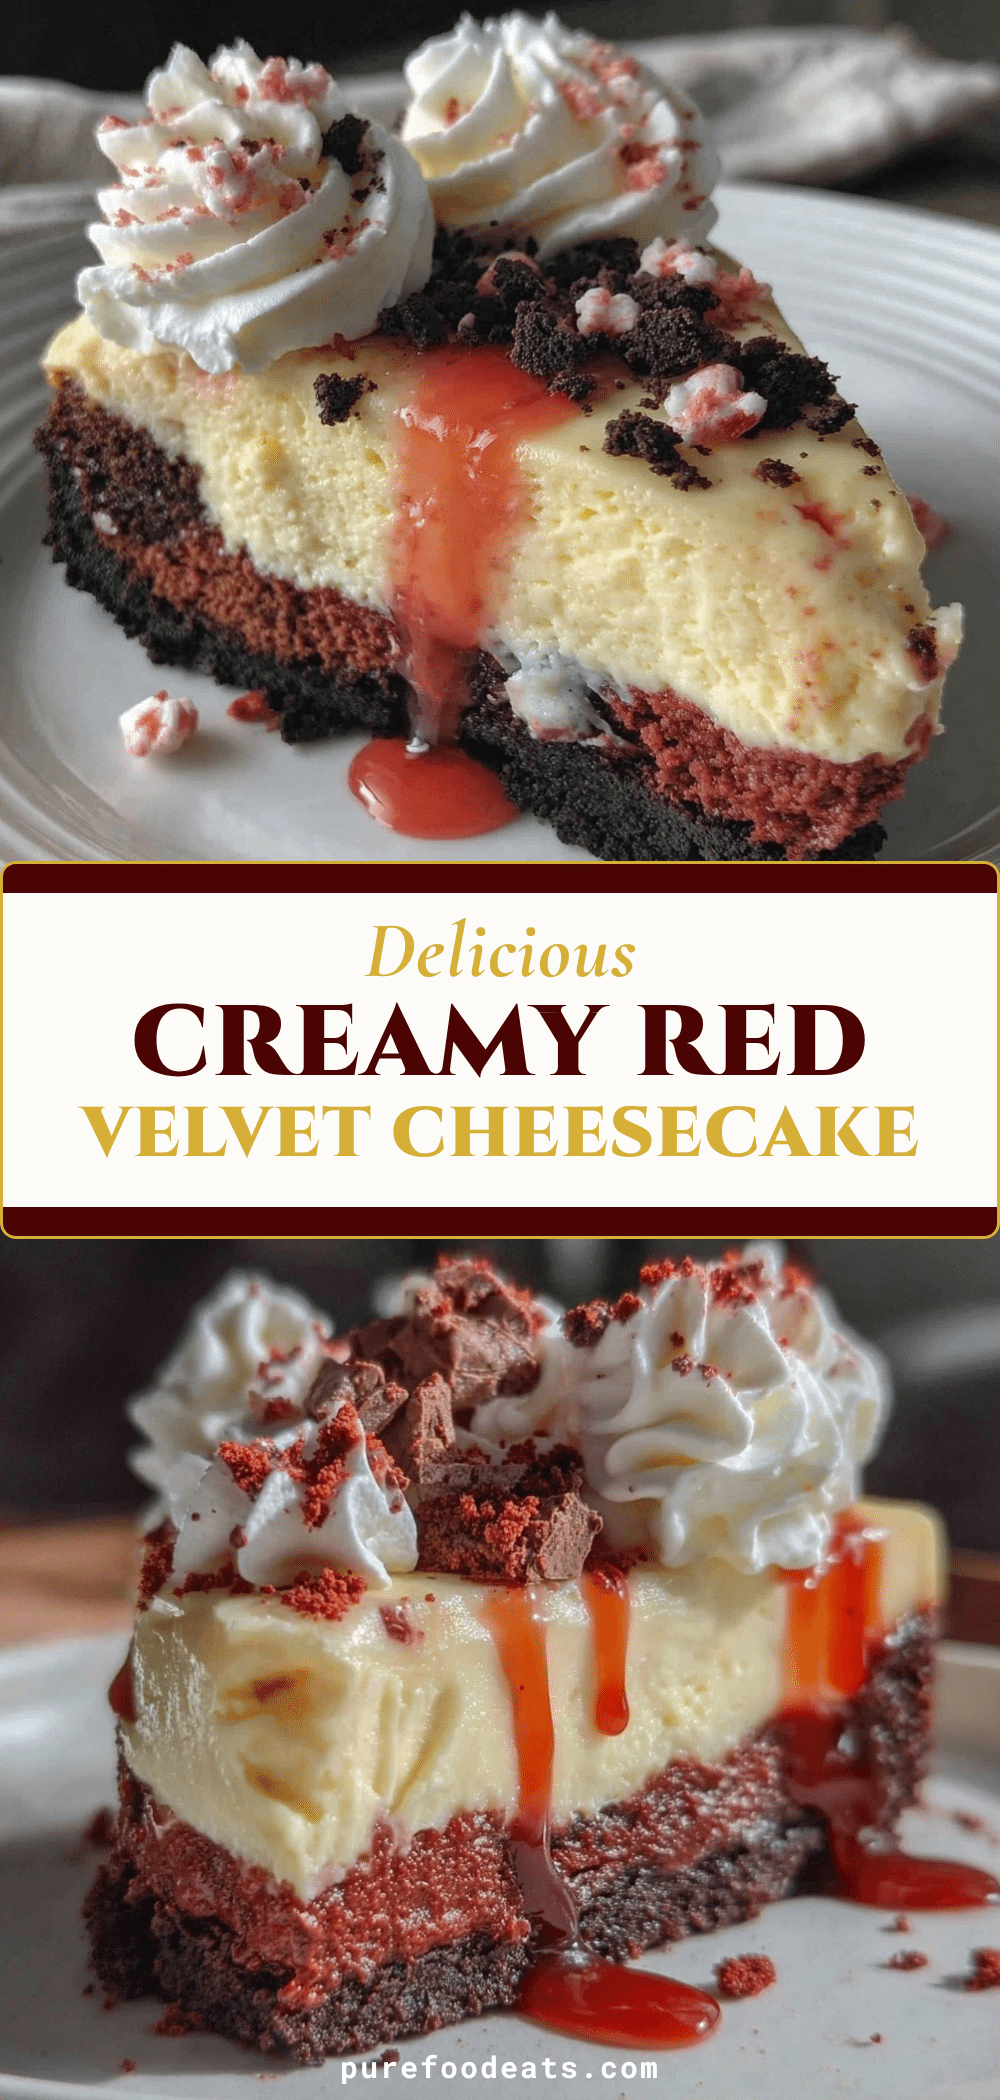

Classic Red Velvet Cheesecake: Easy Make Ahead Dessert
- Total Time: 2 hours 55 minutes
- Yield: 12 servings 1x
Description
A foolproof, make-ahead red velvet cheesecake featuring a graham cracker crust, a tender cocoa-red velvet base layer, and a rich, creamy cream cheese filling. Baked in a water bath for a smooth, crack-free texture.
Ingredients
- 1 ½ cups finely crushed graham crackers
- 2 tablespoons packed brown sugar
- ½ cup unsalted butter, melted
- 32 ounces (about 900g) full-fat block cream cheese, softened
- 1 ½ cups granulated sugar
- 1 cup full-fat sour cream
- 4 large eggs, room temperature
- 1 tablespoon pure vanilla extract
- 2 tablespoons all-purpose flour
- 2 tablespoons unsweetened cocoa powder
- 1–2 teaspoons red gel food coloring
- ½ teaspoon white vinegar
- ¼ teaspoon baking soda
Instructions
- Preheat oven to 325°F (165°C).
- Mix graham cracker crumbs, brown sugar, and melted butter. Press firmly into the bottom of a 9-inch springform pan. Chill in the refrigerator.
- In a small bowl, whisk together 2 tablespoons flour, 2 tablespoons cocoa powder, baking soda, and vinegar.
- Reserve a small portion of the cream cheese filling batter. Mix this portion with the red food coloring and the cocoa mixture. Spread this thin red layer over the chilled crust.
- Bake the red velvet layer for 10 minutes. Remove from oven and set aside.
- In a stand mixer, beat the 32 ounces of cream cheese on medium-low until smooth. Add granulated sugar and beat until combined.
- Add sour cream and vanilla extract; mix until smooth.
- Add eggs one at a time on low speed, mixing just until incorporated. Do not overmix.
- Fold in the remaining 2 tablespoons of flour.
- Pour the cheesecake batter over the partially baked red velvet layer.
- Wrap the bottom of the springform pan tightly with heavy-duty aluminum foil.
- Place the springform pan in a large roasting pan. Pour hot water into the roasting pan until it reaches halfway up the sides of the springform pan (water bath).
- Bake at 325°F (165°C) for 60-70 minutes, until edges are set but the center jiggles slightly.
- Turn off the oven and crack the door open. Let the cheesecake cool in the oven for 1 hour.
- Remove from oven, run a knife around the edge, and cool completely on a wire rack.
- Refrigerate for at least 8 hours, preferably 24 hours, before serving.
Notes
Ensure cream cheese and eggs are at room temperature to prevent lumps. Use a water bath to prevent cracking. Do not overmix the batter after adding eggs. The cheesecake tastes better after resting in the fridge for 24-48 hours.
- Prep Time: 30 minutes
- Cook Time: 1 hour 25 minutes
- Category: Dessert
- Cuisine: American
Nutrition
- Serving Size: 1 slice
- Calories: 450
- Sugar: 25
- Sodium: 350
- Fat: 35
- Saturated Fat: 20
- Carbohydrates: 30
- Fiber: 1
- Protein: 8
Keywords: red velvet cheesecake, make ahead dessert, cream cheese cake, holiday baking, water bath cheesecake, easy cheesecake recipe