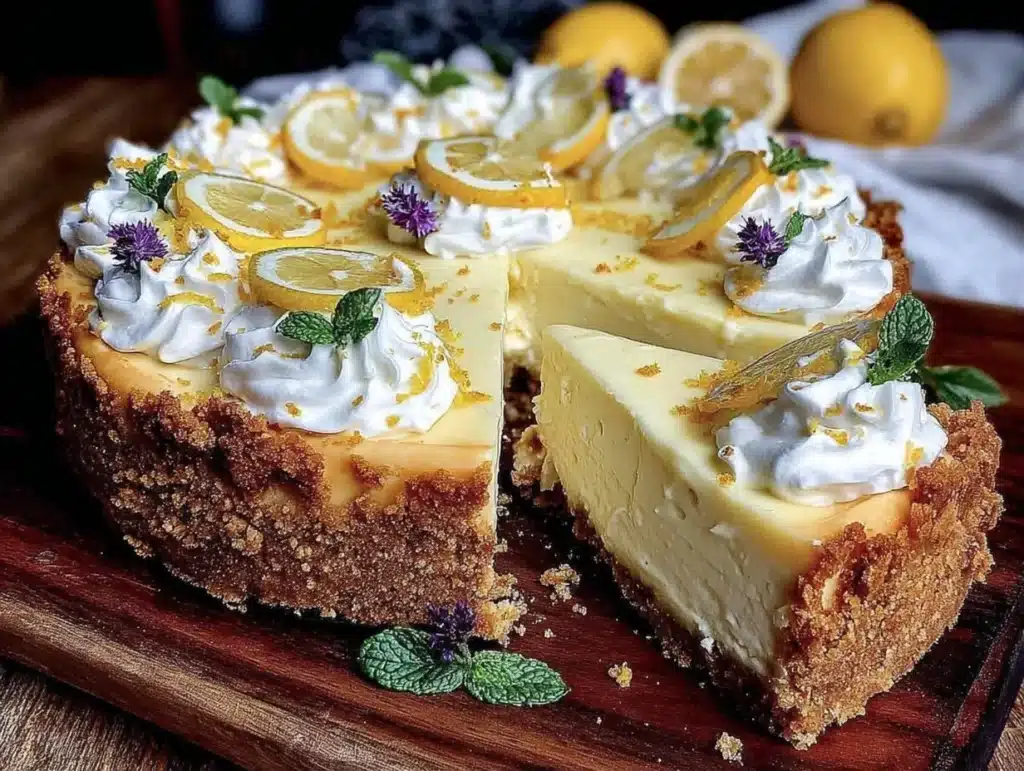
It was July, and the oven felt like the enemy. I had just moved into a tiny apartment with a kitchen that barely fit two people, let alone a full-scale baking operation. The heat was oppressive, and the idea of turning on a hot appliance for an hour just to make dessert felt like a personal insult. That’s when I stumbled upon the idea of a no-bake cheesecake. Honestly, it was born out of necessity, not culinary innovation. I needed something cold, creamy, and tangy to survive the humidity, but I also wanted to feel fancy.
My first attempt was a disaster. The crust crumbled into dust, and the filling was more like a lemon curd than a cheesecake. It was tart, yes, but it lacked that rich, dreamy texture I craved. I spent the next three weekends testing variations, adjusting ratios, and learning what makes a no-bake dessert actually set properly. I learned that gelatin is your friend, but cream cheese is your soulmate. I also discovered that fresh lemon juice makes all the difference compared to bottled stuff.
Now, this Best No-Bake Lemon Cheesecake is my go-to. It’s the kind of dessert that looks like you spent hours in a professional kitchen, but really, it just takes ten minutes of active work. The best part? You can make it days in advance. I’ve hosted dinner parties where I assembled this cake the night before, and it arrived at the table looking flawless. It’s refreshing, it’s light, and it’s incredibly satisfying. If you’re tired of heavy, baked desserts that leave you feeling stuffed, this is your answer.
People often ask me why I prefer no-bake desserts in the summer. It’s simple. They don’t heat up the house. They are forgiving for beginners. And let’s be honest, they taste like vacation. This recipe balances the sharp punch of lemon with the smooth comfort of cream cheese. It’s not just a recipe; it’s a memory of lazy afternoons and easy entertaining. You’ll love how simple it is to pull together, and your guests will be impressed by the professional finish.
Why You’ll Love This Recipe
After testing dozens of no-bake cheesecake recipes, I can confidently say that this one stands out. It’s not just another copycat attempt. I’ve refined the technique to ensure the texture is perfectly dense yet airy. The secret lies in how you whip the cream cheese. If you overbeat it, it gets grainy. If you don’t beat it enough, it’s lumpy. I found the sweet spot, and now I use this method for every single cheesecake I make.
- Quick & Easy: You can have this dessert ready to eat in under 30 minutes of prep time. The rest is just waiting for it to set in the fridge. This is perfect for busy weeknights when you want something special but don’t have hours to spare.
- Simple Ingredients: You don’t need a trip to a specialty store. Everything you need is likely already in your pantry or fridge. Cream cheese, butter, sugar, lemon, and cream. That’s it. No exotic flours or hard-to-find syrups.
- Perfect for Make-Ahead: This is the ultimate stress-free dessert. You can make it 24 to 48 hours in advance. The flavors actually meld together and taste better the next day. It’s ideal for potlucks, holidays, or any occasion where you want to enjoy your own party.
- Crowd-Pleaser: Kids love the sweetness, and adults appreciate the sophisticated tang. It’s a crowd-pleaser that works for birthdays, bridal showers, or just a Tuesday night treat. Everyone asks for the recipe.
- Unbelievably Delicious: The contrast between the buttery graham cracker crust and the silky lemon filling is next-level comfort food. It melts in your mouth without being heavy. It’s light, bright, and incredibly refreshing.
What makes this recipe different is the balance. Many no-bake cheesecakes are too sweet or too tart. This one hits the nail on the head. I’ve also adjusted the crust to be slightly more buttery, so it holds together better when sliced. It’s not just good; it’s the kind of dessert that makes you close your eyes after the first bite. It’s comfort food reimagined—healthier in the sense that it’s not baked, but with the same soul-soothing satisfaction.
What Ingredients You Will Need
This recipe uses simple, wholesome ingredients to deliver bold flavor and satisfying texture without the fuss. The beauty of a no-bake cheesecake is that the quality of your ingredients really shines through. Since there are no fillers or stabilizers from baking, you want the best cream cheese and the freshest lemons you can find. I’ve tested this with various brands, and I always come back to the same staples for consistent results.
Here is what you’ll need to create this masterpiece:
- Graham Crackers: About 1 ½ cups of crumbs. I prefer standard honey graham crackers for a subtle sweetness. You can buy pre-made crumbs, but grinding them yourself gives a better texture. Look for fresh crumbs, not stale ones.
- Unsalted Butter: 6 tablespoons, melted. This binds the crust and adds richness. Use high-quality butter here because you can taste it. I recommend brands like Kerrygold or Plugrá for their high butterfat content.
- Granulated Sugar: ½ cup. This sweetens the crust. If you prefer less sweet, you can reduce it to ⅓ cup, but the lemon needs that balance.
- Full-Fat Cream Cheese: Two 8-ounce blocks, softened to room temperature. This is non-negotiable. Low-fat cream cheese will not whip properly and will result in a dense, rubbery texture. Let it sit on the counter for an hour before you start.
- Heavy Whipping Cream: 1 ½ cups, cold. This provides the structure and airiness. Make sure your bowl and beaters are cold for maximum volume.
- Confectioners’ Sugar: 1 cup. This dissolves easily into the filling, preventing any gritty texture. Sift it if it’s clumpy.
- Fresh Lemon Juice: ½ cup (about 3-4 lemons). Bottled lemon juice has a metallic aftertaste that ruins the delicate flavor. Squeeze your own lemons. It’s worth the effort.
- Lemon Zest: From 2 large lemons. The zest contains the essential oils that give the lemon its perfume. Use a microplane for the finest zest.
- Vanilla Extract: 1 teaspoon. Just a hint to round out the flavors. Use pure vanilla, not imitation.
- Gelatin (Optional but Recommended): 1 packet (2 ¼ teaspoons) of unflavored gelatin. This ensures the cheesecake holds its shape when sliced. If you prefer a softer, mousse-like texture, you can skip it, but it’s risky in warm weather.
For the crust, if you have a nut allergy, you can substitute graham crackers with vanilla wafers or gluten-free graham crackers. For the filling, if you need a dairy-free option, you can use coconut cream and a dairy-free cream cheese alternative, though the texture will be slightly different. I’ve also tried using lemon curd instead of fresh juice for a more intense flavor, but it can make the filling too loose, so stick to fresh juice for reliability.
Equipment Needed
You don’t need a lot of fancy gear to make this, but having the right tools makes the process smoother. A 9-inch springform pan is essential. It allows you to remove the sides easily, revealing those beautiful layers. If you don’t have a springform pan, a deep 9-inch pie dish works, but slicing it will be messier. Make sure your springform pan is in good condition; a leaky bottom can be a nightmare when chilling a liquid filling.
A food processor is the best tool for making graham cracker crumbs quickly and evenly. If you don’t have one, put the crackers in a zip-top bag and crush them with a rolling pin. It takes a bit more elbow grease, but it works fine. For the filling, an electric hand mixer or a stand mixer with the whisk attachment is highly recommended. Whipping cream and cream cheese by hand is possible, but it will take much longer and your arms will get tired. I’ve tried it, and I don’t recommend it unless you enjoy a workout.
A microplane zester is crucial for getting fine lemon zest without the bitter white pith. A standard box grater works too, but you have to be very careful. A rubber spatula is your best friend for folding the cream into the cheese mixture. You need to be gentle to keep the air in the mixture. A fine-mesh strainer is useful if you want to strain the lemon juice to remove any seeds or pulp, though I usually just pick them out by hand. Keep your equipment clean and organized; mise en place makes no-bake baking feel like a professional kitchen.
Preparation Method
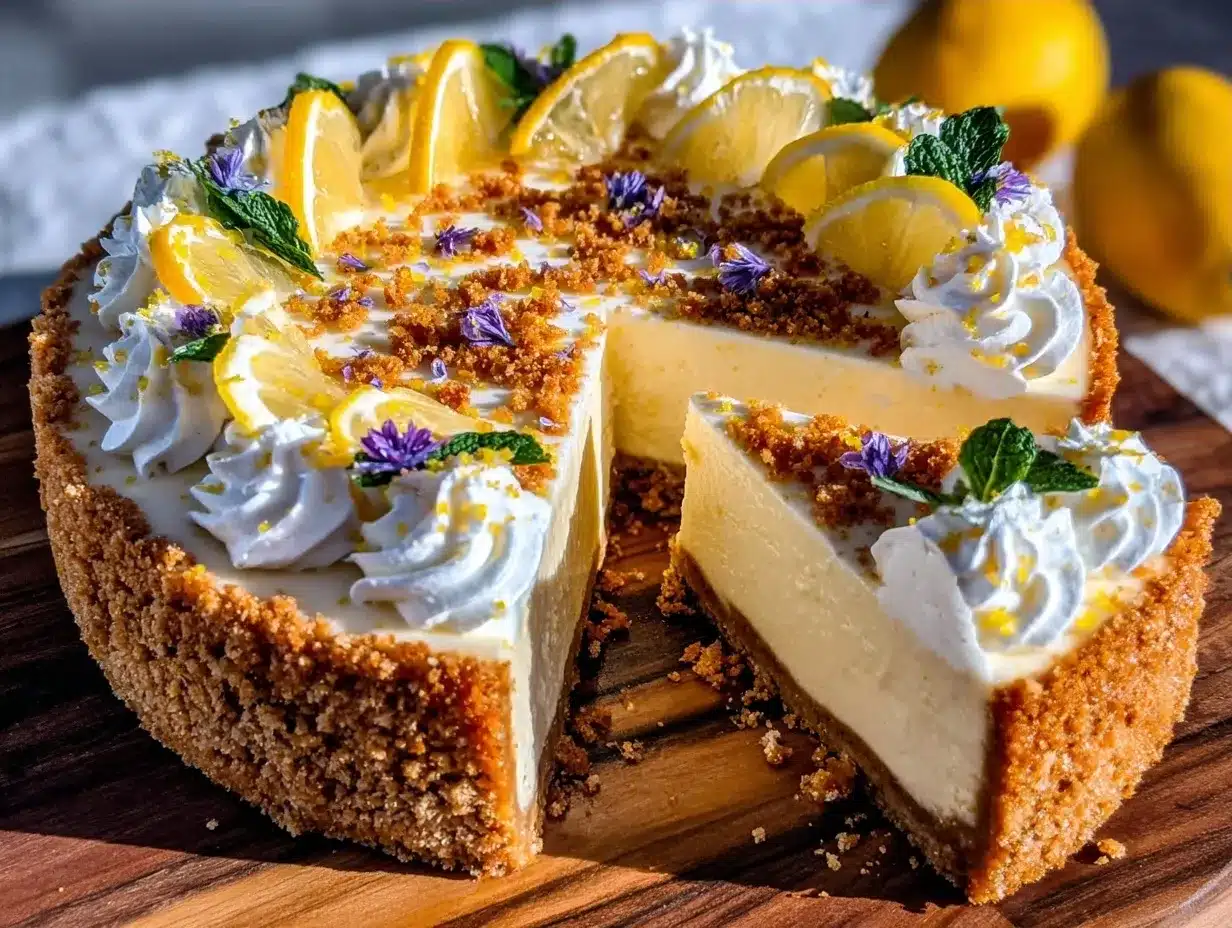
Let’s get into the nitty-gritty of making this Best No-Bake Lemon Cheesecake. The process is straightforward, but timing is key. We’ll start with the crust, then move to the filling, and finally, the assembly. Grab your ingredients and let’s begin.
- Prepare the Crust: Start by crushing your graham crackers into fine crumbs. You want them to feel like wet sand. If they are too chunky, the crust won’t hold together. Place the crumbs in a medium bowl.
- Melt the Butter: Melt your 6 tablespoons of unsalted butter. You can do this in the microwave in 30-second intervals, stirring in between. Watch it closely so it doesn’t boil over. Pour the melted butter over the crumbs.
- Add Sugar: Sprinkle in the ½ cup of granulated sugar. Mix everything together with a fork or your hands until the crumbs are evenly coated. It should look like damp sand that holds its shape when squeezed.
- Press into Pan: Pour the mixture into your 9-inch springform pan. Use the bottom of a measuring cup or a flat glass to press the crumbs firmly and evenly into the bottom and slightly up the sides. Pack it down tightly. A loose crust will crumble when you slice it. Place the pan in the refrigerator while you make the filling.
- Bloom the Gelatin (If Using): If you are using gelatin, sprinkle the powder over ¼ cup of cold water in a small bowl. Let it sit for 5 minutes. It will look like a spongy mass. Then, microwave it for 10-15 seconds until it is completely liquid. Set aside to cool slightly.
- Beat the Cream Cheese: In a large mixing bowl, beat the softened cream cheese with the electric mixer on medium speed. Beat for about 2-3 minutes until it is completely smooth and creamy. Scrape down the sides of the bowl. This step is crucial for a lump-free filling.
- Add Sweeteners and Flavor: Add the 1 cup of confectioners’ sugar, the ½ cup of fresh lemon juice, the lemon zest, and the vanilla extract. Beat on low speed until combined, then increase to medium-high. Beat for another 2 minutes. The mixture should be light and fluffy. If using gelatin, pour it in now and mix briefly to incorporate.
- Whip the Heavy Cream: In a separate cold bowl, whip the 1 ½ cups of heavy cream until stiff peaks form. This means when you lift the beaters, the cream stands up straight. Do not overbeat it into butter, but make sure it’s firm.
- Fold the Mixture: This is the most important step. Add about one-third of the whipped cream to the cream cheese mixture and fold it in gently with a rubber spatula. This lightens the dense cheese mixture. Then, add the remaining cream and fold until just combined. Be gentle! You want to keep the air in the mixture. Overmixing will deflate the cheesecake.
- Fill and Chill: Pour the filling into the chilled crust. Smooth the top with your spatula. Cover the pan with plastic wrap or foil. Place it in the refrigerator for at least 6 hours, but preferably overnight. The longer it chills, the firmer it sets. Do not rush this step.
- Serve: Before serving, you can decorate with extra lemon zest, whipped cream, or fresh berries. Run a hot knife around the edge of the pan before releasing the springform ring for clean slices.
Watch the texture as you fold. It should look like a thick, luxurious mousse. If it looks too thin, you might have under-whipped the cream. If it looks too stiff, you might have over-whipped the cream cheese. Trust your eyes and your hands. It’s a tactile process.
Cooking Tips & Techniques
There are a few tricks I’ve learned over the years that can save your cheesecake. First, room temperature ingredients are your best friend. If your cream cheese is cold, you will get lumps that no amount of beating will remove. Plan ahead and let it sit out for at least an hour. Similarly, if your heavy cream is warm, it won’t whip up properly. Keep your cream in the fridge until the last minute.
Another common mistake is using too much lemon juice. Lemon juice contains water, which can prevent the cheesecake from setting. If you use fresh juice, strain it through a fine-mesh sieve to remove any pulp. This ensures a smoother texture. Also, don’t skip the gelatin if you live in a warm climate. Without it, the cheesecake might melt before you can slice it. The gelatin doesn’t add any taste; it just provides structure.
I once made this without gelatin and served it at a picnic. It was a mess. The sun was out, and the cheesecake turned into soup. Lesson learned. Always use gelatin for outdoor events or warm weather. If you are making this in winter, you might get away without it, but I still recommend it for clean slices.
When folding the cream, use a gentle hand. Imagine you are trying to keep the bubbles intact. Use a figure-eight motion with your spatula. Stop as soon as there are no more white streaks of cream cheese. Overmixing is the enemy of a light texture. Also, clean your beaters between whipping the cream and beating the cheese. Any residual cream cheese will prevent the cream from whipping properly.
Finally, let’s talk about the crust. Press it firmly. I’ve seen people press it lightly, and then when they slice the cake, the crust falls apart. Pack it down like you are making a pie crust. It should feel solid. If you want a extra crunchy crust, you can toast the graham cracker crumbs in the oven for 5 minutes before mixing them with butter. This adds a nutty flavor and extra crunch. It’s a nice variation if you have the time.
Variations & Adaptations
One of the best things about this recipe is how adaptable it is. While the classic lemon flavor is my favorite, you can easily twist it to suit your mood or dietary needs. Here are a few variations I’ve tried and loved.
Berry Swirl: For a fruity twist, fold in ½ cup of fresh or frozen berries (like raspberries or blueberries) into the filling. Or, make a quick berry sauce by cooking down berries with sugar and stirring it into the cream cheese mixture before folding in the whipped cream. It adds a beautiful marbled effect and a burst of flavor.
Coconut Lime: Swap the lemon juice for lime juice and the lemon zest for lime zest. Use coconut milk instead of heavy cream for a dairy-free, tropical vibe. It’s refreshing and perfect for summer. You might need to adjust the sugar slightly, as limes can be more tart.
Chocolate Covered: Drizzle melted chocolate over the top of the chilled cheesecake. You can also mix ¼ cup of cocoa powder into the cream cheese mixture for a chocolate-lemon combo. It sounds weird, but it’s actually delicious. The bitterness of the chocolate balances the sweet lemon.
Gluten-Free: Simply use gluten-free graham crackers or almond flour for the crust. Almond flour gives a nice nutty flavor and a tender crumb. Just make sure to add a bit more butter if the almond flour is very dry.
Low-Sugar: Use a erythritol or stevia blend instead of granulated and confectioners’ sugar. Note that sugar also adds volume and texture, so the cheesecake might be slightly denser. Taste as you go to ensure it’s sweet enough.
I once made a gingerbread version using crushed ginger snaps for the crust and adding ground ginger to the filling. It was spicy and warm, perfect for winter holidays. Don’t be afraid to experiment. The base recipe is forgiving, so you can play around with flavors until you find your perfect combination.
Serving & Storage Suggestions
This Best No-Bake Lemon Cheesecake is best served chilled. Let it sit in the fridge for at least 6 hours, but overnight is ideal. The flavors meld together, and the texture becomes firmer and more consistent. When you’re ready to serve, run a sharp knife under hot water and dry it before slicing. This ensures clean cuts. Wipe the knife clean between each slice for perfect presentation.
For serving, garnish with fresh lemon slices, lemon zest, or a dollop of whipped cream. Fresh berries like raspberries or strawberries look beautiful against the yellow filling. It pairs well with a cup of hot tea or a glass of white wine. It’s a light dessert that doesn’t weigh you down, making it perfect for after a heavy meal.
For storage, keep the cheesecake covered in the refrigerator for up to 5 days. It actually tastes better on the second and third days as the lemon flavor intensifies. If you need to freeze it, wrap the whole pan (or individual slices) tightly in plastic wrap and then in aluminum foil. It can be frozen for up to 2 months. Thaw it in the refrigerator overnight before serving. The texture might be slightly softer after thawing, but the flavor remains excellent.
Avoid leaving it out at room temperature for more than 2 hours. Since it contains dairy and cream, it’s important to keep it cold. If you’re bringing it to a potluck, keep it in a cooler or serve it on a chilled platter. The visual appeal is stunning, so let the simplicity of the garnish shine. It’s elegant enough for a dinner party but casual enough for a family snack.
Nutritional Information & Benefits
While this is a dessert, it’s lighter than many baked cheesecakes because it doesn’t have the added weight of eggs or flour. A typical slice contains around 350-400 calories, depending on the size. It provides a good amount of calcium from the cream cheese and dairy. The lemon juice adds a dose of Vitamin C, which is great for your immune system.
However, it is still a rich dessert, so portion control is key. It’s high in fat and sugar, so enjoy it in moderation. For those with dietary restrictions, this recipe can be adapted to be gluten-free or dairy-free, as mentioned in the variations. Just be aware that dairy-free alternatives may have different nutritional profiles.
From a wellness perspective, I love that this recipe allows me to satisfy my sweet tooth without feeling guilty about baking in a hot kitchen. It’s a mindful way to enjoy treats. The fresh lemon adds a refreshing element that can help cut through the richness of the dairy. It’s a balance of indulgence and refreshment. I try to use this as a weekend treat rather than an everyday snack, but it’s definitely a healthier alternative to heavy, syrupy cakes.
Conclusion
Making the Best No-Bake Lemon Cheesecake is one of the most rewarding culinary experiences you can have. It’s simple, it’s delicious, and it’s incredibly versatile. Whether you’re a seasoned baker or a beginner in the kitchen, this recipe will give you confidence and delicious results. The make-ahead nature of it makes it perfect for any occasion, from casual family dinners to elegant dinner parties.
I encourage you to try this recipe and make it your own. Experiment with different toppings, crusts, and flavors. Share it with friends and family, and watch their faces light up when they taste it. I’d love to hear how it turns out for you. Leave a comment below with your variations or questions. Don’t forget to share photos on social media; I love seeing your creations.
This recipe has become a staple in my home, and I hope it becomes one in yours too. It’s a testament to the fact that great food doesn’t have to be complicated. Sometimes, the best things in life are simple, cold, and creamy. Give it a try, and you’ll see why I’m obsessed. Happy baking!
Frequently Asked Questions
Can I use low-fat cream cheese for this recipe?
It’s not recommended. Low-fat cream cheese has a higher water content and doesn’t whip as well, which can result in a runny or grainy filling. Full-fat cream cheese ensures the proper texture and richness.
How long does this cheesecake need to set?
It needs at least 6 hours to set properly, but overnight is best. If you cut it too soon, it might not hold its shape. Patience is key for a clean slice.
Can I freeze this cheesecake?
Yes, you can freeze it for up to 2 months. Wrap it tightly in plastic wrap and foil. Thaw it in the refrigerator overnight. The texture may change slightly, but it will still taste great.
What can I use instead of gelatin?
If you don’t have gelatin, you can try using agar-agar for a vegan option, but the ratio will be different. Alternatively, you can skip it if you don’t mind a softer, mousse-like texture, but it won’t hold up as well in warm weather.
Why is my cheesecake too tart?
This usually happens if you use too much lemon juice or if your lemons are particularly tart. Next time, taste the filling before adding all the juice. You can also add a little more sugar to balance the tartness.
Pin This Recipe!
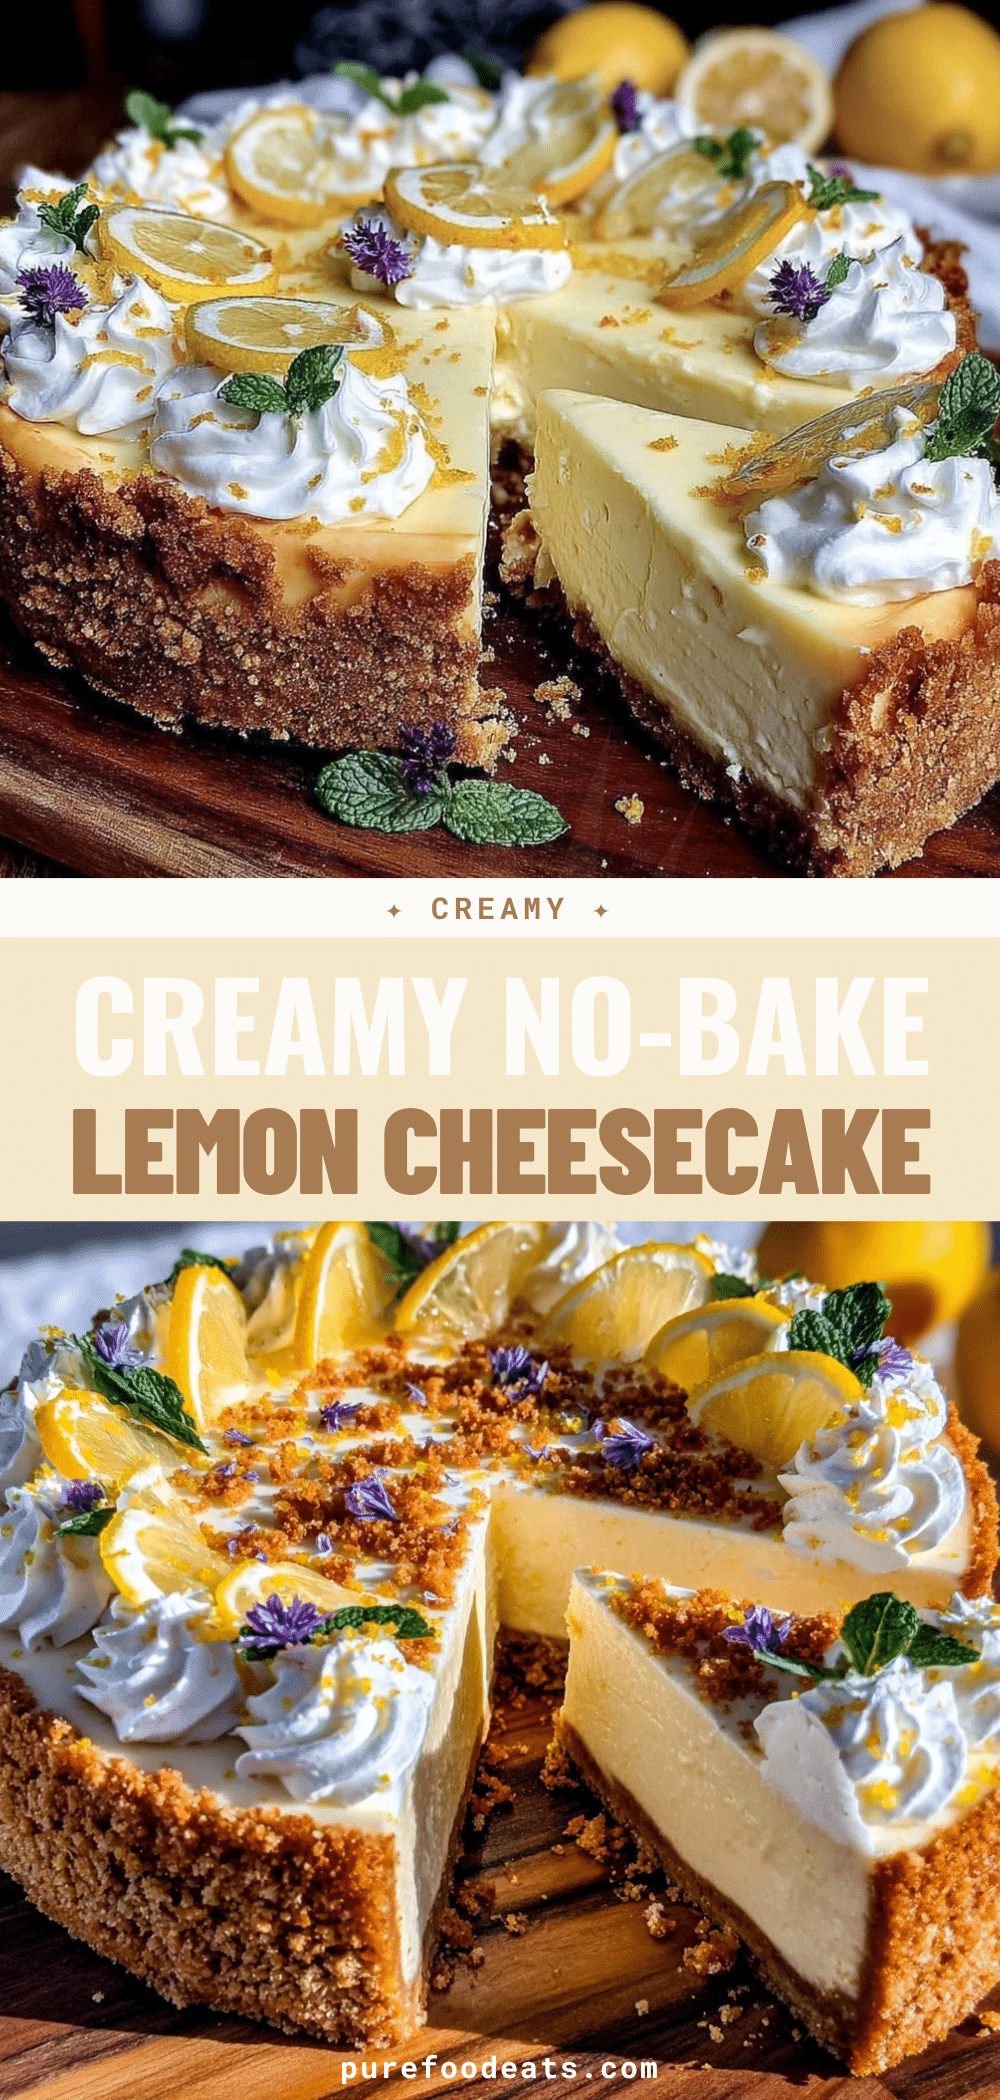

No-Bake Lemon Cheesecake: Easy Make Ahead Dessert
- Total Time: 6 hours 30 minutes
- Yield: 8 servings 1x
Description
A refreshing, creamy, and tangy no-bake lemon cheesecake that requires no oven. Perfect for hot weather, this dessert is easy to make ahead, uses simple ingredients, and delivers a professional finish with a buttery graham cracker crust and silky lemon filling.
Ingredients
- 1 ½ cups graham cracker crumbs
- 6 tablespoons unsalted butter, melted
- ½ cup granulated sugar
- 2 (8-ounce) blocks full-fat cream cheese, softened to room temperature
- 1 ½ cups heavy whipping cream, cold
- 1 cup confectioners’ sugar
- ½ cup fresh lemon juice (about 3–4 lemons)
- Zest of 2 large lemons
- 1 teaspoon vanilla extract
- 1 packet (2 ¼ teaspoons) unflavored gelatin (optional but recommended)
- ¼ cup cold water (for blooming gelatin)
Instructions
- Crush graham crackers into fine crumbs and place in a medium bowl.
- Melt the unsalted butter and pour it over the crumbs.
- Add the granulated sugar and mix until the crumbs resemble damp sand.
- Press the mixture firmly into the bottom and slightly up the sides of a 9-inch springform pan. Refrigerate while making the filling.
- If using gelatin, sprinkle powder over cold water and let sit for 5 minutes. Microwave for 10-15 seconds until liquid and set aside to cool slightly.
- Beat the softened cream cheese in a large bowl with an electric mixer on medium speed for 2-3 minutes until smooth. Scrape down the sides.
- Add confectioners’ sugar, fresh lemon juice, lemon zest, and vanilla extract. Beat on low to combine, then medium-high for 2 minutes until light and fluffy. If using gelatin, mix it in now.
- In a separate cold bowl, whip the heavy cream until stiff peaks form.
- Fold one-third of the whipped cream into the cream cheese mixture to lighten it. Then, gently fold in the remaining cream until just combined.
- Pour the filling into the chilled crust and smooth the top. Cover and refrigerate for at least 6 hours, preferably overnight.
- Before serving, run a hot knife around the edge to release the springform ring. Garnish with extra zest or berries if desired.
Notes
Ensure cream cheese is at room temperature to avoid lumps. Keep heavy cream and mixing bowls cold for best whipping results. Use fresh lemon juice for the best flavor; bottled juice can have a metallic aftertaste. Gelatin is recommended for warm weather to ensure the cake holds its shape. For a gluten-free version, use gluten-free graham crackers or almond flour. For dairy-free, substitute with coconut cream and dairy-free cream cheese.
- Prep Time: 30 minutes
- Cook Time: 0 minutes
- Category: Dessert
- Cuisine: American
Nutrition
- Serving Size: 1 slice
- Calories: 375
- Sugar: 24
- Sodium: 220
- Fat: 28
- Saturated Fat: 17
- Carbohydrates: 28
- Fiber: 1
- Protein: 5
Keywords: no-bake cheesecake, lemon cheesecake, summer dessert, make ahead dessert, easy dessert, gluten-free option, dairy-free option