Let’s be honest for a second. There is a specific kind of exhaustion that hits around 5:30 PM on a Tuesday. You know the one. It’s that heavy, bone-deep weariness where the very idea of chopping onions or monitoring a boiling pot feels like climbing Mount Everest. I hit this wall hard last month, right in the middle of a particularly busy work sprint. My fridge was looking sad, mostly holding onto a bag of dry macaroni and a block of cheddar that was slowly turning orange. I didn’t want takeout, but I certainly didn’t have the energy to cook.
That’s when I stumbled across the concept of a “dump bake.” Honestly, it sounded almost too good to be true. Just toss everything in a dish and let the oven do the heavy lifting? I was skeptical. I’ve tried lazy recipes before that ended up with gloppy, uncooked pasta or a sauce that separated into oil and sadness. But I needed comfort, and I needed it fast. So, I decided to make my own version of what I’m now calling the Creamy Dump Bake Mac.
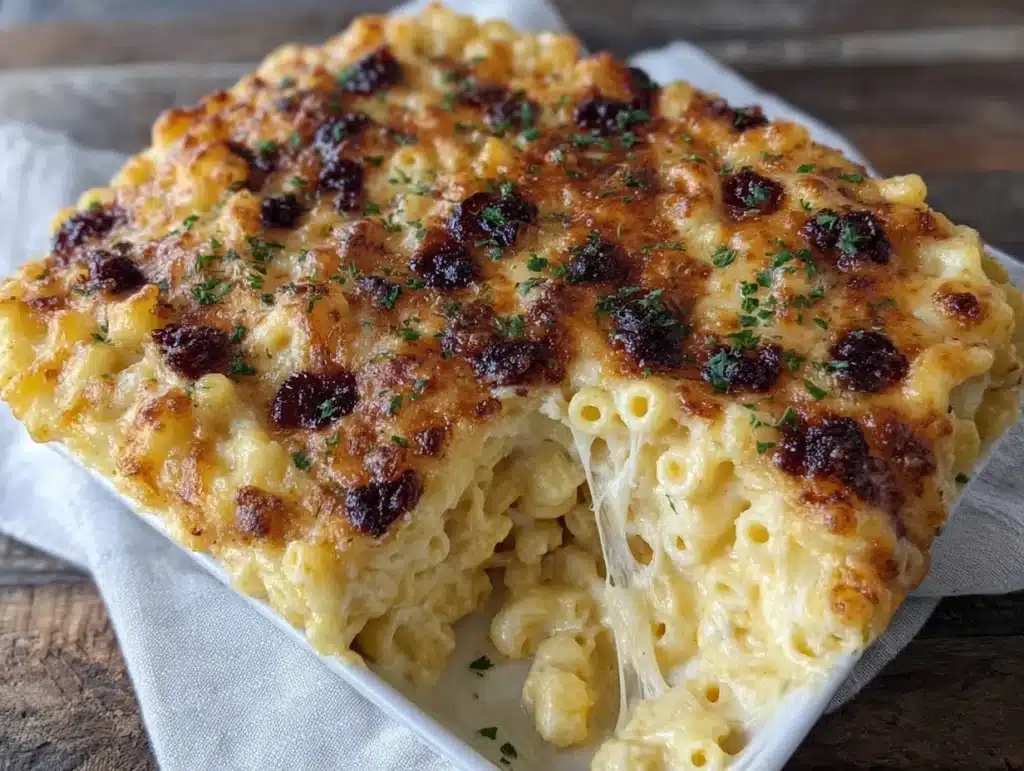
I didn’t have fancy ingredients, just the basics I always keep in stock. I mixed uncooked noodles with a simple blend of milk, broth, and cheese, threw it in a baking dish, and walked away. Twenty minutes later, the kitchen smelled like a cozy Italian nonna’s house, and the pasta was perfectly tender without me ever standing over the stove. This recipe became my lifeline. It’s not just dinner; it’s a stress-relief tool in dish form. If you’re tired of complicated weeknight rituals, this creamy dump bake mac is here to save your evening.
Why You’ll Love This Recipe
I’ve tested this mac and cheese version over a dozen times now. I’ve tweaked the liquids, the cheeses, and even the cooking times to make sure it works every single time. The secret isn’t magic; it’s understanding how starch behaves in the oven. When you bake the pasta directly in the liquid, it absorbs the flavors deeply rather than just sitting in a sauce on top. Here is why this specific method wins every time:
- Zero Active Cooking Time: You literally just dump ingredients into a dish. No boiling water, no draining, no stirring a pot on the stove. It comes together in under five minutes of actual effort.
- Pantry-Friendly Ingredients: You likely have everything you need right now. Milk, butter, flour, pasta, and cheese. No specialty trips to the grocery store required.
- Perfect for Busy Families: This is the ultimate “set it and forget it” meal. While the oven does the work, you can help with homework, prep the salad, or just sit down for five minutes of quiet.
- Crowd-Pleasing Comfort: Kids love mac and cheese, and adults love the ease. It always gets rave reviews because it tastes like you spent hours on it, even though you didn’t.
- Unbelievably Creamy Texture: Because the pasta cooks in the sauce, it releases starch that naturally thickens the mixture. You get that rich, velvety mouthfeel without needing a heavy roux that can easily burn.
What makes this different from other dump recipes is the ratio of liquid to pasta. I’ve learned through trial and error that you need just enough liquid to hydrate the noodles but not so much that it becomes soup. It’s that perfect balance of creamy and substantial. It’s the kind of meal that makes you close your eyes after the first bite because it’s just so satisfying. It’s comfort food reimagined for the modern, tired cook.
What Ingredients You Will Need
This recipe relies on simple, wholesome ingredients to deliver bold flavor and satisfying texture. The beauty here is that you aren’t relying on processed cheese boxes or artificial flavorings. You’re building a sauce from scratch using basic pantry staples, which makes the result taste significantly better than anything from a box. Here is what you’ll need to get started:
- Elbow Macaroni: One standard 12-ounce box. Uncooked. I prefer small elbows because they hold the sauce well, but you can use rotini or shells if that’s what you have on hand.
- Unsalted Butter: Three tablespoons. This adds richness and helps create that smooth sauce base. I recommend using a good quality European-style butter if you can find it, as it has a higher fat content which makes the sauce richer.
- All-Purpose Flour: Three tablespoons. This is the thickening agent. It might seem like a lot, but it’s necessary to bind the liquids and create that creamy consistency. Don’t skip it!
- Chicken Broth: Two cups. I use low-sodium broth so I can control the salt level. Vegetable broth works just as well if you prefer a vegetarian option. Look for a brand with a clean ingredient list.
- Whole Milk: One cup. Whole milk gives the best creaminess, but 2% works fine too. Avoid non-fat milk as the sauce can turn grainy.
- Sharp Cheddar Cheese: Two cups, freshly grated. Please, for the love of all things holy, do not use pre-shredded cheese. Pre-shredded cheese contains anti-caking agents that prevent it from melting smoothly. Buy a block and grate it yourself. It makes a massive difference.
- Garlic Powder: One teaspoon. Adds depth without the risk of burning fresh garlic in the oven.
- Dry Mustard: Half a teaspoon. This is the secret weapon. It doesn’t make the mac taste like mustard; it just brightens the cheddar flavor and cuts through the richness.
- Salt and Black Pepper: To taste. I usually start with half a teaspoon of salt and a generous crack of black pepper.
If you want to get fancy, you can add a handful of crispy bacon bits or some steamed broccoli florets on top before baking. But honestly, the base recipe is so good that it doesn’t need much help.
Equipment Needed
You don’t need a fancy kitchen to make this. In fact, the beauty of this recipe is that it uses minimal equipment. Here is what you’ll need:
- 9×13 Inch Baking Dish: A standard glass or ceramic baking dish works best. Glass allows you to see the browning on the bottom, which is nice to monitor. Ceramic retains heat well, keeping the mac warm longer at the table.
- Measuring Cups and Spoons: Precision matters here, especially with the flour and liquid ratio. A 1-cup measure for the milk and broth, and standard spoons for the spices.
- Whisk: You’ll need a whisk to mix the dry ingredients (flour and spices) with the liquids before pouring them over the pasta. This ensures there are no lumps of flour in your final dish.
- Box Grater: As mentioned, you need to grate your own cheese. A standard box grater is perfect for this. It takes about two minutes to grate two cups of cheese.
- Spatula: A rubber spatula is helpful for scraping the cheese and sauce out of the bowl and into the baking dish, ensuring you don’t waste any of that delicious goodness.
If you don’t have a whisk, a fork works in a pinch, but a whisk makes the mixing much faster and more effective. Also, make sure your baking dish is clean and dry before you start. It sounds obvious, but a wet dish can affect how the top browns.
Preparation Method
- Preheat Your Oven: Start by preheating your oven to 350°F (175°C). This needs to be hot enough to cook the pasta through and brown the top, but not so hot that the sauce boils over. Give it about 10 minutes to fully heat up while you prep.
- Combine Dry Ingredients: In your 9×13 baking dish, pour in the uncooked elbow macaroni. Sprinkle the flour, garlic powder, dry mustard, salt, and black pepper over the dry pasta. Use your hands or a spoon to toss the pasta until it is evenly coated with the flour and spices. This step is crucial because the flour needs to be distributed evenly to thicken the sauce properly.
- Mix the Wet Ingredients: In a large mixing bowl or a large measuring cup, whisk together the milk, chicken broth, and melted butter. Make sure the butter is fully incorporated into the liquid. If the butter is still in solid chunks, it won’t mix well. You want a smooth, creamy-looking liquid.
- Pour and Stir: Pour the liquid mixture over the pasta in the baking dish. Use a spatula to gently stir everything together. You want to make sure there are no dry pockets of flour or pasta. The liquid should mostly cover the pasta. If it doesn’t, don’t panic; the pasta will release starch and absorb the liquid as it cooks, but it might need a little extra time in the oven.
- Add the Cheese: Sprinkle the freshly grated cheddar cheese evenly over the top of the pasta and liquid. Don’t stir it in yet. We want that cheese to melt into the top layer, creating a delicious, cheesy crust. If you stir it all in now, you might end up with a grey, uniform sauce rather than a creamy, textured one.
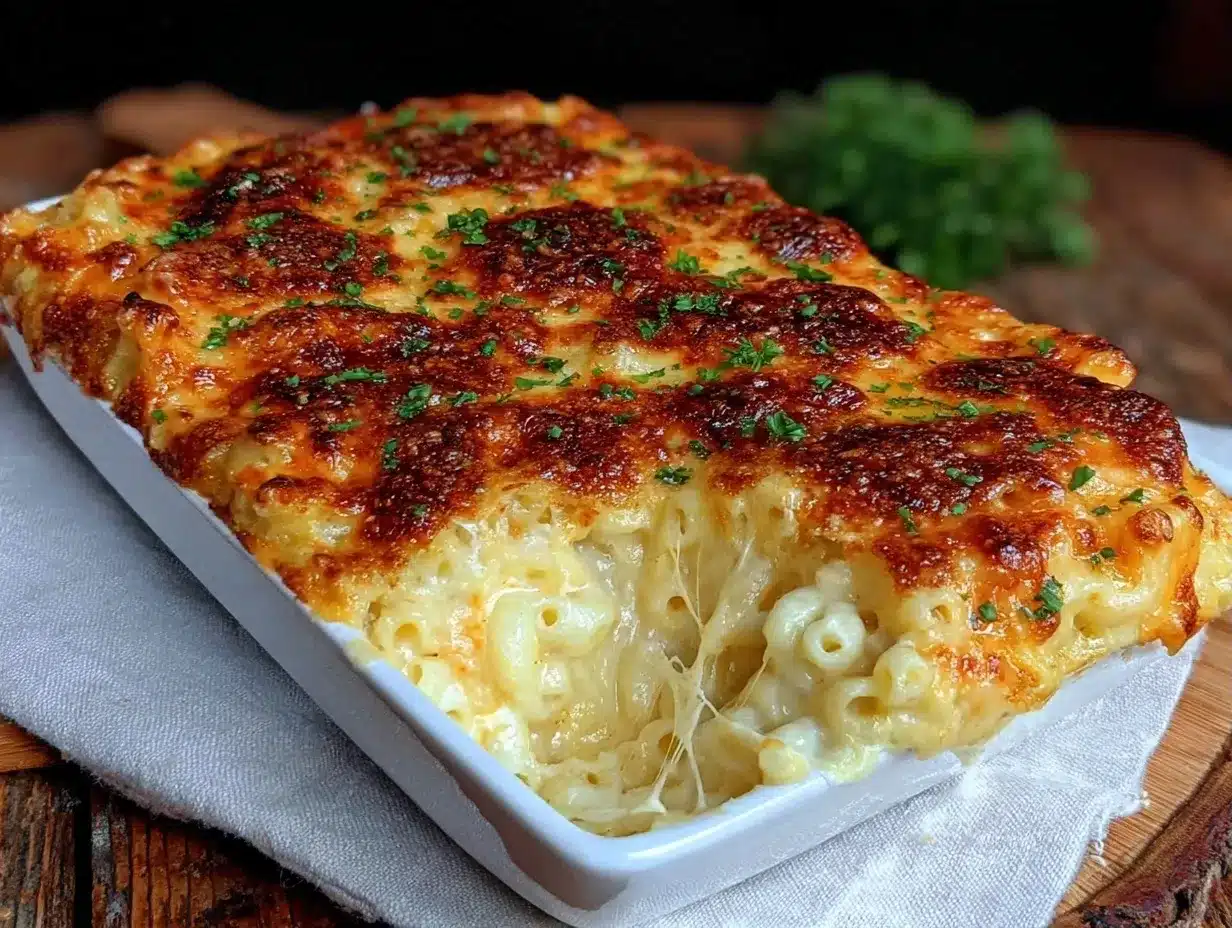
- Bake: Place the dish in the preheated oven. Bake for 25 to 30 minutes. You’ll know it’s done when the liquid has thickened into a sauce, the pasta is tender (taste a noodle to check), and the top is bubbly and golden brown. If you want a crunchier top, you can broil it for the last 1-2 minutes, but watch it closely so it doesn’t burn.
- Rest and Serve: Remove the dish from the oven and let it sit for 5 minutes. This is an important step. The sauce is very hot and liquidy right out of the oven. Letting it rest allows the starches to set and the sauce to thicken up. If you serve it immediately, it might be a bit soupy. After 5 minutes, give it a gentle stir and serve warm.
During the baking process, you’ll notice the sauce bubbling up around the edges. That’s a good sign! It means the pasta is absorbing the liquid and the flavors are melding. If you see it bubbling over, you can tent the dish loosely with foil for the last 10 minutes.
How do I know when the pasta is cooked?
The best way to check is to taste a noodle. It should be tender but still have a slight bite (al dente). If it’s still hard in the center, cover the dish with foil and bake for another 5-10 minutes. The foil will trap steam and help finish cooking the pasta.
Cooking Tips & Techniques
I’ve made some mistakes with this recipe in the past, so you don’t have to. The biggest mistake people make is using too much liquid. Pasta absorbs liquid as it cooks, but not all pastas absorb at the same rate. Thicker noodles might need a splash more milk. My rule of thumb is that the liquid should just barely cover the pasta before baking. If there’s a lot of extra liquid sitting on top, it will be soupy.
Another tip is to grate your own cheese. I cannot stress this enough. Pre-shredded cheese is coated in cellulose to keep it from clumping. That coating stops it from melting smoothly. You’ll end up with a grainy sauce. Take the two minutes to grate a block of cheddar, and your life will change. It’s worth it.
If you want to multitask, you can prep the cheese and measure the milk while the oven is preheating. This recipe is designed to be efficient. Also, if you are using a metal baking dish, the bottom might brown faster than the top. If you notice the top isn’t browning after 25 minutes, you can move the dish to a higher rack in the oven for the last few minutes.
Don’t skip the resting time. I know it’s tempting to dig in as soon as the timer goes off. But that 5-minute wait makes a huge difference in the texture. The sauce will thicken significantly, giving you that perfect creamy consistency rather than a runny one.
Variations & Adaptations
One of the best things about this dump bake is how easy it is to customize. Here are a few variations I love:
- Veggie Loaded: Add one cup of steamed broccoli florets or diced bell peppers to the dish before baking. The veggies will steam in the oven and become tender and sweet.
- Protein Boost: Stir in one cup of cooked, diced chicken breast or shredded rotisserie chicken. This turns the side dish into a full, hearty meal. You can also add crispy bacon bits for a smoky flavor.
- Spicy Kick: Add a pinch of cayenne pepper or a few dashes of hot sauce to the liquid mixture. This pairs beautifully with the sharp cheddar and adds a nice warmth.
- Gluten-Free Option: Simply swap the all-purpose flour with a gluten-free flour blend and use gluten-free elbow pasta. Make sure to check the absorption rate, as some GF pastas absorb more liquid. You might need an extra quarter cup of broth.
- Dairy-Free: Use olive oil instead of butter, and a dairy-free milk alternative like oat milk (which is creamy). For the cheese, use a high-quality dairy-free cheddar shreds, though the melt might be slightly different.
I personally love adding a layer of panko breadcrumbs on top before baking for extra crunch. It adds a nice textural contrast to the creamy pasta.
Serving & Storage Suggestions
This mac and cheese is best served hot and fresh out of the oven. It pairs wonderfully with a simple green salad dressed with lemon vinaigrette. The acidity of the salad cuts through the richness of the mac. I also like to serve it with roasted broccoli or green beans for a complete, balanced meal.
If you have leftovers (which I doubt, but just in case), store them in an airtight container in the refrigerator for up to 3 days. The mac will thicken up in the fridge because the starches continue to set. To reheat, add a splash of milk or broth to the container before microwaving. This helps loosen the sauce and brings back that creamy texture. Reheat in 30-second intervals, stirring in between, until heated through.
You can also freeze this dish, though the texture might change slightly. Thaw it in the fridge overnight and reheat with added liquid. The flavors actually develop and deepen over the first day, so it tastes great even if it’s not fresh out of the oven.
Nutritional Information & Benefits
While this is a comfort food, it’s made with relatively simple ingredients. A typical serving contains a good balance of carbohydrates from the pasta, protein from the cheese and milk, and fat for satiety. Using whole milk and real cheese provides calcium and vitamin D, which are essential for bone health. If you choose to use whole wheat pasta, you’ll add fiber, which aids in digestion and keeps you feeling full longer.
Keep in mind that this is a rich dish, so portion control is key if you are watching your calorie intake. One cup is a generous serving. It’s a meal to enjoy as a treat or a hearty weeknight dinner, not necessarily a daily staple if you are strictly monitoring macros. But let’s face it, life is too short to never enjoy a creamy bowl of mac and cheese!
Conclusion
This creamy dump bake mac is more than just a recipe; it’s a solution for those busy, tired evenings when you need something delicious without the hassle. It’s simple, it’s forgiving, and it tastes amazing. I hope it becomes a staple in your weekly rotation, just like it has in mine. Try it out, and don’t be afraid to tweak it to suit your taste. Maybe add some bacon, maybe keep it classic. Either way, you’ll love it.
If you make this recipe, I’d love to hear how it turned out! Leave a comment below with your favorite variation or just let me know if it saved your weeknight dinner. And if you have friends who are struggling with meal prep, share this recipe with them. Happy cooking!
Frequently Asked Questions
Can I use whole wheat pasta for this recipe?
Yes, you can. Whole wheat pasta works well, but it may absorb more liquid than white pasta. You might need to add an extra quarter cup of broth or milk to ensure the pasta cooks through properly.
Why is my mac and cheese too runny?
This usually happens if there was too much liquid added or if the pasta didn’t absorb enough starch. To fix it, you can bake it uncovered for a few more minutes to let the liquid evaporate. In the future, reduce the liquid by a quarter cup.
Can I make this in a slow cooker?
Yes! Combine all ingredients in a slow cooker and cook on low for 2-3 hours. Stir halfway through. The cooking time will vary based on your slow cooker, so check the pasta texture frequently.
What kind of cheese is best for this?
Sharp cheddar is the classic choice because it has a strong flavor that stands up to the milk and pasta. You can also mix in some Gruyère or Monterey Jack for extra meltiness and complexity.
How do I prevent the top from burning?
If you notice the top is browning too quickly, simply tent the dish with aluminum foil for the last 10 minutes of baking. This allows the pasta to finish cooking without scorching the cheese.
Pin This Recipe!
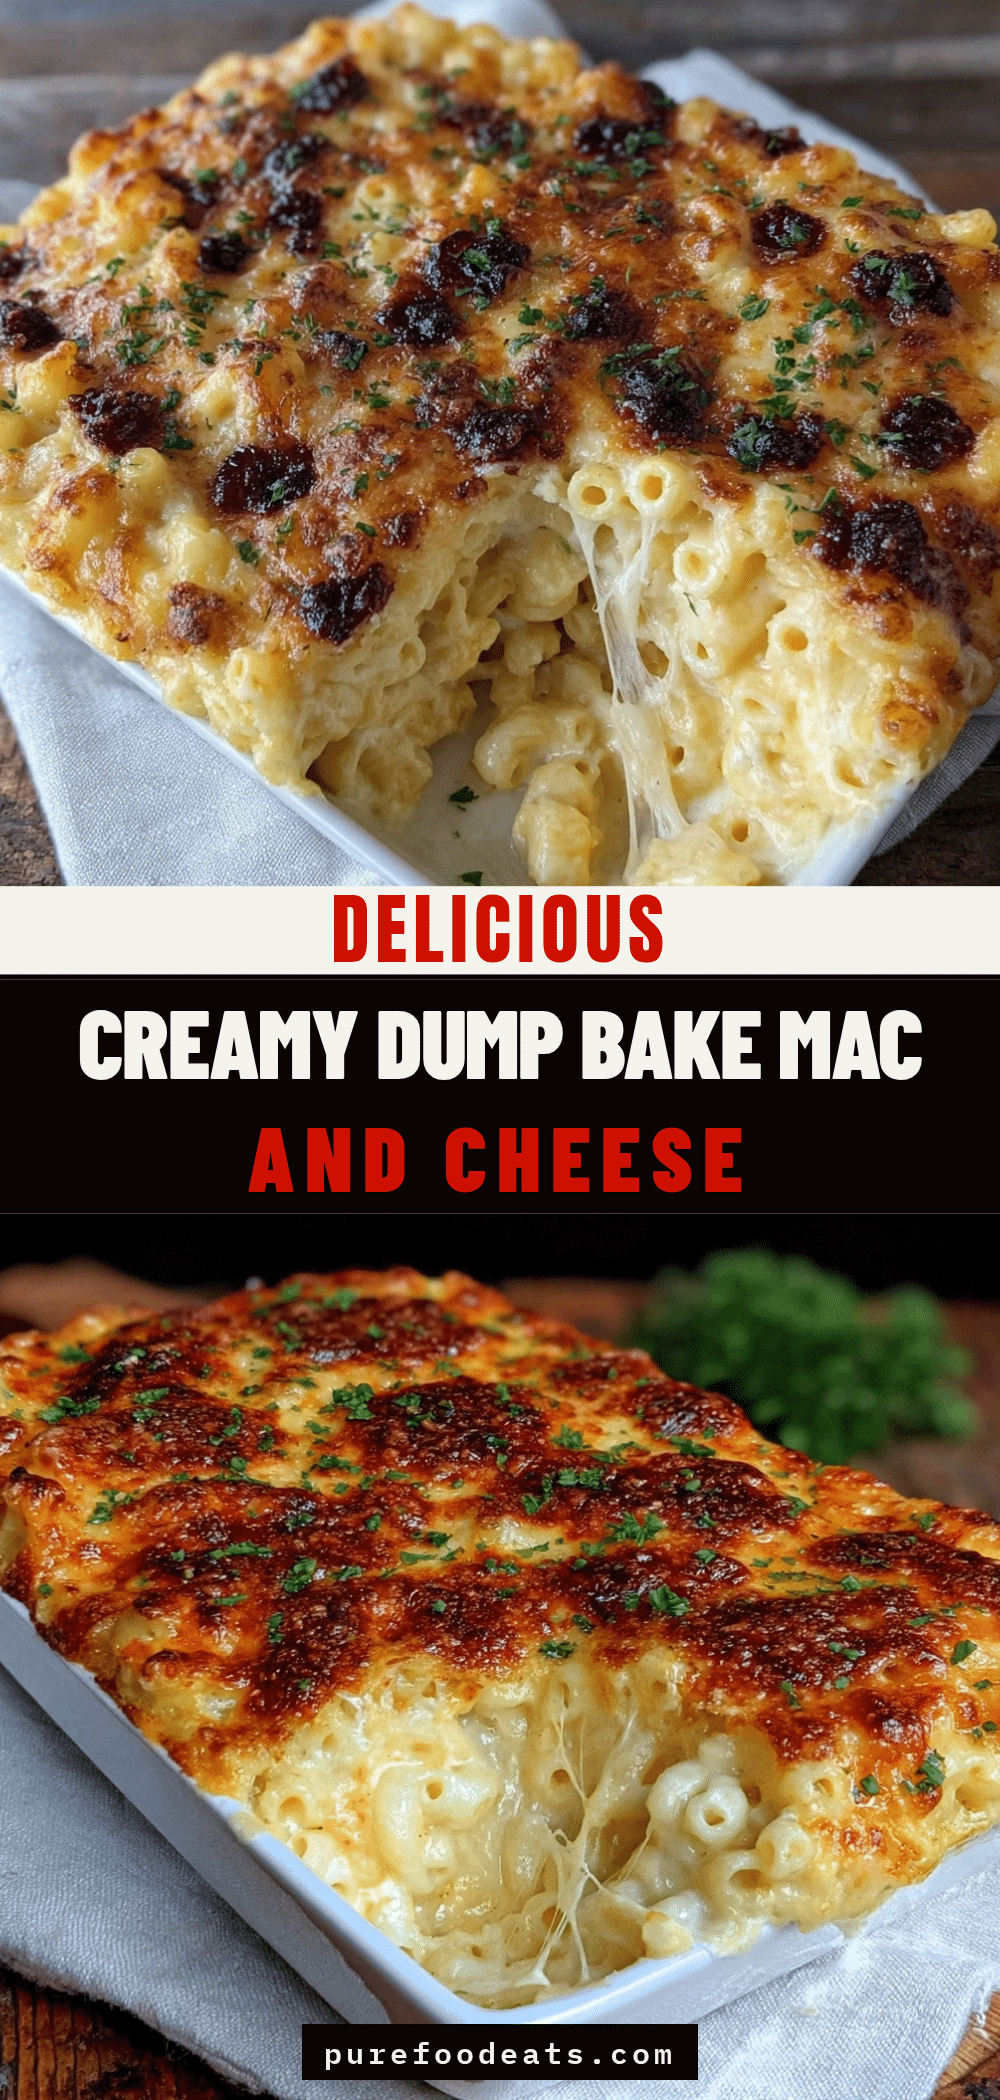

Creamy Dump Bake Mac: Easy One Pot Meal
- Total Time: 35 minutes
- Yield: 6 servings 1x
Description
A stress-free, one-dish mac and cheese that requires zero active cooking time. Simply dump ingredients into a baking dish and let the oven do the work for a creamy, comforting weeknight dinner.
Ingredients
- 12 oz elbow macaroni (uncooked)
- 3 tbsp unsalted butter (melted)
- 3 tbsp all-purpose flour
- 2 cups chicken broth (or vegetable broth)
- 1 cup whole milk
- 2 cups sharp cheddar cheese (freshly grated)
- 1 tsp garlic powder
- 0.5 tsp dry mustard
- 0.5 tsp salt (or to taste)
- Black pepper (to taste)
Instructions
- Preheat oven to 350°F (175°C).
- In a 9×13 inch baking dish, combine uncooked macaroni, flour, garlic powder, dry mustard, salt, and pepper. Toss to coat pasta evenly.
- In a separate bowl, whisk together milk, chicken broth, and melted butter until smooth.
- Pour the liquid mixture over the pasta in the baking dish and stir gently to ensure no dry pockets remain.
- Sprinkle the freshly grated cheddar cheese evenly over the top of the pasta and liquid.
- Bake for 25-30 minutes, or until the liquid has thickened, the pasta is tender, and the top is bubbly and golden brown.
- Remove from oven and let rest for 5 minutes to allow the sauce to thicken before serving.
Notes
Do not use pre-shredded cheese as it contains anti-caking agents that prevent smooth melting. Resting the dish for 5 minutes after baking is crucial for the sauce to thicken properly. If the top browns too quickly, tent with foil. For a gluten-free version, swap flour and pasta for gluten-free alternatives.
- Prep Time: 5 minutes
- Cook Time: 30 minutes
- Category: Main Course
- Cuisine: American
Nutrition
- Serving Size: 1 cup
- Calories: 450
- Sugar: 6
- Sodium: 650
- Fat: 22
- Saturated Fat: 13
- Carbohydrates: 42
- Fiber: 2
- Protein: 18
Keywords: mac and cheese, dump bake, easy dinner, one pot meal, comfort food, weeknight dinner, creamy pasta, family friendly